In this article I'll walk you through setting up a Ghost blog on DigitalOcean in just one click — we'll also do it all in less than 10 minutes and for just $5/mo.
If you’re new to DigitalOcean, here’s the low down:
DigitalOcean is one of the leading cloud hosting providers in the world. They offer super flexible hosting plans starting as low as $5/mo (that’s the plan we’ll be using in this article). Although you can start at $5/mo., the most powerful feature of DigitalOcean is the ability to scale your server’s resources up or down depending on your needs.
Getting Started
If you don’t have a DigitalOcean account yet, head over to DigitalOcean.com and signup right from their homepage. Once you’ve created your account and setup billing info, we can get your blog up and running.
The first step for creating your site is to create a new Droplet. Droplets are what DigitalOcean calls their virtual, scalable servers. They can host one website or unlimited websites and scale up or down depending on your traffic and usage and they can also be created and deleted in minutes.
Droplets are what DigitalOcean calls their virtual, scalable servers.
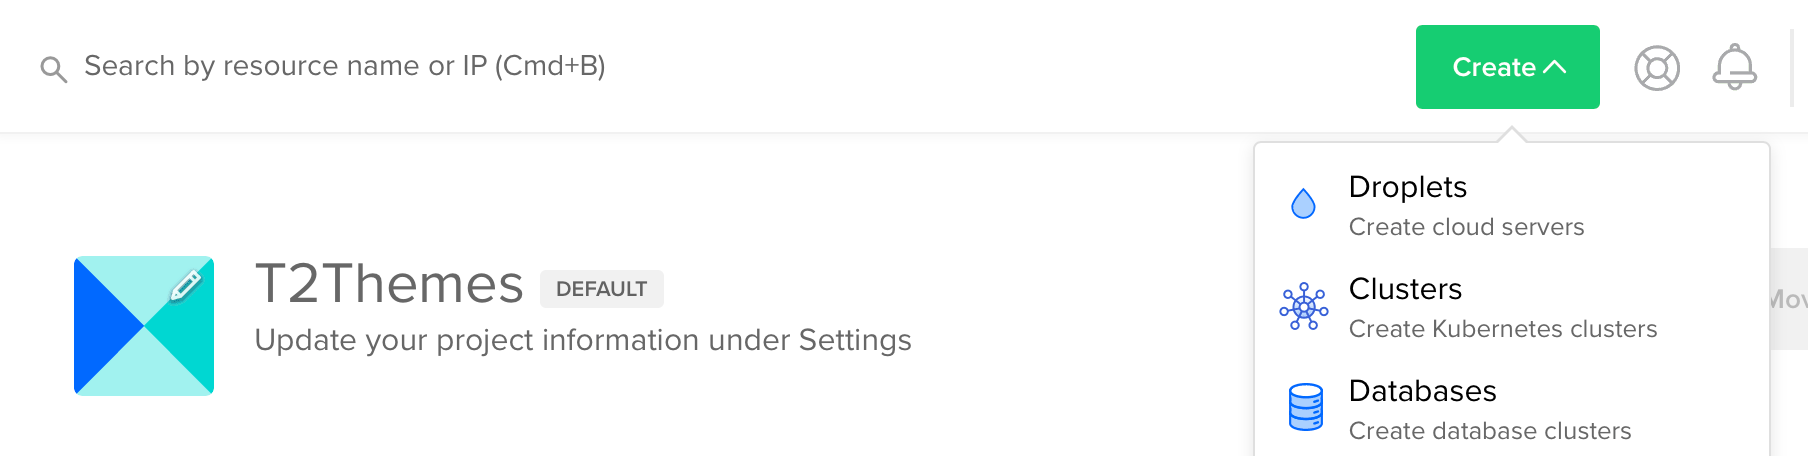
So next, let’s create our droplet by clicking the Create button at the top of the page and select Droplets from the menu.
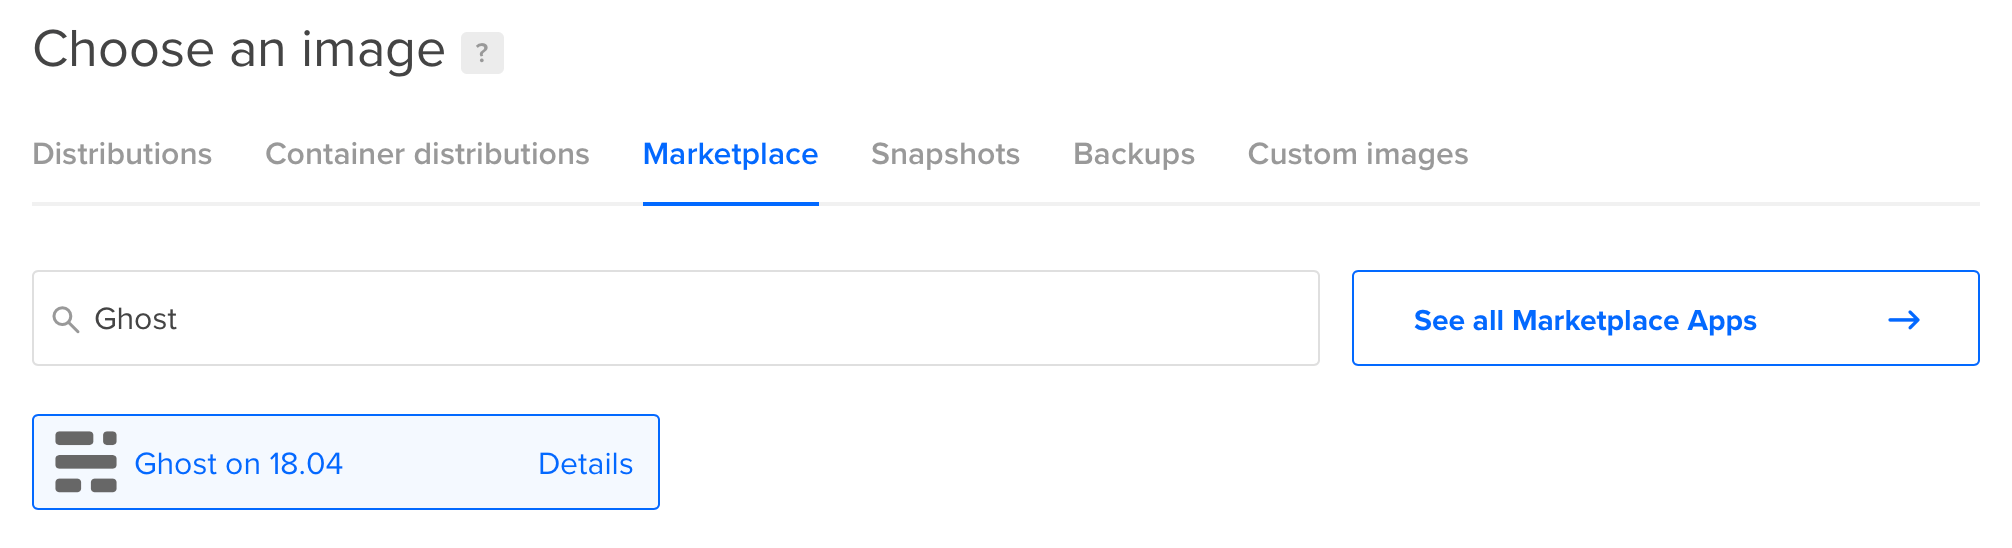
- For **Choose an image** , select **Marketplace** and in the search field type in “ghost”. Click on it from the dropdown list to select it.
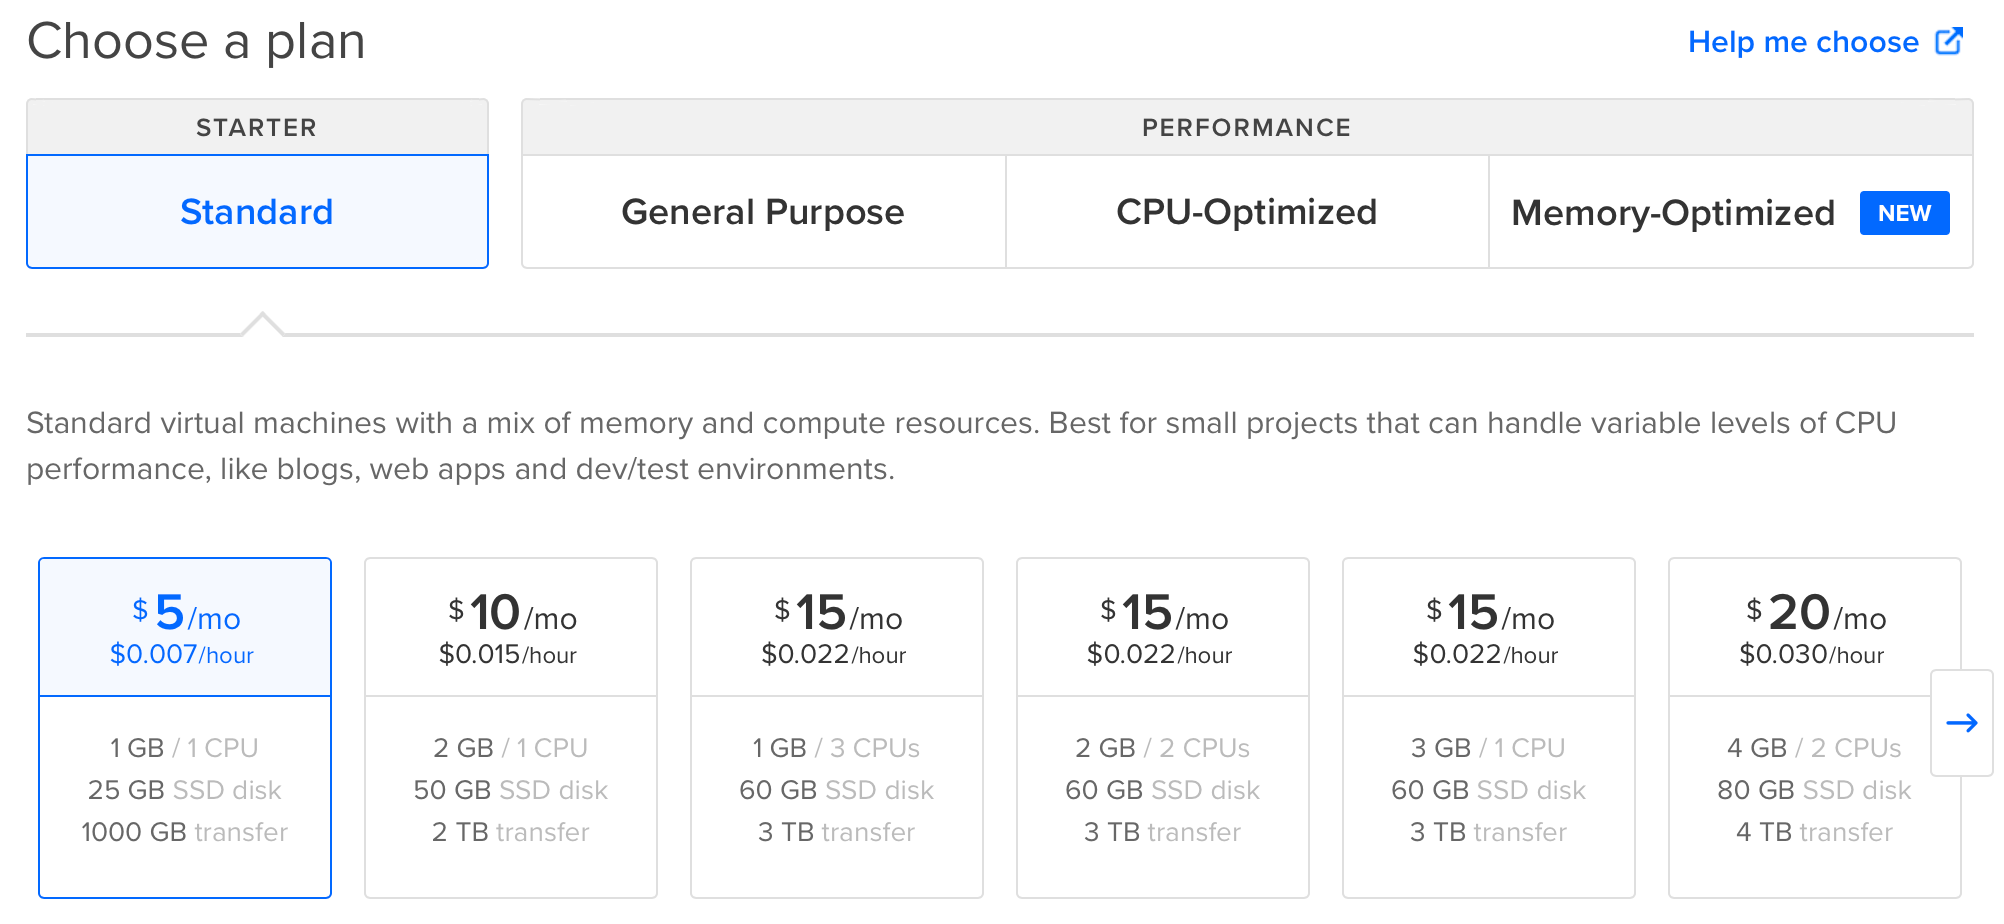
- For Choose a plan , select Standard then scroll to the left of the pricing plan list to locate the $5/mo. plan and click on it to select it.
- We’ll leave the Add block storage option as is.
- For Choose a datacenter region you can leave this as is also or if you happen to know where the majority of your users are located, you can choose a location closest to them.
- We’ll also leave the Select additional options as is.
- For Authentication select the One-time password. If you’re a more advanced user and have setup your SSH key with DigitalOcean, feel free to select that option instead.
- For the Finalize and create step, leave How many Droplets? set to “1” and for Choose a hostname , enter the name of your blog (replacing any spaces with dashes).
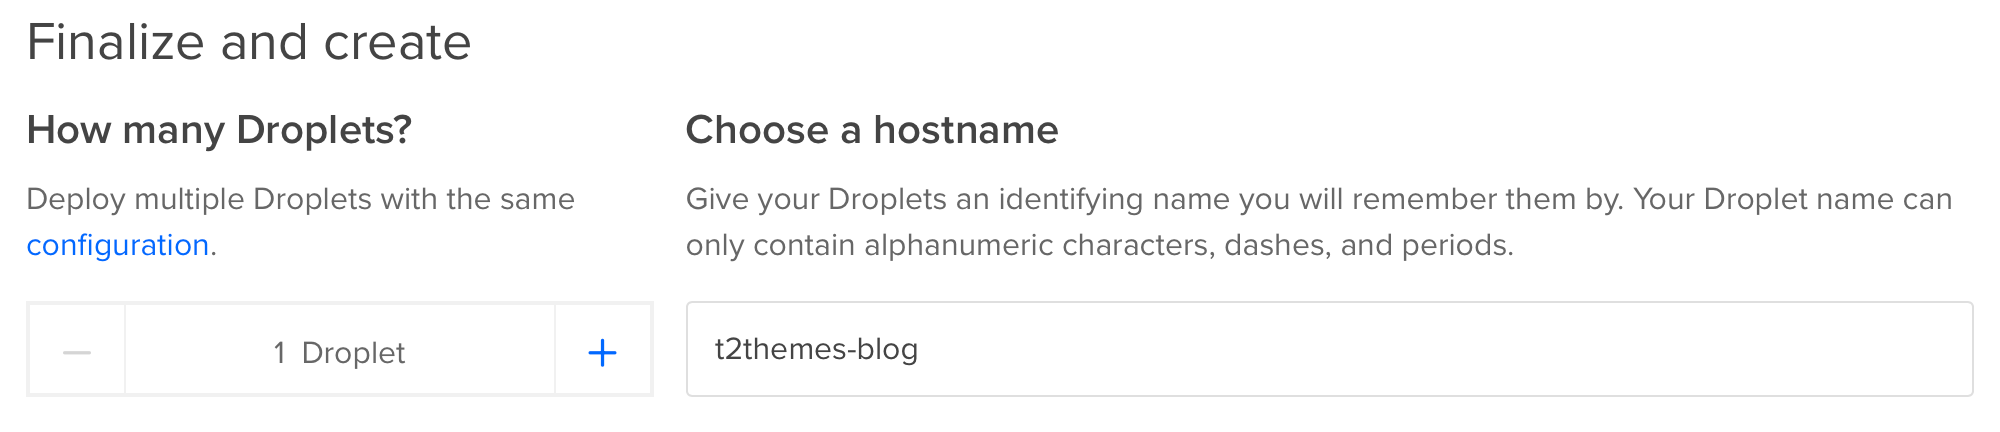
- Additionally for $1/mo. you can Enable backups, which is definitely a good idea to do! What this means is if anything goes wrong with your blog once it’s up and running, you can revert back to a previous version of your blog in just one click.
- Finally, click the Create Droplet button to finish the process and you’ll be taken back to your dashboard where you can see your new Droplet being created.

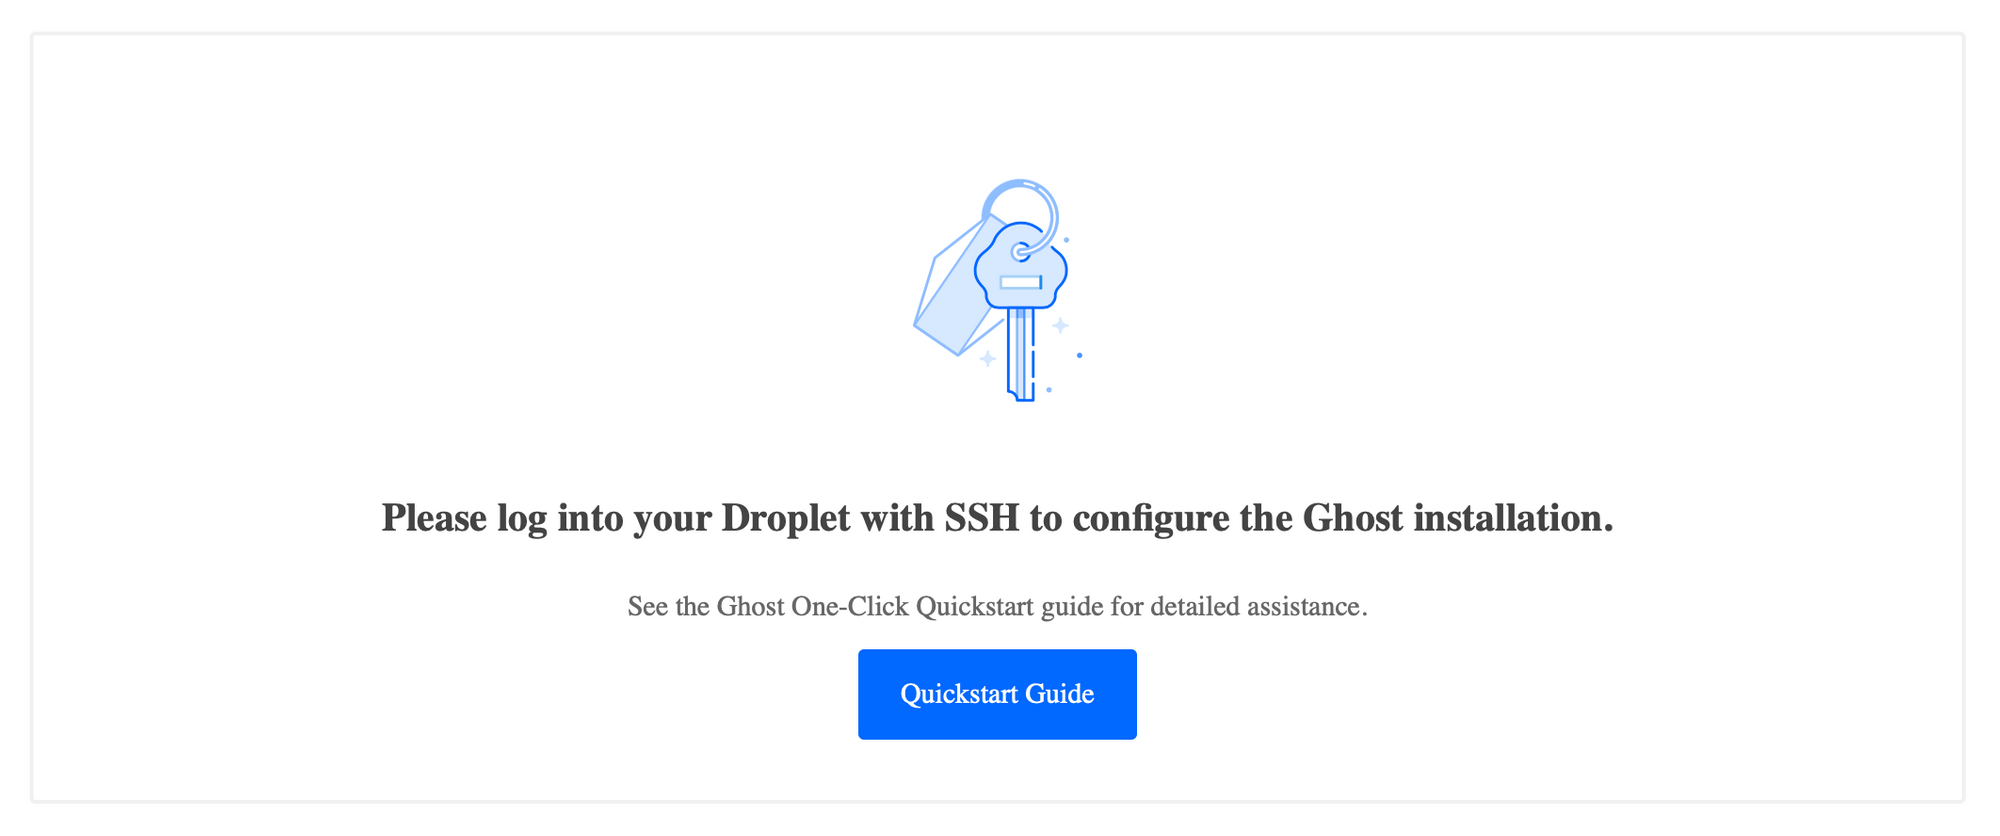
Once that’s compete, you should receive an email with the login information for your Droplet. In addition, typing in the Droplet’s IP Address into your browser should display the following page:
Adding Your Domain
There are two main options for configuring your domain name to point to your new Ghost blog. It can either be configured as your primary domain (e.g. yourblog.com) or as a subdomain of your existing website (e.g. blog.yoursite.com).
If you don’t already have a domain name you plan to use for your Ghost blog, you’ll need to purchase one first.
Let’s walk through setting up the initial steps required for both of these options:
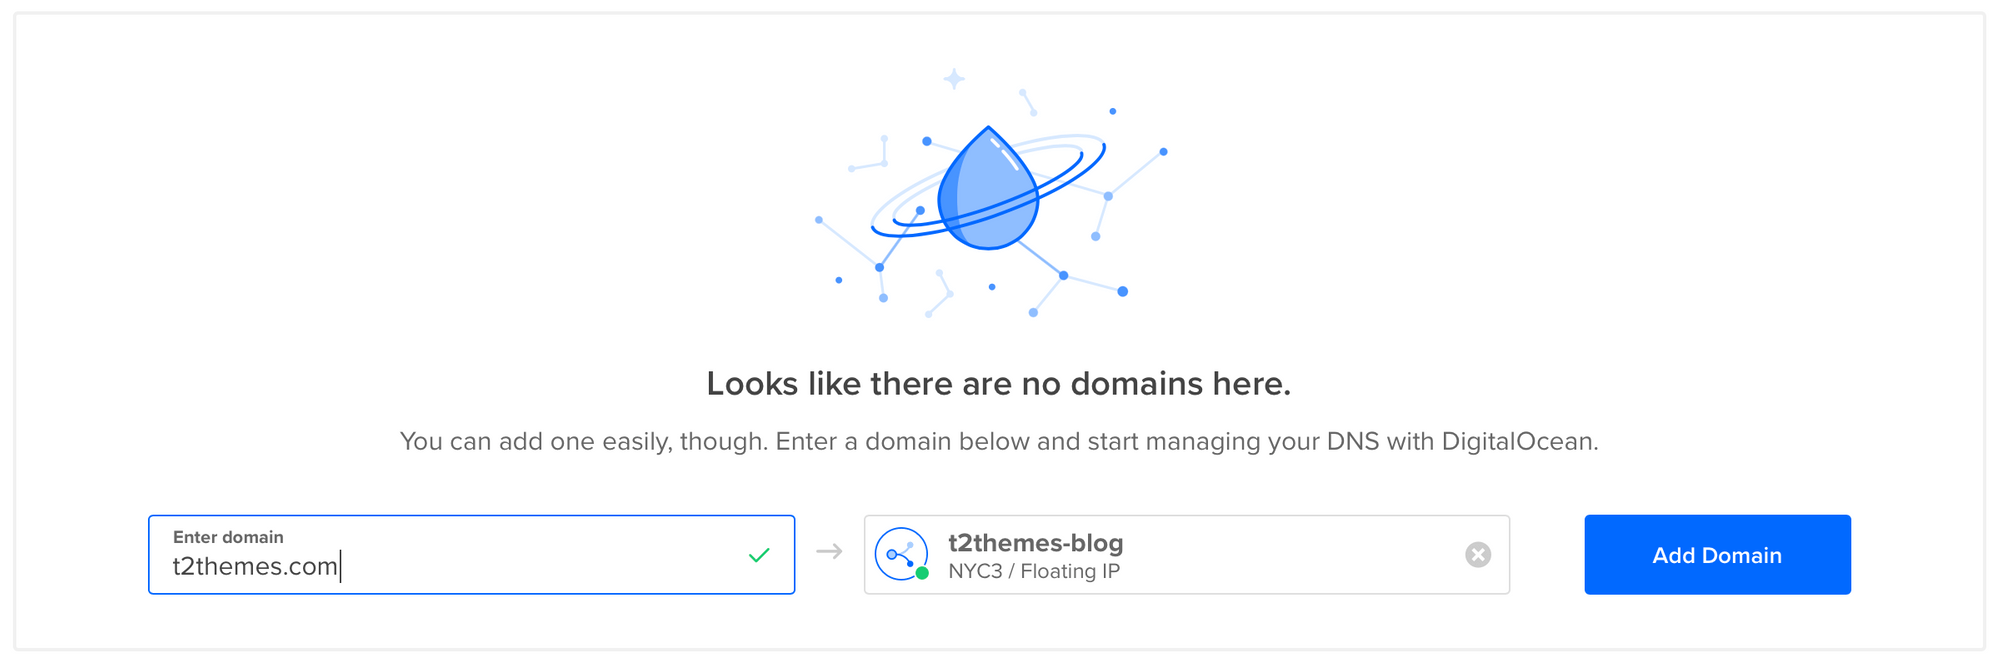
- First, you’ll need to add the domain to DigitalOcean and set up your DigitalOcean DNS records. To do this, from the Droplets page in your account, click the right-hand toggle to Add a domain on the Droplet you’ve just created.
- Next, enter the name of your domain name. Be sure to use the root name (e.g. yoursite.com) even if you plan on accessing your Ghost blog from a subdomain (e.g. blog.yoursite.com).
- Now it’s time to decide how you would like to access your blog.
Configuring as Primary Domain
To configure your primary domain (e.g. yoursite.com) to point to your Ghost blog, follow the instructions in the official DigitalOcean guide to setting the DNS records for your domain name:
How To Point to DigitalOcean Nameservers From Common Domain Registrars | DigitalOcean →
It may take some time (up to 24 hours, but usually within a few minutes) for changes to fully propagate before it’s accessible on the web.
Configuring as Sub Domain
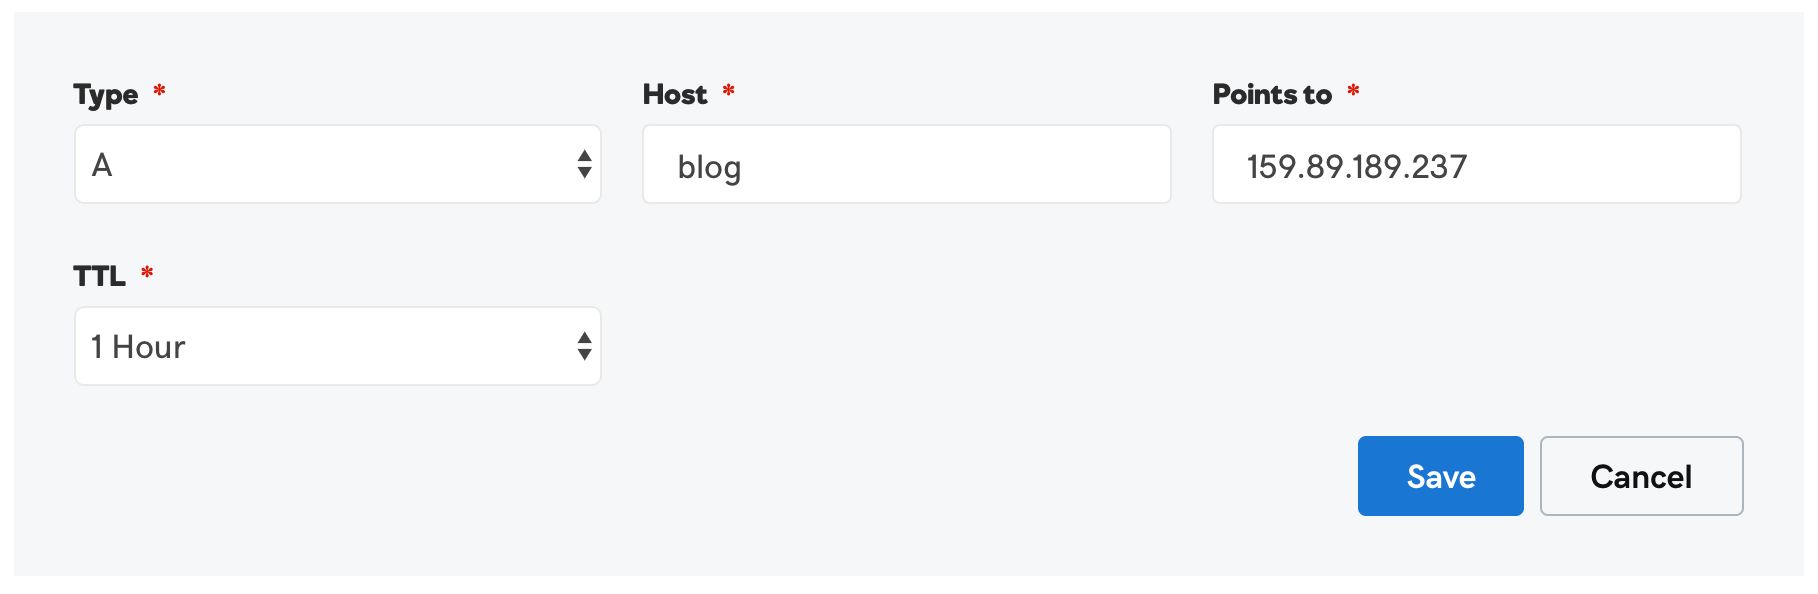
To configure your sub domain (e.g. blog.yoursite.com) to point to your Ghost blog, login to the registrar that you have your domain with. You’ll need to locate the DNS Records settings for your domain.
Finally, enter in the name of the subdomain you’d like to use (I’m using “blog” in this example) and the IP Address of your Droplet as the value.
It may take some time (up to 24 hours, but usually within a few minutes) for changes to fully propagate before it’s accessible on the web.
Installing Ghost
The final part of the process is installing and configuring your Ghost blog. To do this, navigate back to the Droplets page of your DigitalOcean account and click the right-hand toggle to Access console on your Droplet.

A popup window should open up with a prompt to login.

- Enter your username (this will always be “root”) and password that you received in your New Droplet email. Note: typing in your password doesn’t move the cursor, this is normal! You may also copy and paste your password.
- The console will prompt you to update your password immediately. First you’ll need to enter your current password (same as password in your email) and then add a new password twice.

If this is done correctly, you should see the installation start and after a few moments, the Ghost setup instructions should appear:

Press enter to begin the installation and patiently wait while Ghost downloads and installs the latest version.

Next you will be prompted you to enter your domain (make sure it’s your primary domain or subdomain that you configured in the previous step and not the IP) and your email address. Once finished, a few more moments later Ghost will complete it’s installation:

To ensure that everything is working, you can now go to your domain or subdomain URL in your browser and you should see a default blog template from Ghost.
Using Ghost
Now comes the fun part, logging into your Ghost admin panel and setting up your new site! To do this, enter the following URL into your browser to access your admin panel:
yoursite.com/ghost or blog.yoursite.com/ghost
Follow a few simple steps and you’ll be blogging in no time.
If you have and questions or if you’ve successfully setup a Ghost blog on DigitalOcean, we’d love to hear about it! Tweet us @layeredcraft!
We’ll be covering many more topics on more advanced Ghost configurations on DigitalOcean, including hosting multiple Ghost blogs on a single Droplet, How to secure your blog and much more. Be sure to subscribe to not miss out!

Eric Alli @ericalli
Eric is the founder of LayeredCraft. He has worked as a designer and engineer for 15+ years and loves creating innovative and effective themes for all industries.