
Contact forms are a vital part of running almost any website. But if you're a Ghost user, you may notice there isn't a seemingly straightforward way to get one set up. Luckily, there are a ton of form submission services available that make it easy to integrate with little to no coding experience.
How Do Form Submission Services Work?
If you were to setup a contact form from scratch the process would be broken down into these two steps:
- The first step is to setup the HTML/CSS for your contact form which includes defining the fields for the data to be collected and styling the form the match your site’s design.
- Next is to write a script to process the data collected by the form and configure it to send the data to yourself and/or to save it to a database.
- Finally, the last step is to show a response to the user. That could be in the form of a success/error message or redirecting them to another page.
While that may not sound too complicated, step 2 is where things get tricky. Although it’s fairly easy to setup a simple contact form using HTML/CSS on any Ghost page, Ghost doesn’t have a built-in script for processing the data sent by the form.
Here’s where form submission services come in really handy. They provide an API endpoint (think of it as the script from step 2) that will process whatever data you send to it and email it directly to you (and with some services, even save it to a database that you can browse on the web).
Form submission services provide an API endpoint that will process whatever data you sent to it and email it directly to you (and in some cases, save it to a database that you can browse on the web).
Now that we’ve gotten that out of the way, let’s take a look at the top five contact form services and see how they stack up against each other and which can work best for your needs.
Choosing a Contact Form Service
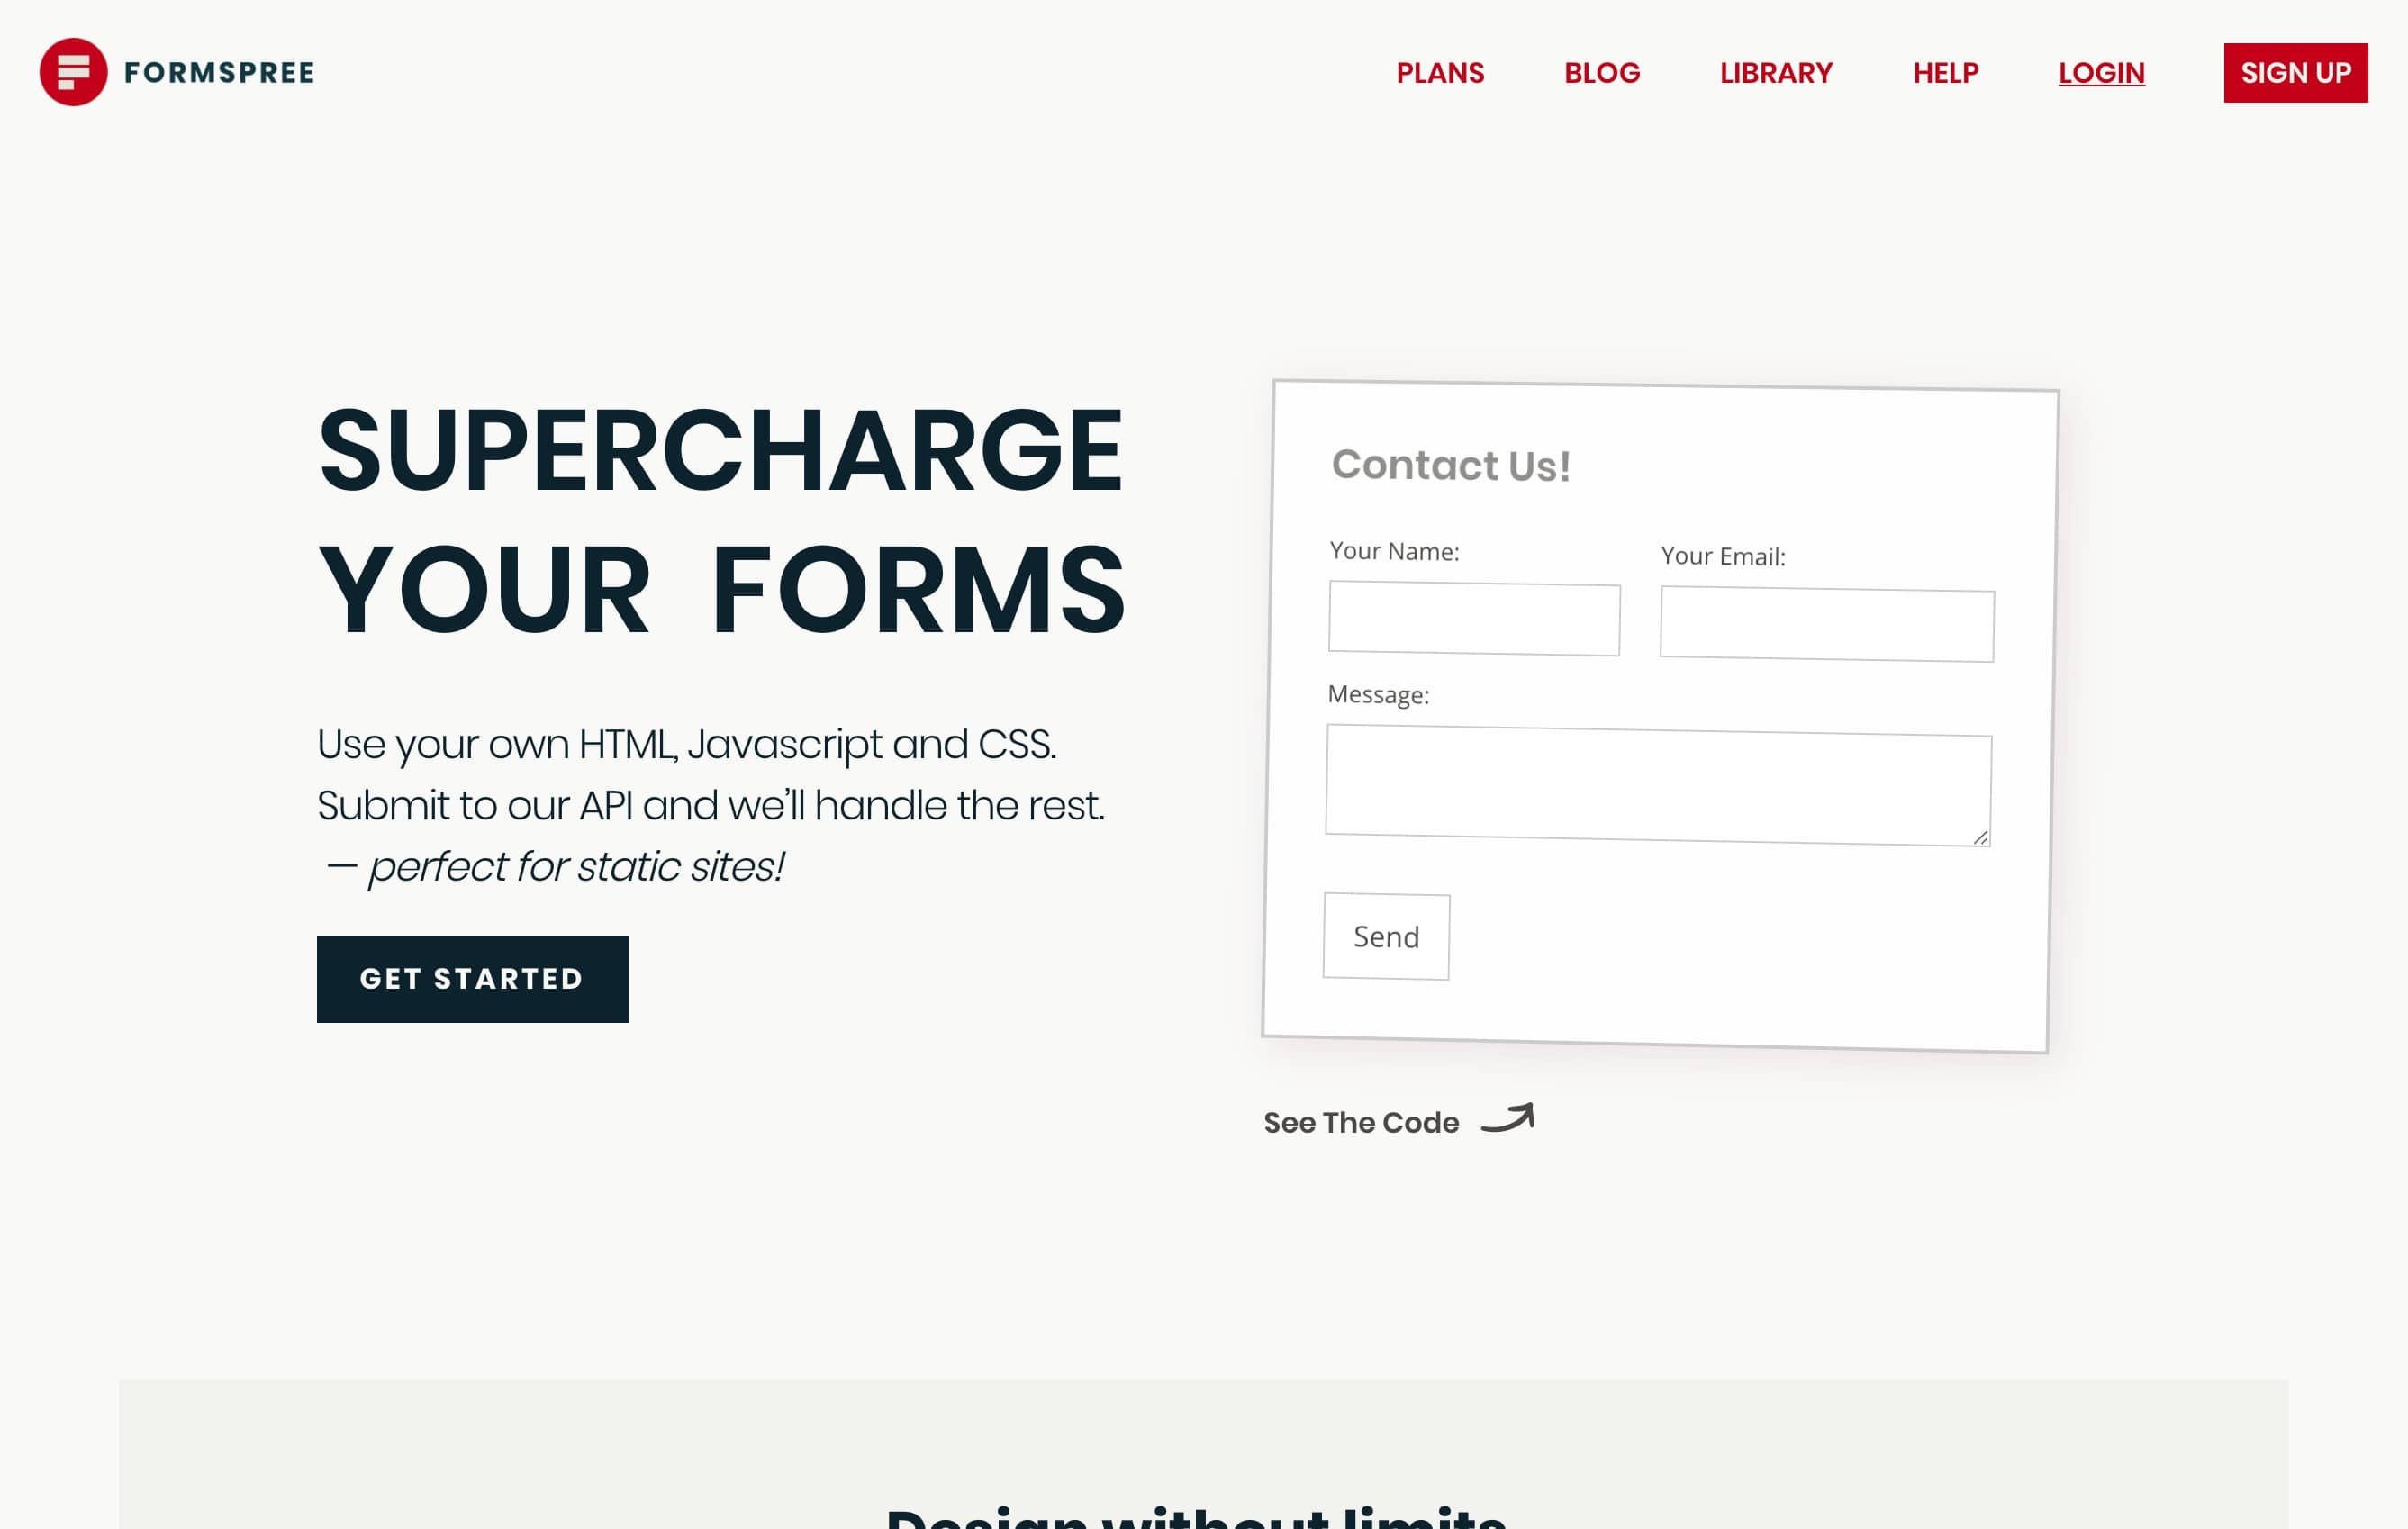
FormSpree
FormSpree is one of the most popular contact form services among Ghost users and Ghost theme developers. It’s simple and straightforward which is summarized accurately by their tagline “Use your own HTML, Javascript and CSS. Submit to our API and we’ll handle the rest.”.
Why Ghost users love it:
You have full control over the coding and styling of your form and over 10 useful integrations such as Stripe, Trello, Google Sheets and more. They even feature a handy template library where you can view commonly used forms and copy the HTML code in one click.
FormSpree offers a Free plan that allows for up to 50 submissions per month, which is often enough for small website. Paid plans are also available with more generous limits and features such as custom rules that allow you to control the delivery of your form submissions.
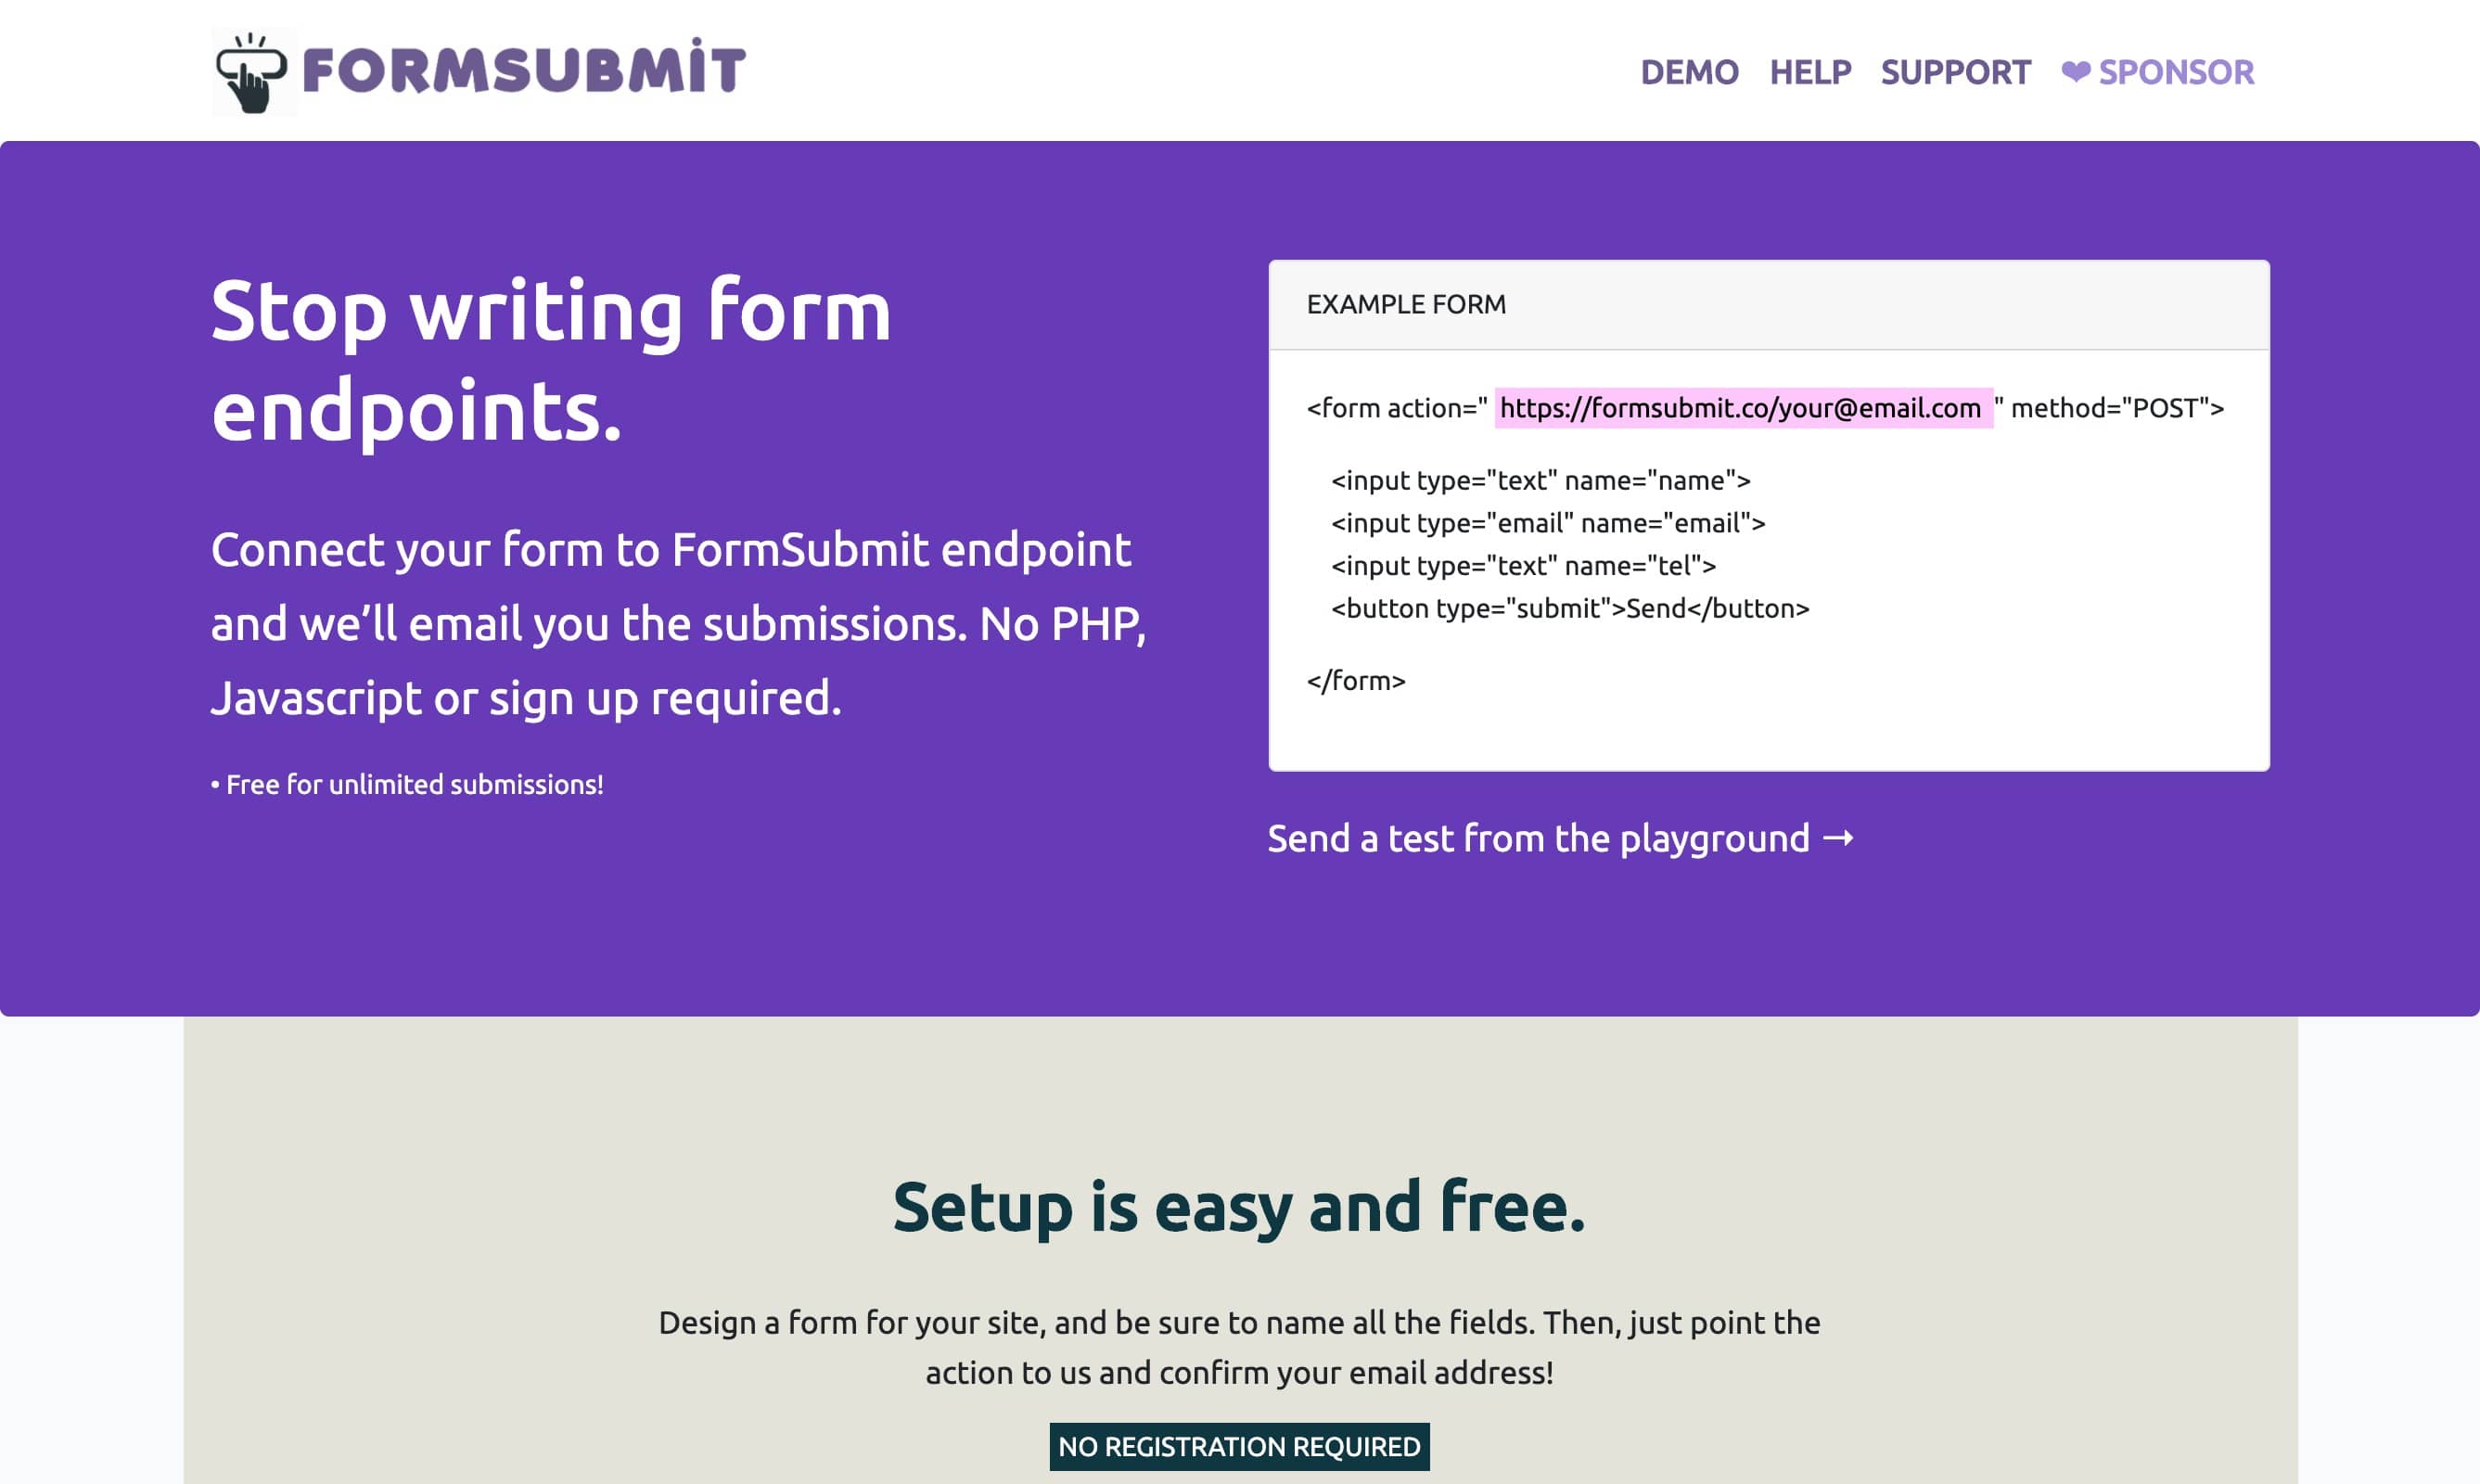
FormSubmit
FormSubmit may take the crown for simplicity and ease of use. No registration is required and unlimited submissions from unlimited forms are supported for free.
Why Ghost users love it:
With simple options and no need to create an account, FormSubmit is a great option for those looking for the basics. However, there are still a few more advanced and useful features such as file uploading and ajax support that make is a great all around option.
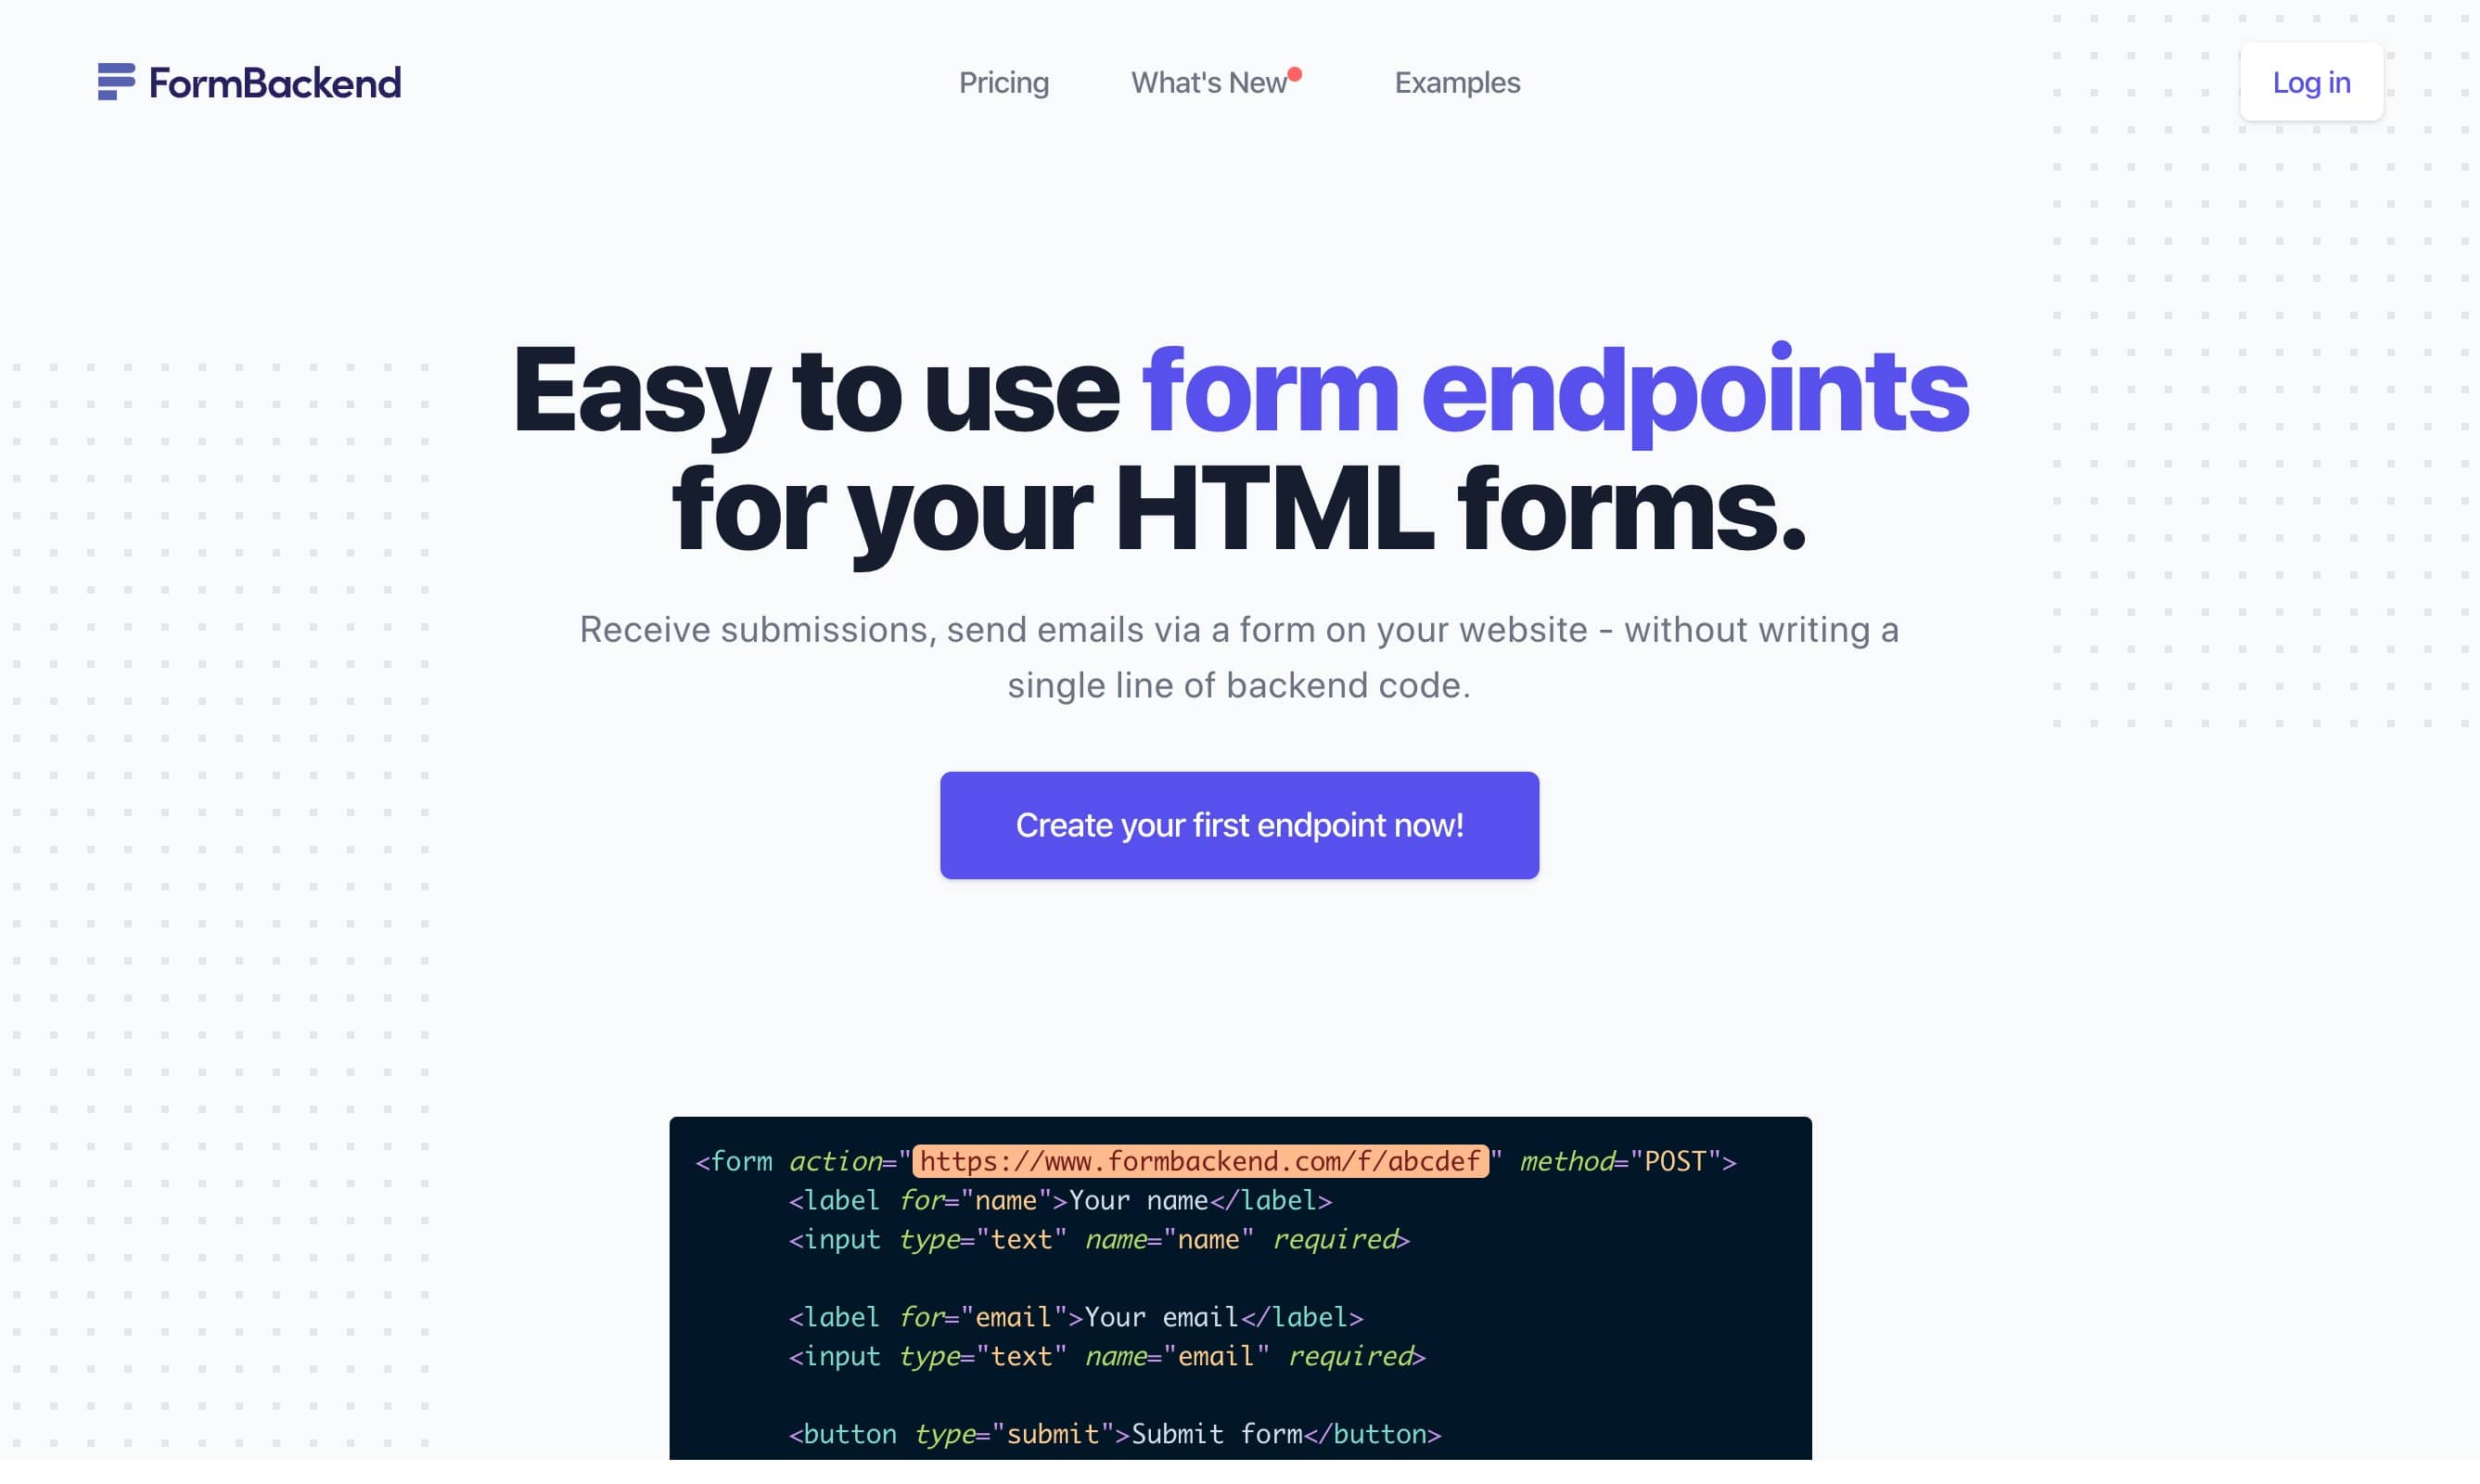
FormBackend
FormBackend is one of the more full featured contact form options. While their tagline is “send emails via a form on your website - without writing a single line of backend code.”, they offer much more than it appears at first glance.
Why Ghost users love it:
For users looking to have features such as multi-user support, email customization, and a full API, FormBackend offers all of this and more at a very reasonable cost. You can also route form submissions directly to Slack, ZenDesk and other apps.
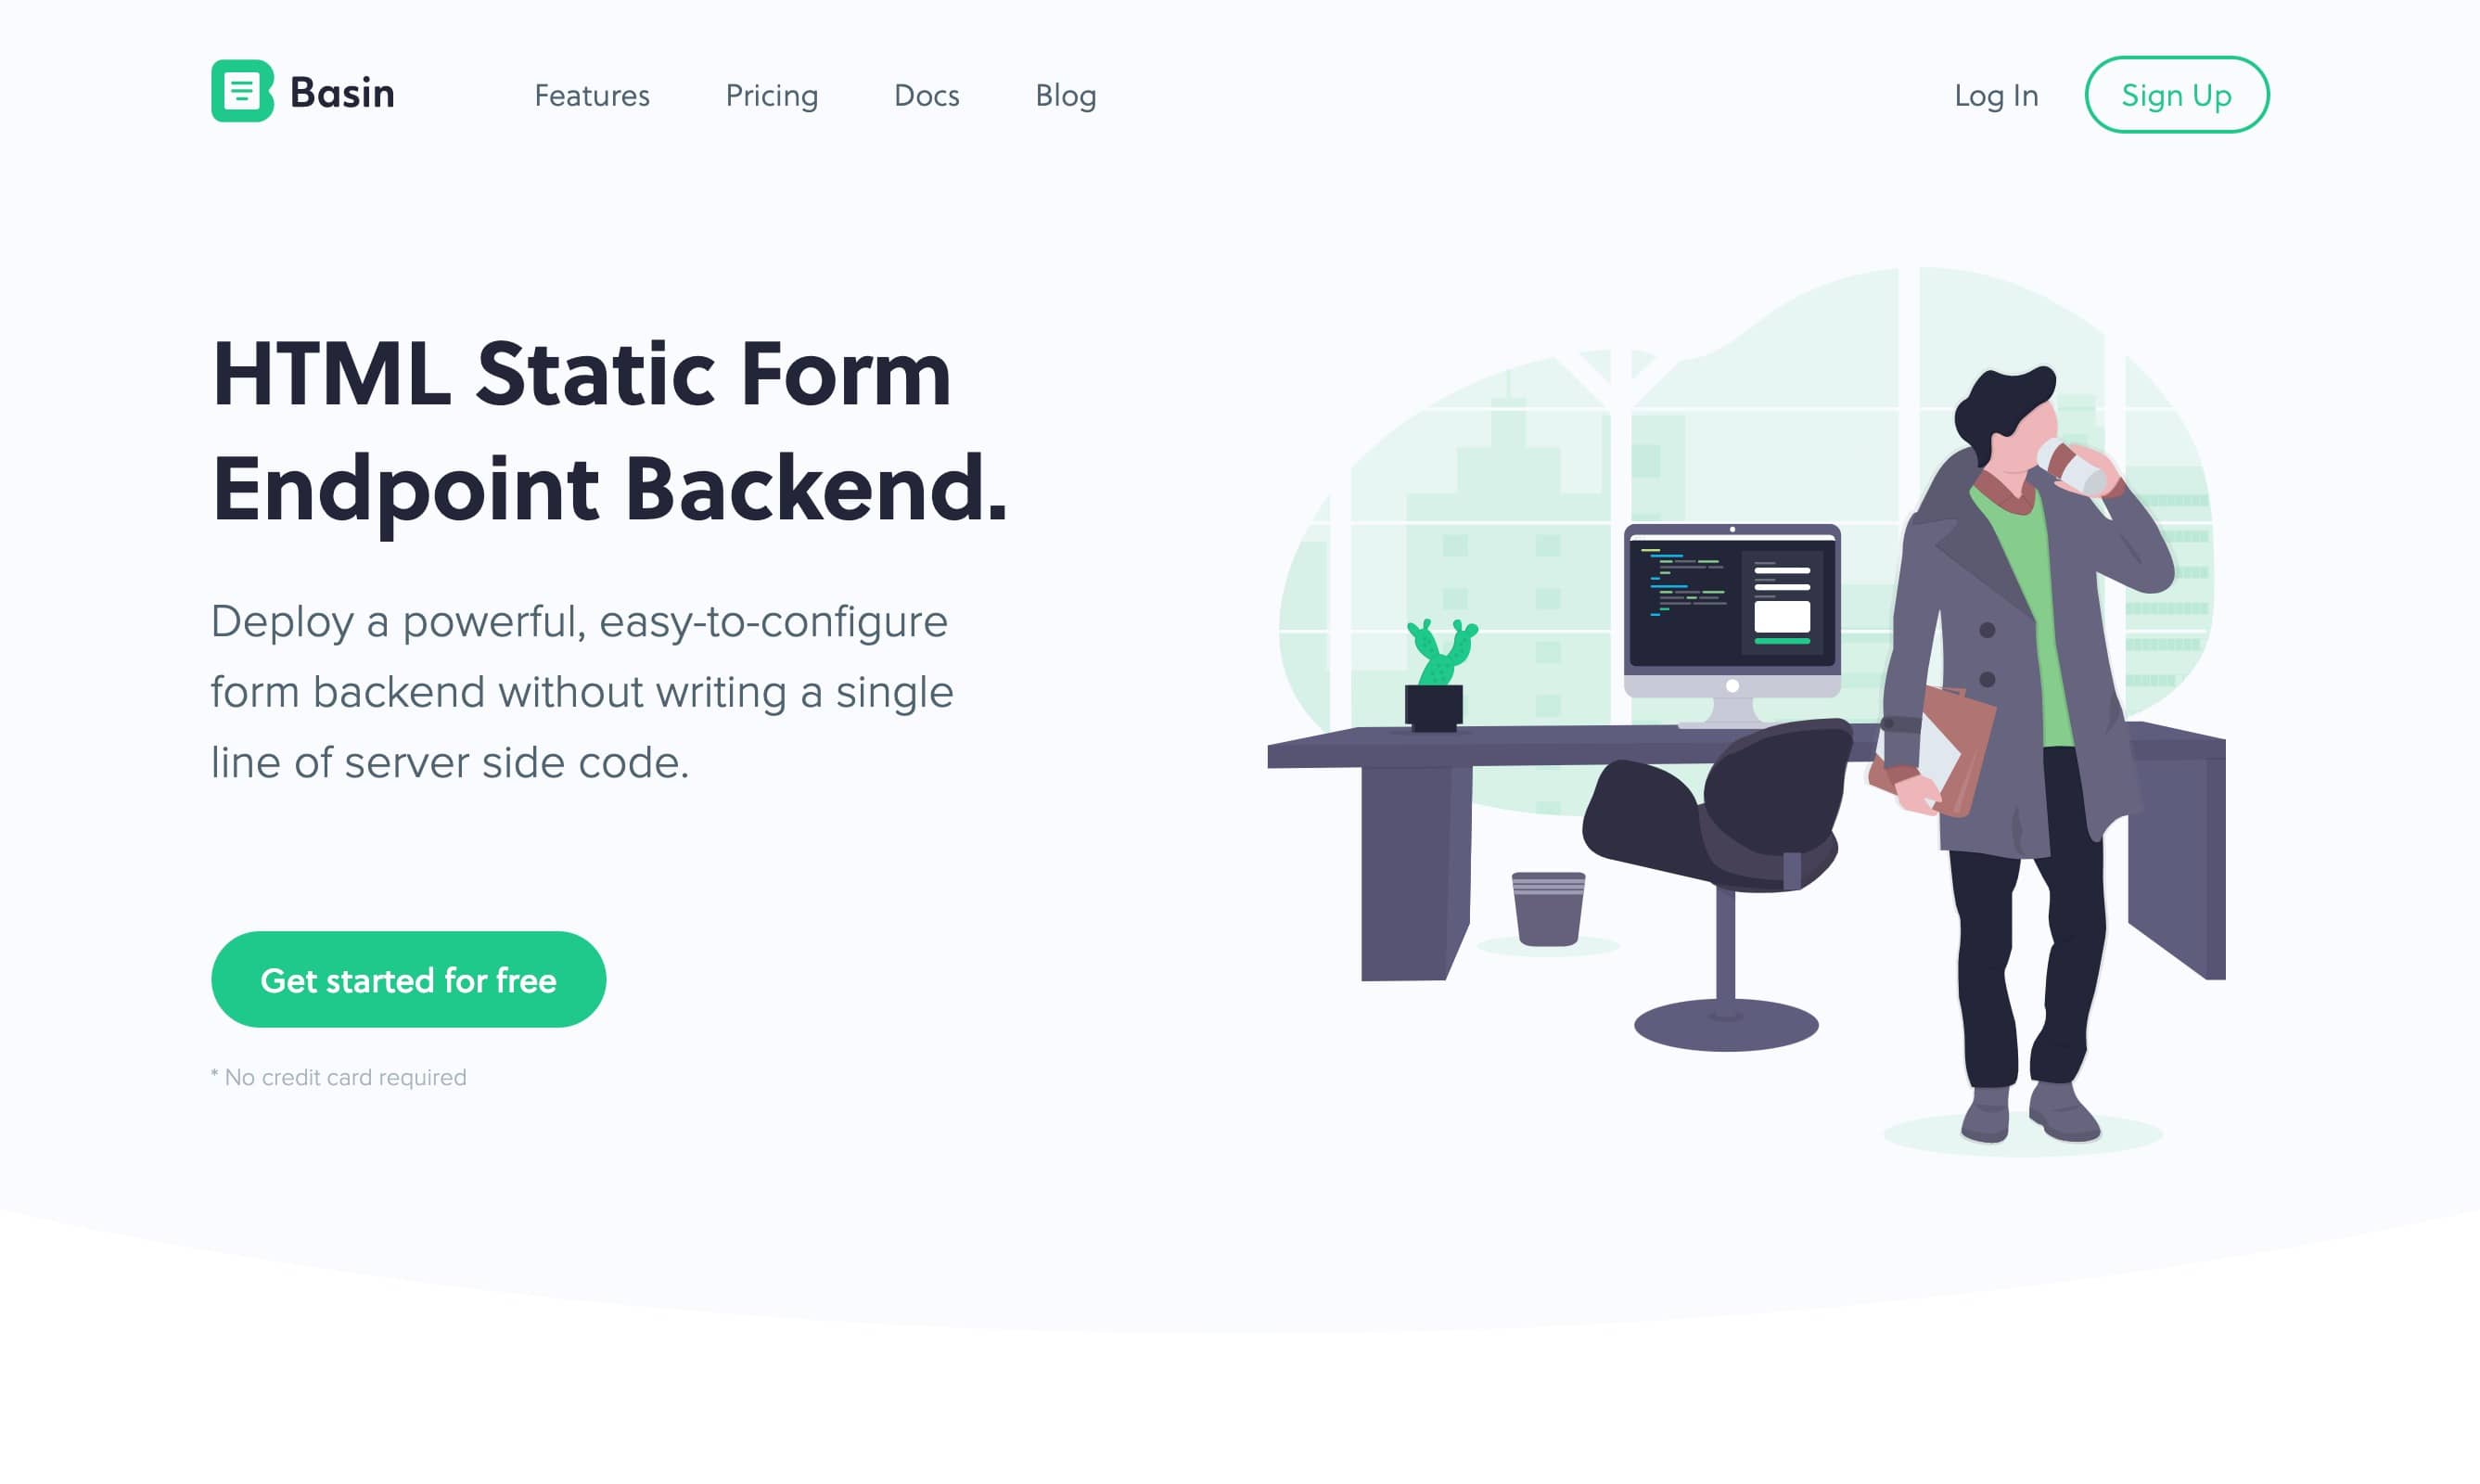
Basin
Basin is a contact form service that feels more like a business than just a tool. In addition to being able to receive your form submissions via email, Basin offers a secure, intuitive dashboard to filter and search through submissions. You’ll also find the essentials such as easy form setup, spam protection and field validation.
Why Ghost users love it:
With fully customizable email templates, integrations, and strict privacy controls, Basin is the top choice for serious users and businesses. However, they do offer a free plan with a generous limit of up to 100 submissions a month, also making it a great choice that can grow as your needs do.
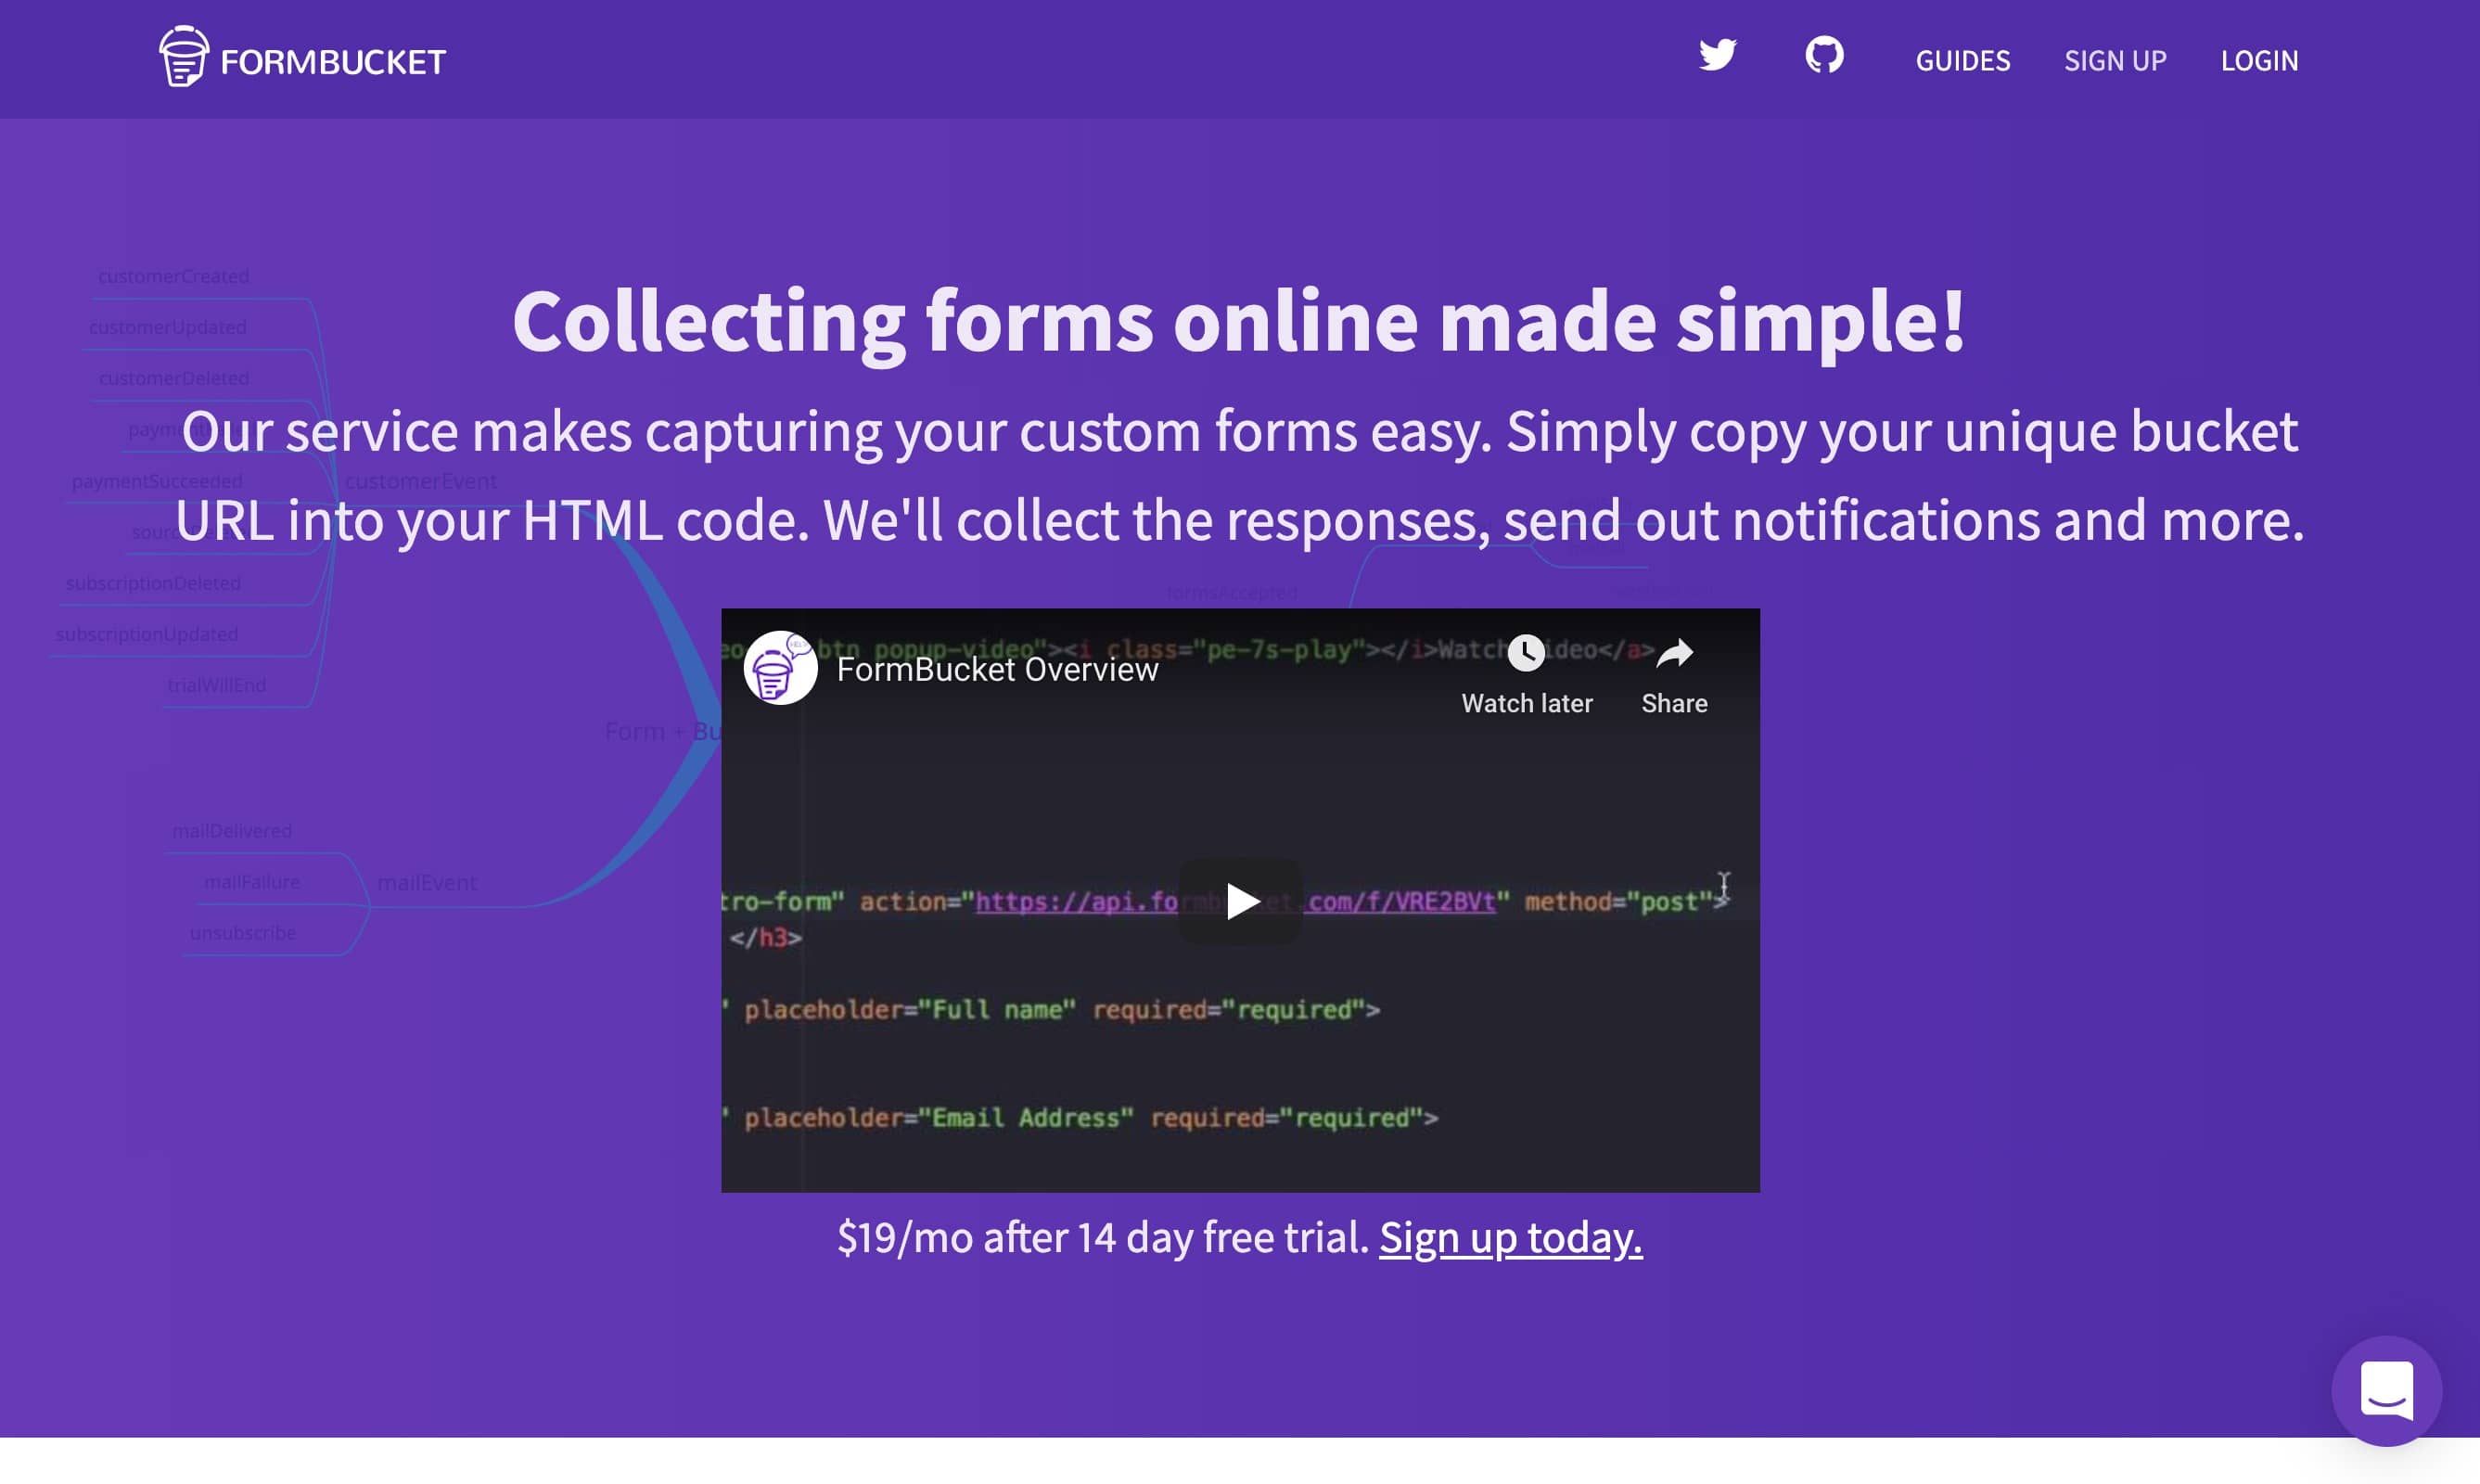
FormBucket
FormBucket has a comprehensive set features ranging from basic to advanced including all of the essentials features you could need in addition to a searchable database, autoresponders and more. There are no pricing plans with FormBucket, once you subscribe to their service, all features and unlimited form submissions are included.
Why Ghost users love it:
With no form submission limitations and handy API and GraphQL features, FormBucket is a great option for power users at a compelling price.
Head-to-head Comparison
| FormSpree | FormSubmit | FormBackend | Basin | FormBucket | |
|---|---|---|---|---|---|
| User Dashboard | ✔️ | ➖ | ✔️ | ✔️ | ✔️ |
| Custom Rules | ✔️ | ➖ | ➖ | ✔️ | ✔️ |
| File Uploads | ✔️ | ✔️ | ✔️ | ✔️ | ✔️ |
| Advanced Rest API | ✔️ | ➖ | ✔️ | ✔️ | ✔️ |
| Autoresponders | ✔️ | ✔️ | ✔️ | ✔️ | ✔️ |
| Multi-user and Collaboration | ➖ | ➖ | ✔️ | ✔️ | ➖ |
| Zapier & Webhooks | ✔️ | ➖ | ✔️ | ✔️ | ✔️ |
| Free Plan? | ✔️ | ✔️ | ✔️ | ✔️ | ➖ |
Bonus: Setting Up Your Form
The common theme among all of these form submission providers are that they all support your own custom HTML and CSS for creating and styling your form. As a Ghost user or Ghost theme developer, you can get the ball rolling even before you’ve decided on a service to handle your submissions. Let’s setup a basic contact form in Ghost that you can use with the service of your choice.
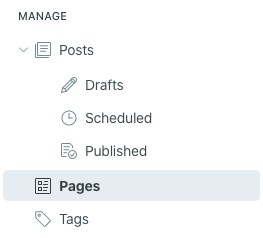
Start by navigating to your Ghost admin panel and click Pages from the left side navigation:
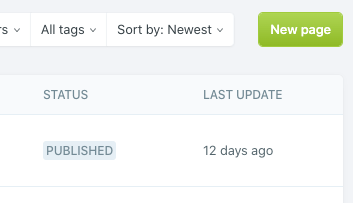
Next, select New Page from the top right:
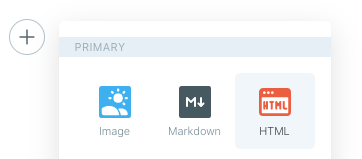
Enter a Page Title (e.g Contact) and in content area add a new HTML element:
Copy & paste the following HTML code snippet for a basic contact form:
<form action="[FORM URL]" method="POST">
  <input type="text" name="name" placeholder="Name">
  <input type="email" name="_replyto" placeholder="Email">
  <textarea name="message" placeholder="Message"></textarea>
  <input type="submit" value="Submit">
</form>
Replace [FORM URL] with the URL provided by the service of your choice.
For styling the form, use the gear icon on the top right to access the in the Page settings. Scroll down to Code Injection and in the Page header field, copy and paste the following CSS code snippet:
<style>
.contact-form input[type="text"],
.contact-form input[type="email"],
.contact-form input[type="submit"],
.contact-form textarea {
  border: 1px solid #e6e6e6;
  border-radius: 3px;
  font-size: 14px;
  margin-bottom: 20px;
  outline: 0;
  padding: 15px;
  width: 100%;
}
.contact-form textarea {
  min-height: 175px;
}
.contact-form input[type="submit"] {
  cursor: pointer;
  font-weight: bold;
  display: inline-block;
  padding: 15px 25px;
  width: auto;
}
</style>
Save your page and your set!
Some Ghost theme developers may include built-in styles for forms which can allow you to skip this last step. All of the themes offered by LayeredCraft are compatible with all of the forms mentioned in this article!
Keep in mind the example above is for a very basic form with minimal styling. We’ll be writing more articles that take a deeper dive into advanced form building and customizations in the future, so be sure to subscribe to our newsletter for all the updates!
How have you setup a contact form for your Ghost blog? Did we miss a service that you’d like to see? Tweet us @layeredcraft!

Eric Alli @ericalli
Eric is the founder of LayeredCraft. He has worked as a designer and engineer for 15+ years and loves creating innovative and effective themes for all industries.