
Changing the name of your website can be a complicated and stressful task, I recently went through this myself when changing this website’s name. But fear not, in this guide I’ll explore the 8 steps I’ve discovered to ease the transition.
But before we dive in, let’s consider a few reasons why someone would want a to change their domain name in the first place:
Why Change Your Domain Name
A better domain name becomes available
One of the main reasons to change a domain name is if a better one becomes available. For example, if you don’t have the top-level .com domain that exactly matches the name of your product, company or app this could be a good time to make a change.
Your current domain name doesn’t reflect your brand
Another reason to make a change is that you pivoted your offerings/services and your domain name is no not as relevant or helpful in distinguishing your product and business in the marketplace.
You want to rebrand your company or app
In some cases, you just may want to change your site’s entire name and branding in which changing your domain to match is a necessary step to complete the transition.
If you do decide to change your domain name, you can keep your search engine rankings with these domain change best-practices:
Steps for Changing Your Domain Name
Once you’ve decided to change your domain name, here are my 8 essential steps for easing the transition and sparing your hard-earned SEO:
Step 1: Prepare your new domain
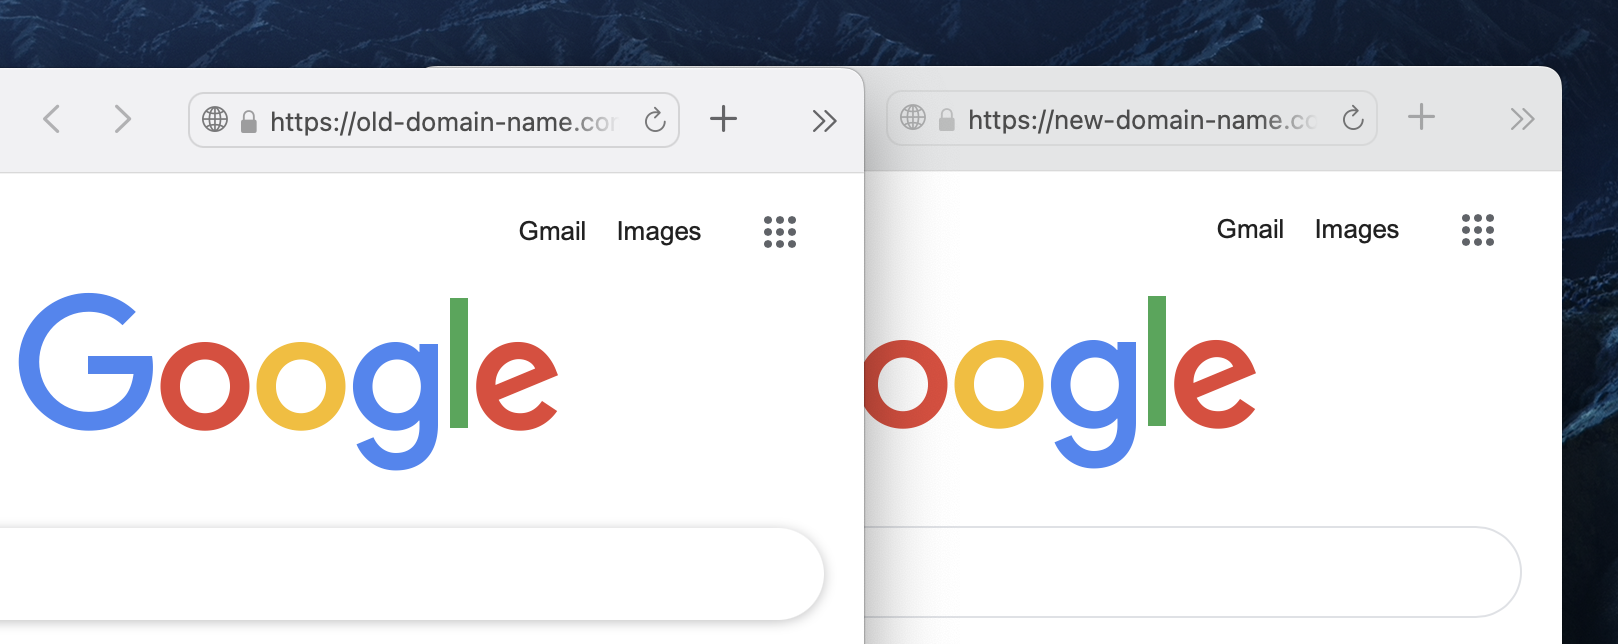
The first step in transitioning to a new domain name is to prepare and deploy your website on your new domain name. If possible, maintain the same URL structure used on your old domain name as this will help streamline the redirection process.
Step 2: Update robots.txt and sitemap.xml
Another crucial step when changing domains is to ensure your robots.txt and sitemap.xml files are updated with your new domain name. This helps search engines crawl all your pages and index your site properly.
For updating your robots.txt file, check out this guide.
For updating your sitemaps.xml file, check out this guide.
Step 3: Implement redirects from the old domain to the new one
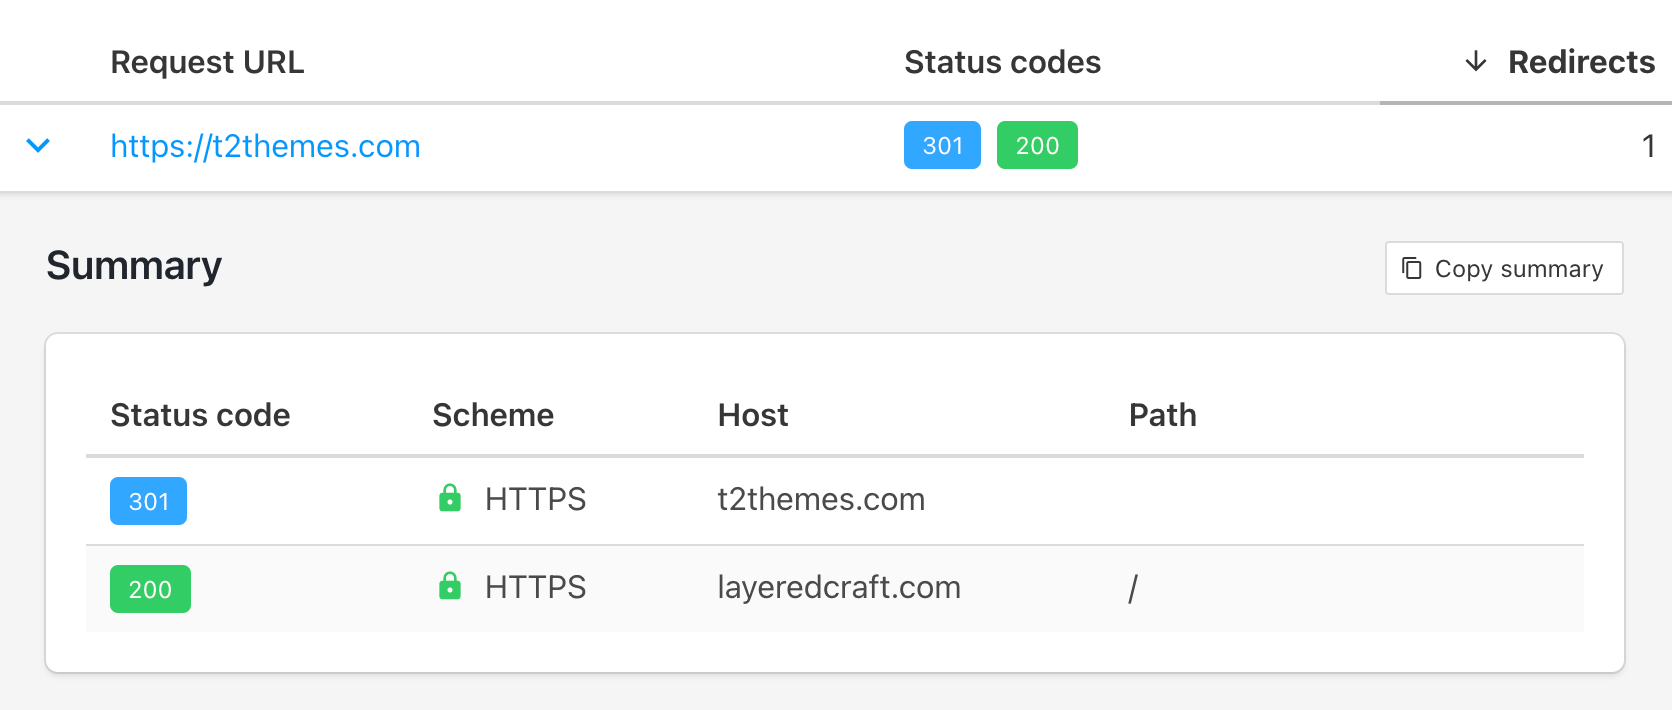
Implementing proper permanent (301) redirects from your old website URLs to new domain name is an essential step. Redirects help Google and other search engines to understand that your website content has moved to a different domain and to update its index accordingly.
Ideally, if you’ve kept the same URL structure you can use a “wild card” redirect which makes each page/post/file point to its new location on your new domain name. Here’s a helpful guide in doing so:
After your redirects are setup you can use a tool such as httpstatus.io and test that everything is redirecting as expected:
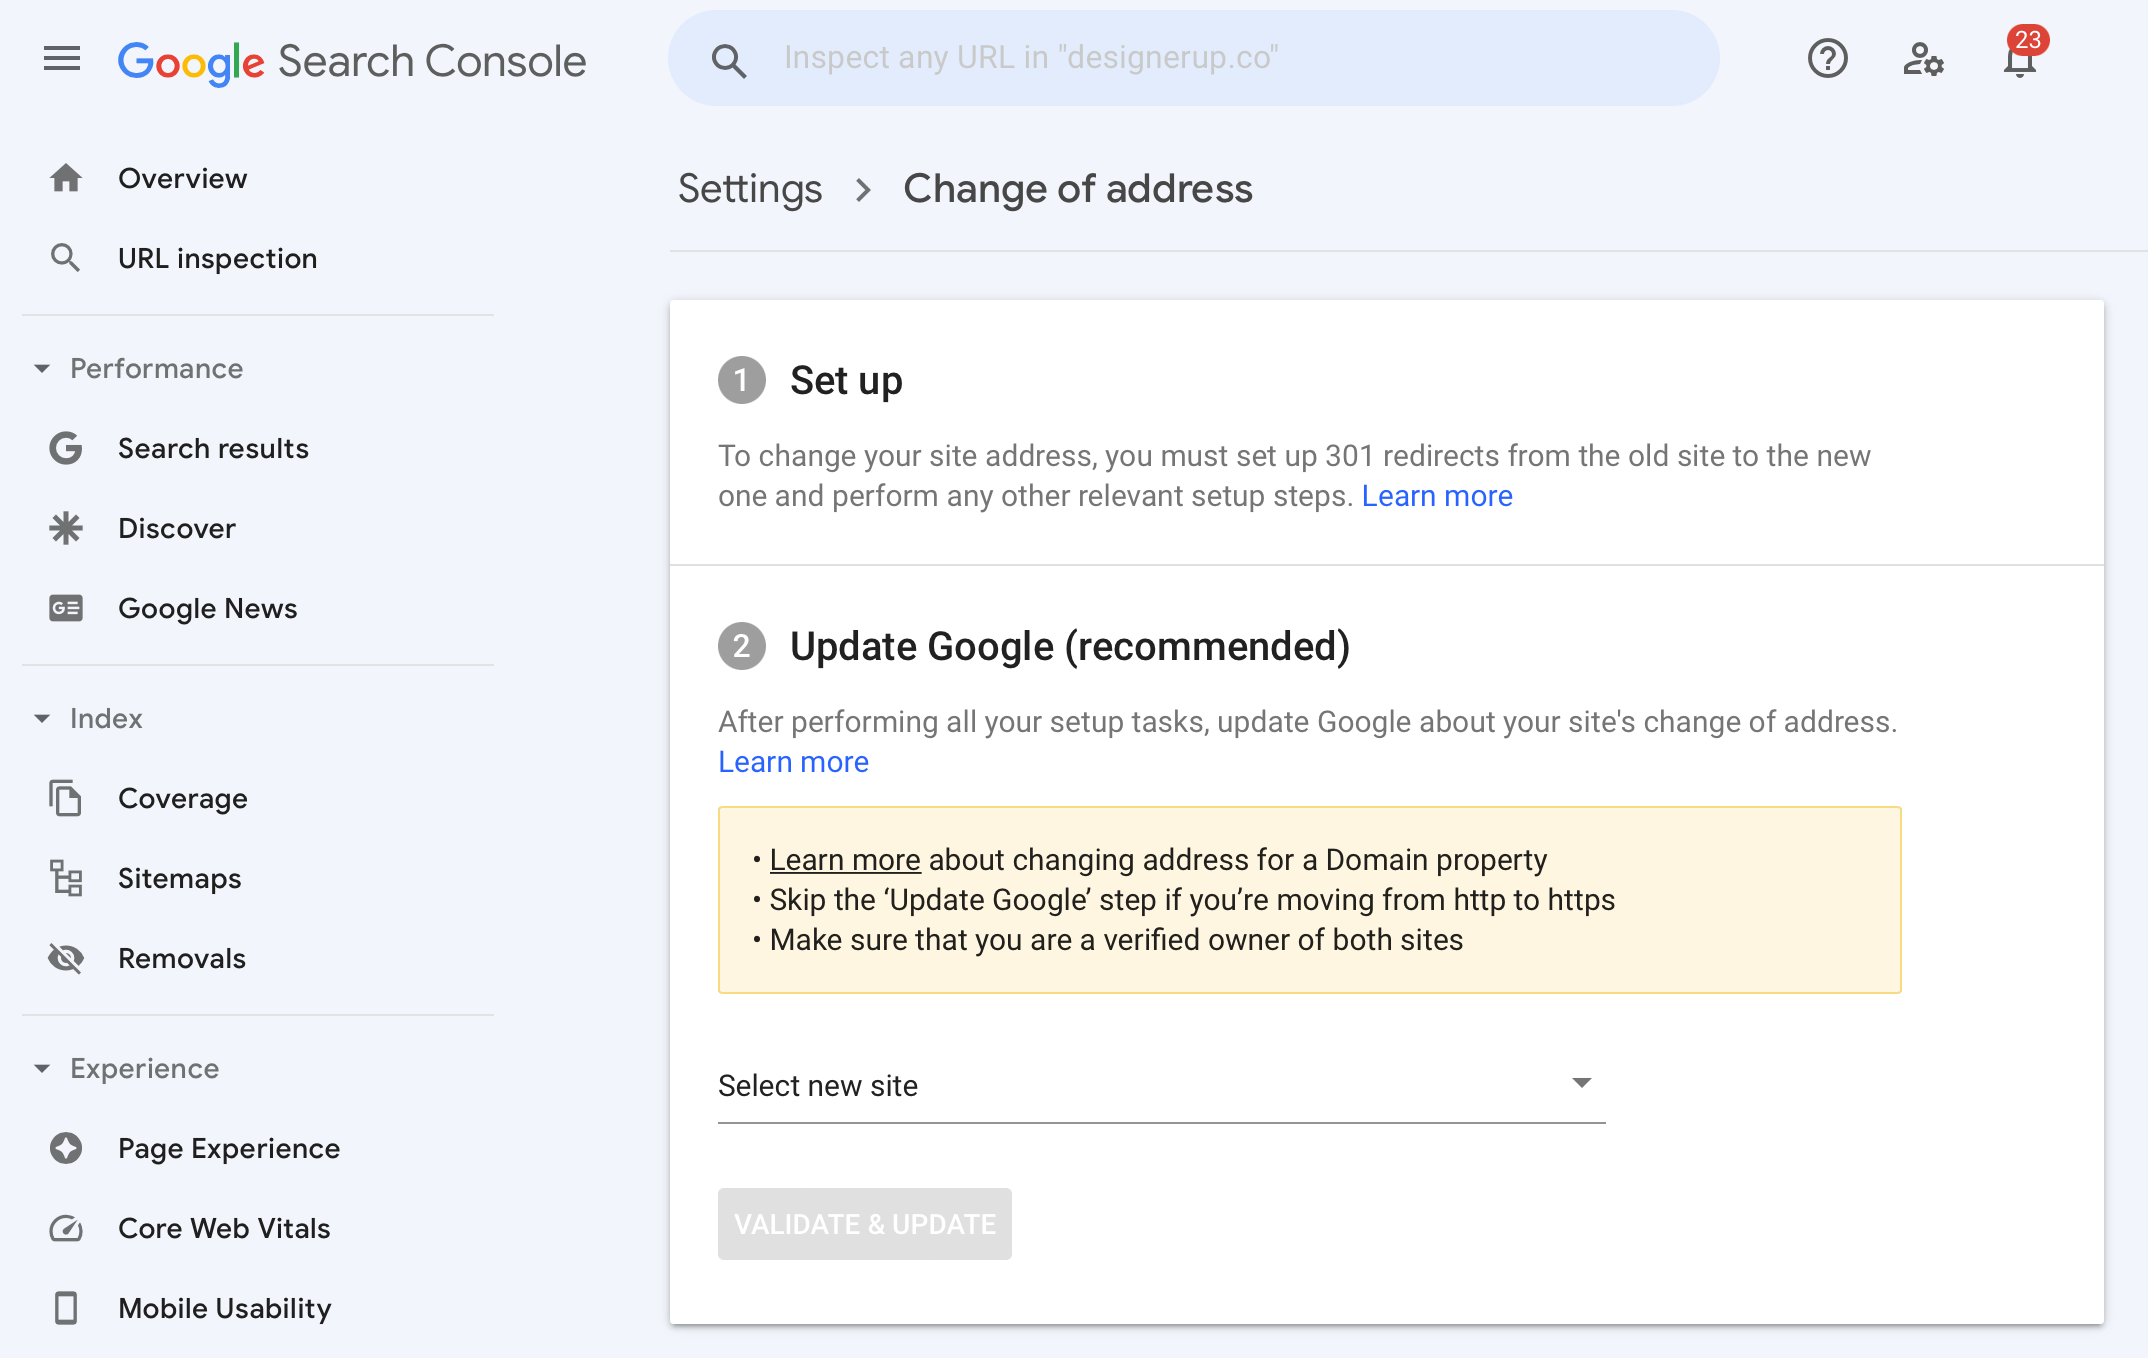
Step 4: Tell Google about the domain change using GSC
Use Google Search Console (GSC), a completely free SEO tool provided by Google to initiate a change of address. This helps Google know that you are updating your domain name:
👉 Google Search Console - Change of Address Tool
Step 5: Monitor your website analytics
With the domain change complete, it’s time to double-check that everything is working as expected.
Monitor your website analytics for any errors on your new domain name and to confirm redirects are working correctly. I use (and highly) recommend Fathom Analytics for their privacy-focused approach to analytics that don’t require you to show any consent warnings on your website.
Step 6: Update backlinks
Generate a backlink report using an SEO tool such as Ahrefs and contact any websites that link to your old domain name. Prioritize your backlink list by traffic volume and kindly contact the owners of other sites linking to your old domain and ask them to update the link to reflect your new domain name.
Step 7: Inform users about the change
Last and most importantly, be sure to be transparent and inform customers during the transition to your new domain name.

You can approach this in a few ways:
- Create a temporary announcement bar the the top of your website
- Post on your social media accounts announcing the change
- Write a blog post detailing why you decided to change your name and how it may impact your users
- Send an email to your newsletter subscribers
Step 8: Post-migration tasks to consider
- Consider migrating your email address(es) from name@olddomain.com to name@newdomain.com for consistency
- Update the name and URLs in all of your social media account profiles
- Update any advertising campaigns you have running to reflect your new name
- Keep your old domain up for a least 2-3 months – just for the 301 redirects
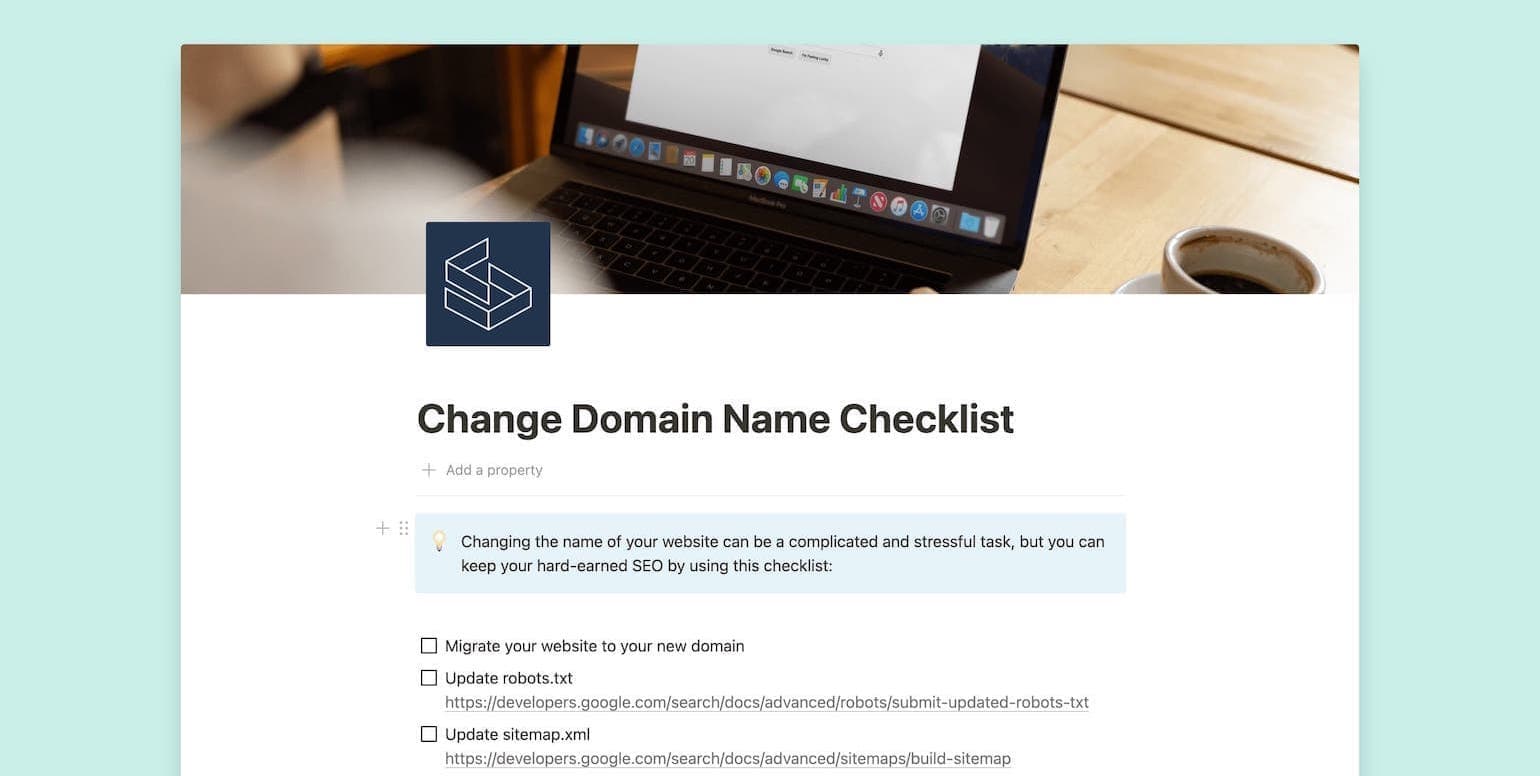
A month after changing domain names I’ve noticed almost zero loss in SEO traffic and sales. To make it even easier, I’ve created a free checklist you can use to ensure you’re doing things in the correct order without missing any steps.
Download the Free Checklist
Enter your email below and get an instant link to my free domain name change checklist in Notion.

Eric Alli @ericalli
Eric is the founder of LayeredCraft. He has worked as a designer and engineer for 15+ years and loves creating innovative and effective themes for all industries.