
In this guide, I’ll show you a fully automated way to generate eye-catching social media graphics and drive more traffic to your Ghost blog posts with absolutely no coding required.
We’ll be using a service called Placid, a creative automation toolkit to generate beautiful and contextual open graph images.
What is Open Graph?
Open Graph is a standardized way of defining metadata within a webpage to represent the content of a page. Open Graph tags are defined in the <head> section of a page with four basic tags that are required, these tags are: og:title, og:type, og:image, and og:url.
When sharing your website on social media platforms, open graph tags are parsed and used to generate previews such as Twitter cards, Facebook link previews and many others. Most social networks adhere to the basics of open graph standards, while a few of them also include their own extra tags to help customize the look and feel within their ecosystem.
You can view what some of the generated previews for open graph tags look for any website by using a tool such as opentags.io. For example, here’s what the open graph tags look like for layeredcraft.com:

Ghost and Open Graph
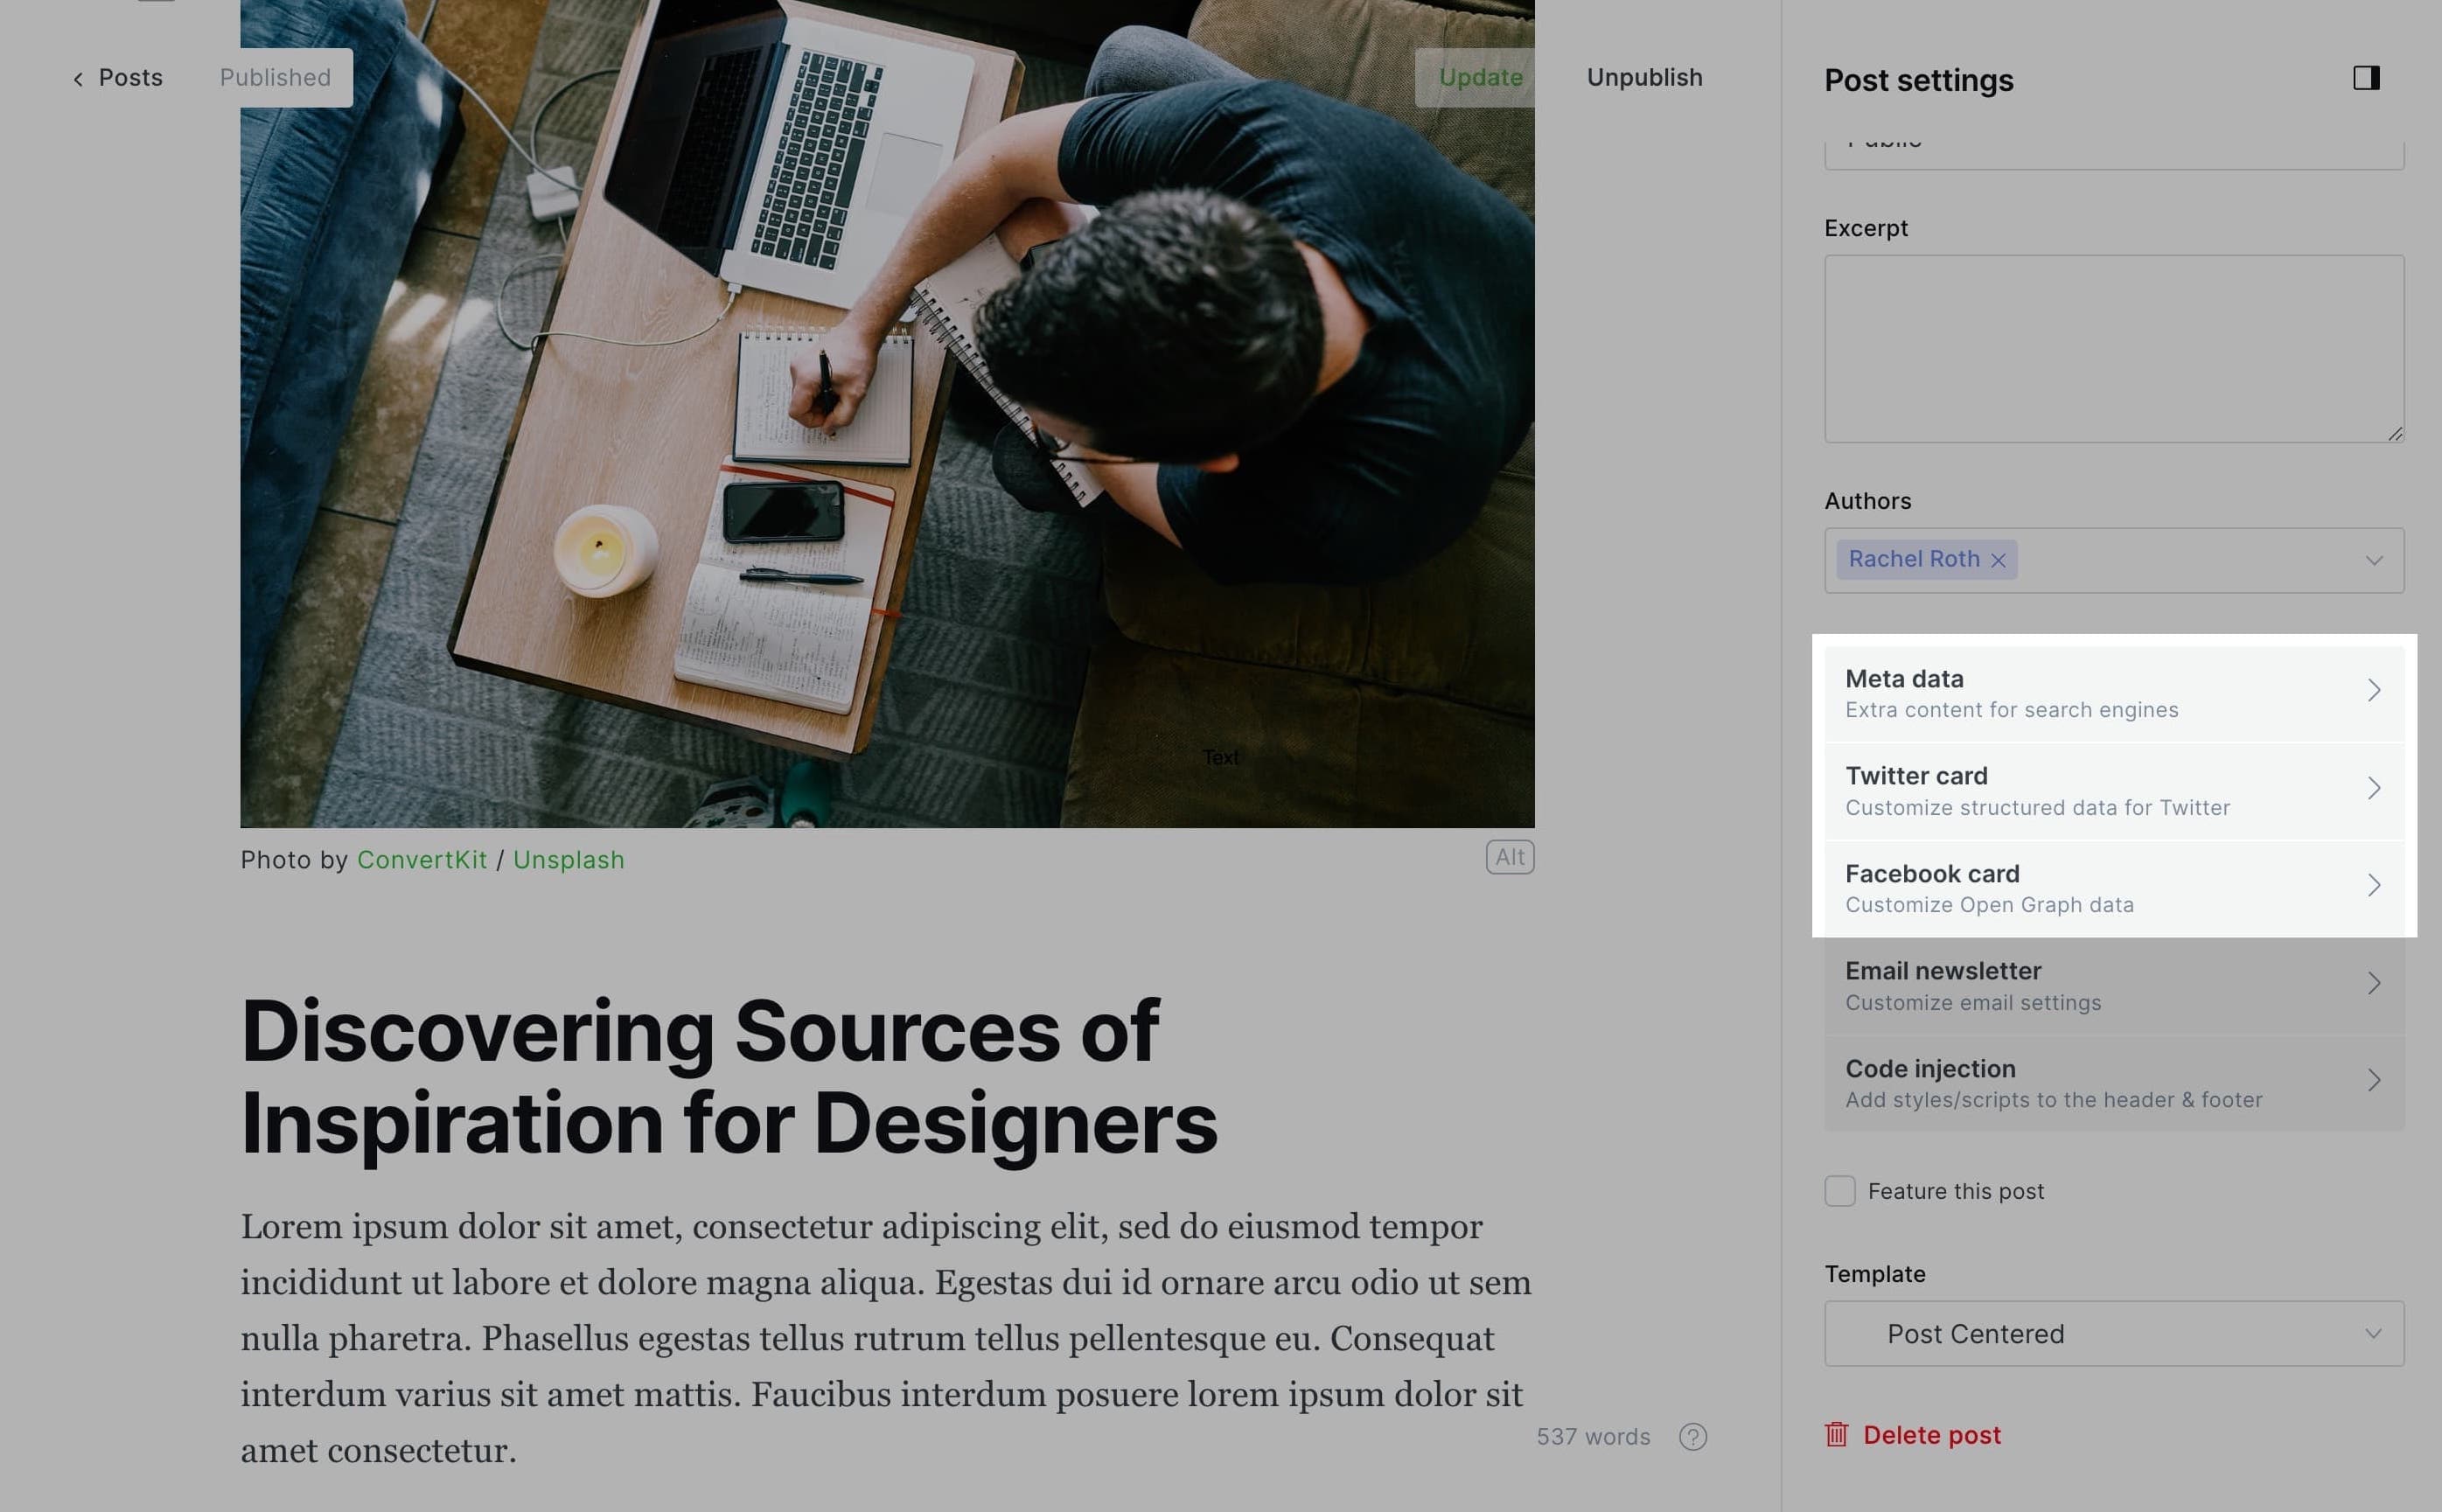
When using Ghost, open graph tags are automatically generated for each of your posts using the post’s title, featured image and URL. These tags can be overridden using the following options found in the sidebar when editing a post:
Using opentags.io, we can enter the URL to this post and look at an example of what sharing this post on social media looks like with the default-generated open graph tags:
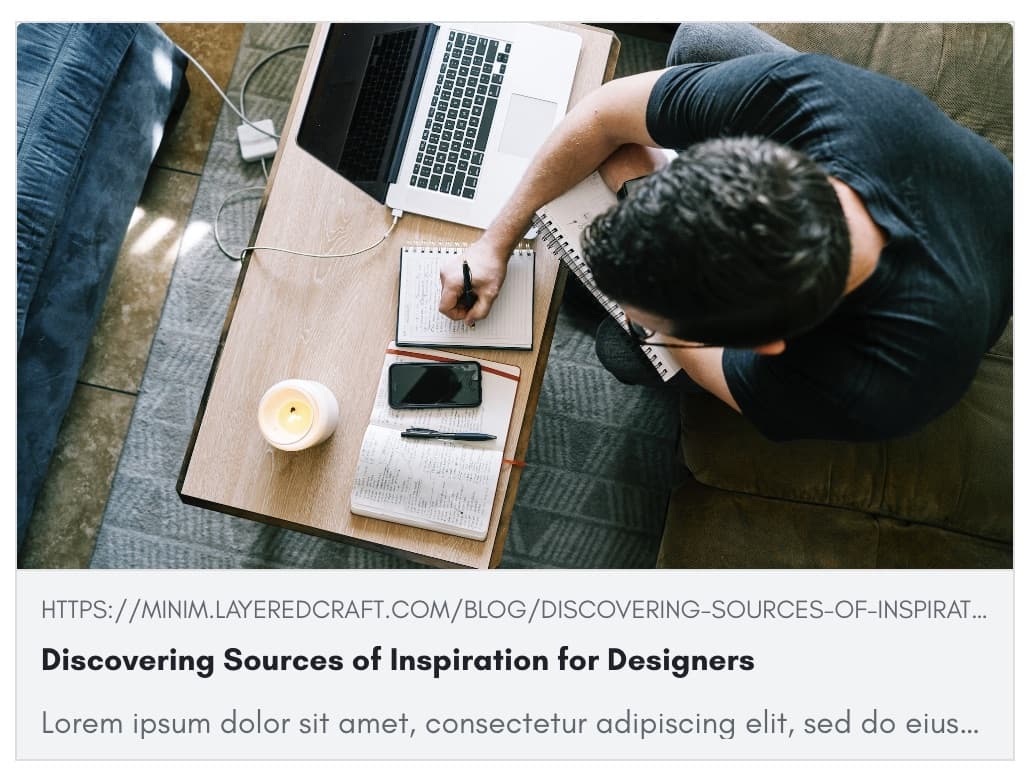
While this is a good start, It’s important to make your content distinguishable and typically featured images don’t provide much context about the post — in most cases, it’s just a plain image. Now here’s an example of that same post with a custom-generated open graph image using Placid:
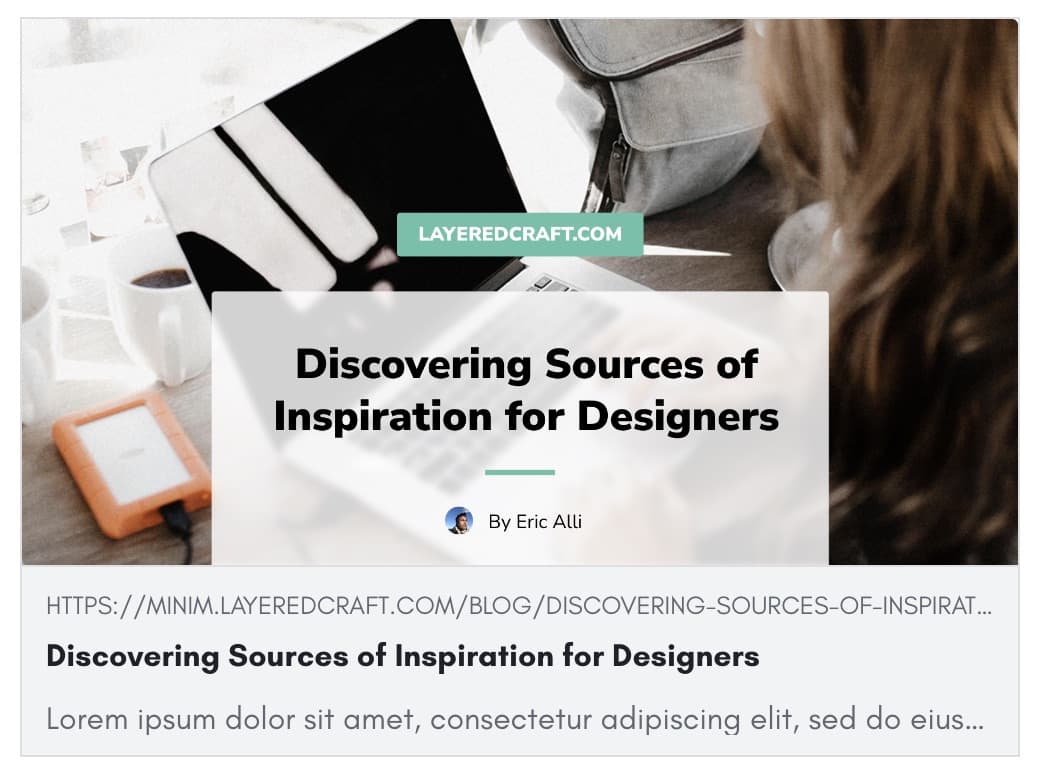
Much better! This custom generated image shows not only the featured blog post image, but also the URL, post title, author and reading time. Sure, you could manually design a custom image for each of your blog posts manually, but that can be a tedious and time consuming process that we can fully automate using Placid. Let’s learn how to do that next.
Step 1: Setting Up Placid
Let’s get started by heading over to placid.app and signing up for an account.
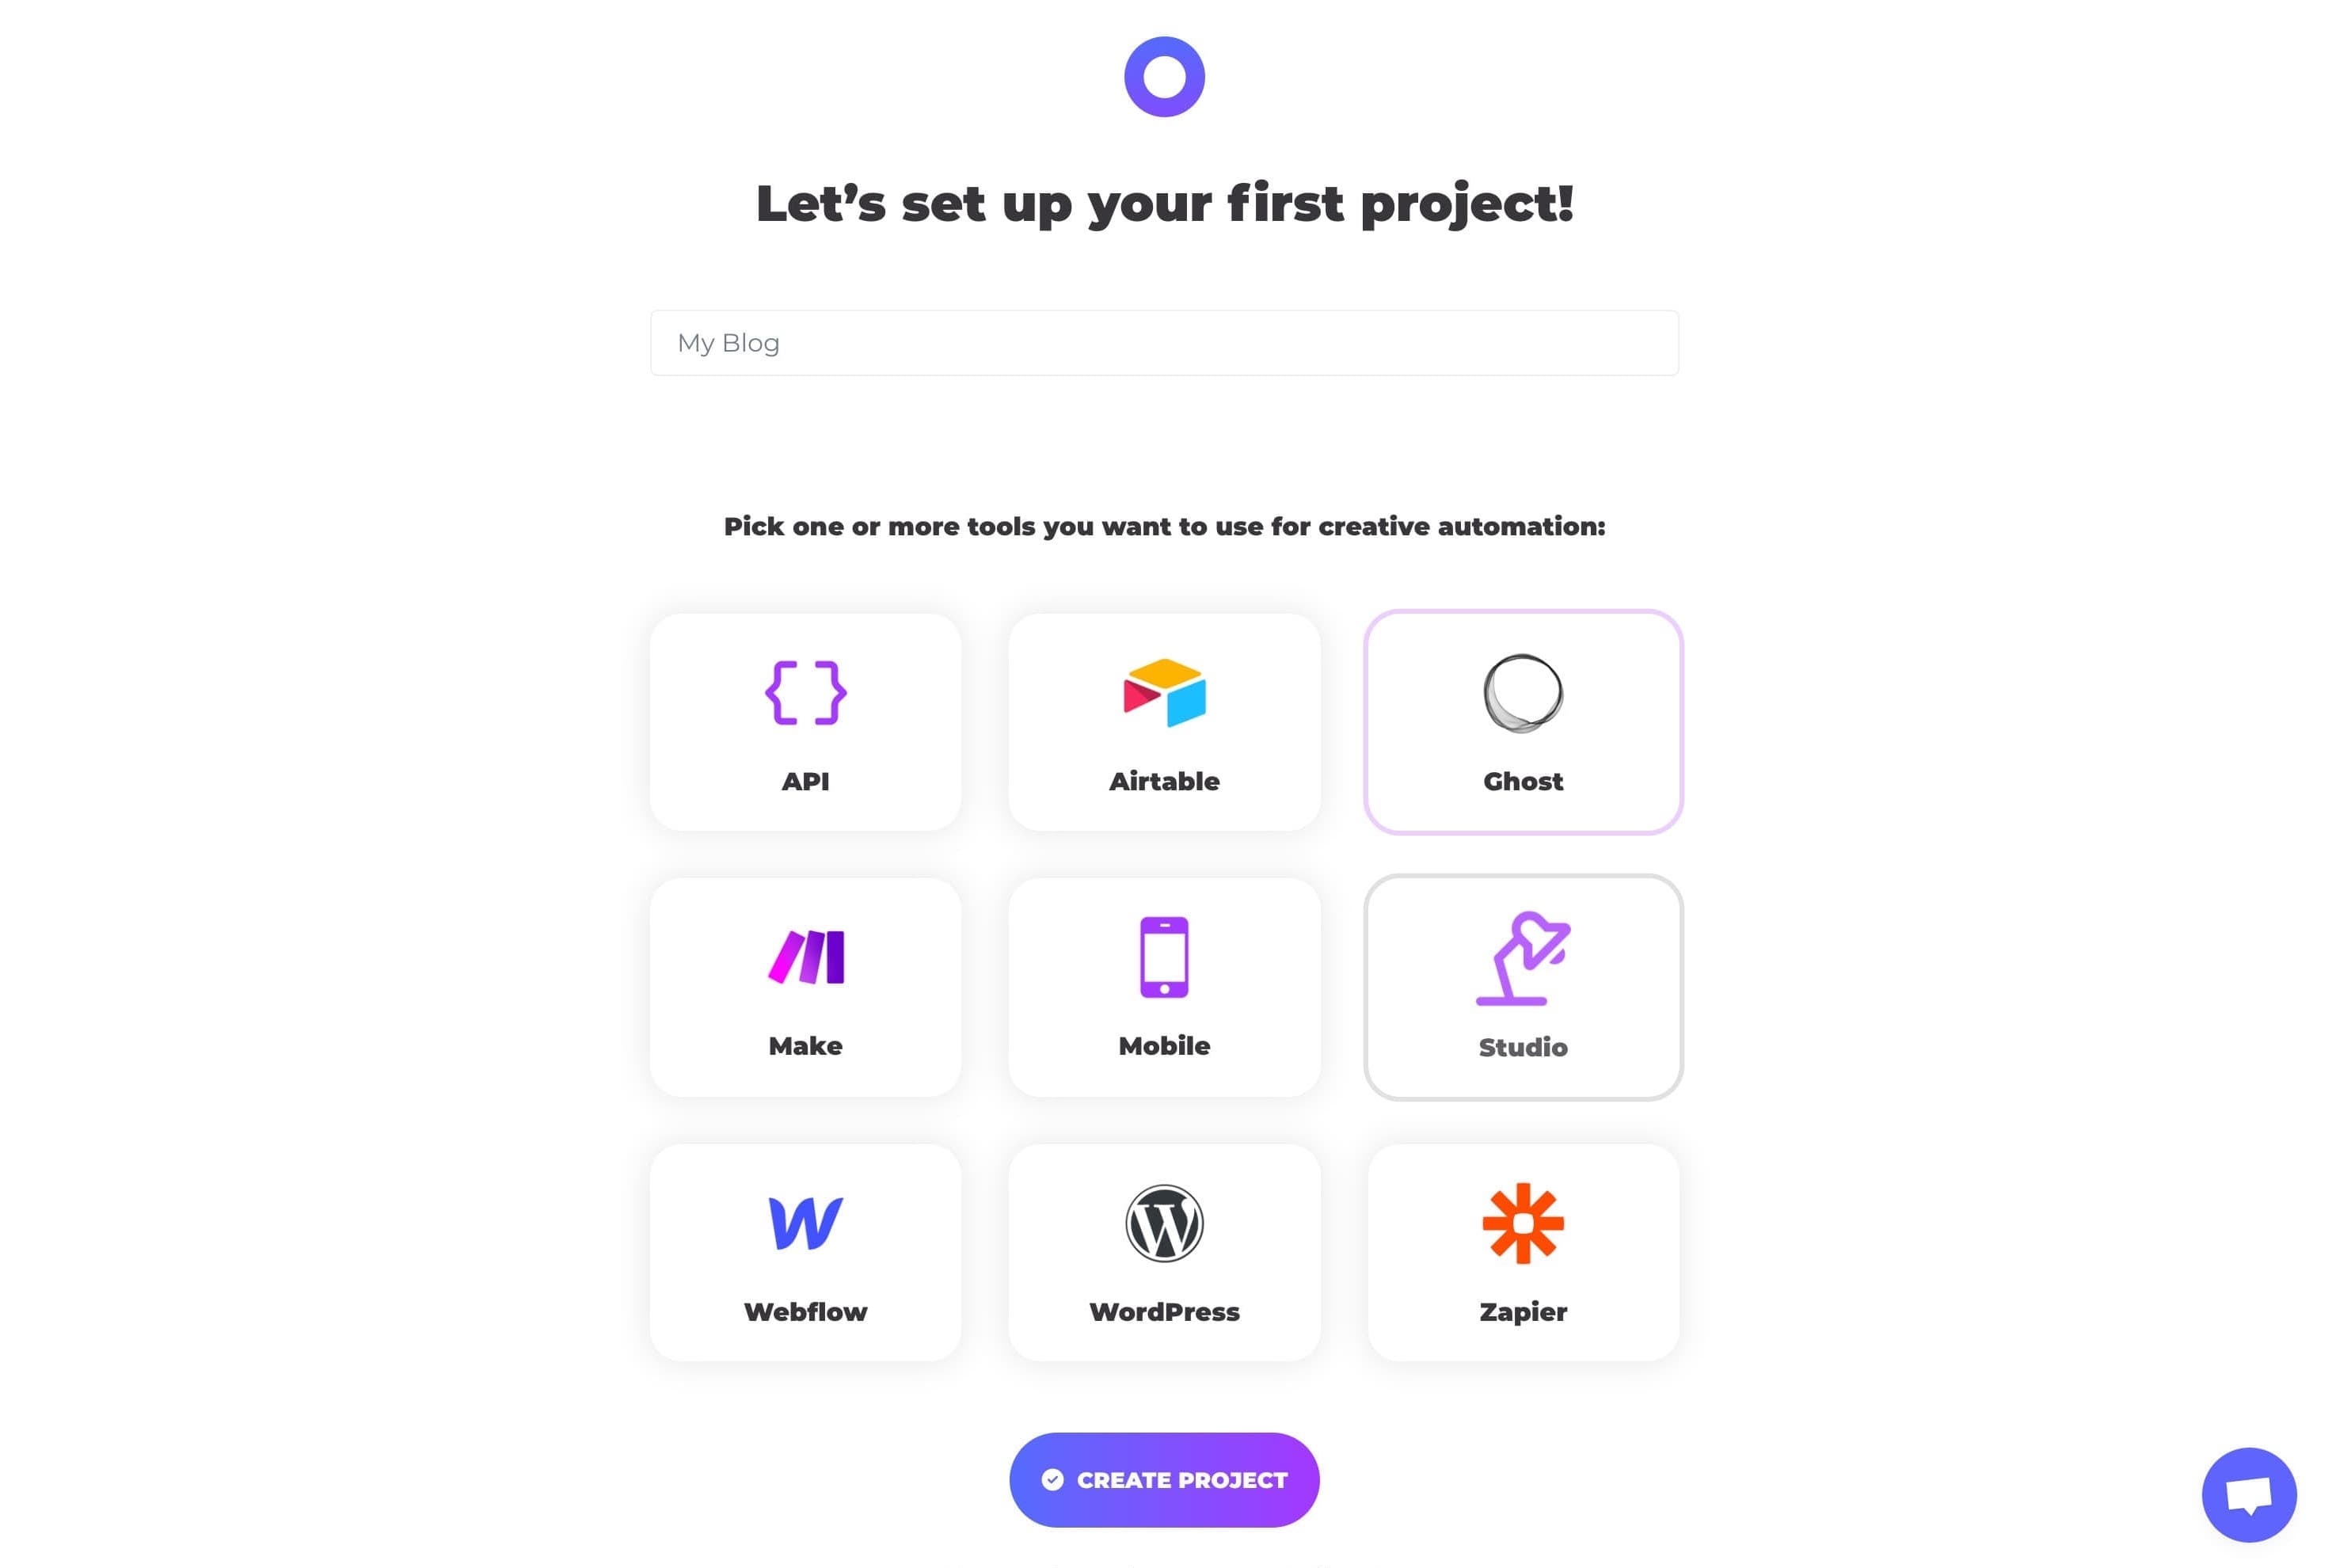
In the setup screen, enter the name of your Ghost website, select the Ghost option and then Create Project.
After that, you’ll be redirected to the Placid dashboard. Here is where you can design templates that auto-generated images will use, setup actions that will get triggered when you create a blog post in Ghost, manually generate images and view logs of past images generated.
Next, let’s setup our first template by clicking the + Create Template button.
Here we can select from a library of pre-made templates (which can be edited) or create a custom one from scratch. using their editor. Let’s select the Open Graph filter from the sidebar and pick a pre-made template then click the + Create button.

You’ll be redirected to the template editor where you can fully customize any template. If you’re familiar with any image editing or design software, the interface should feel quite familiar. But essentially click on any element in the design or select a layer from the Layers panel on the top right. All of the element’s properties will be displayed below the layers panel where you can fine-tune them.
Feel free to move elements around, resize text and change the font for starters. Here’s what mine looks like after a few edits:
Once you’re finished editing, click the Save button on the top right to save your design then the X to navigate back to the dashboard.
Step 2: Placid and Ghost Integration
Placid works by connecting to your Ghost blog so that each time you publish a post in Ghost, Placid will get notified about that post and use the template we just created to generate our open graph image. There will be a little back and forth between Placid and your Ghost blog, so i’d suggest having both your Ghost admin panel and Placid dashboard open in your browser.
Let’s start by navigating to the Project Settings page from your Placid dashboard and under the Integration Settings area select the Ghost tab.
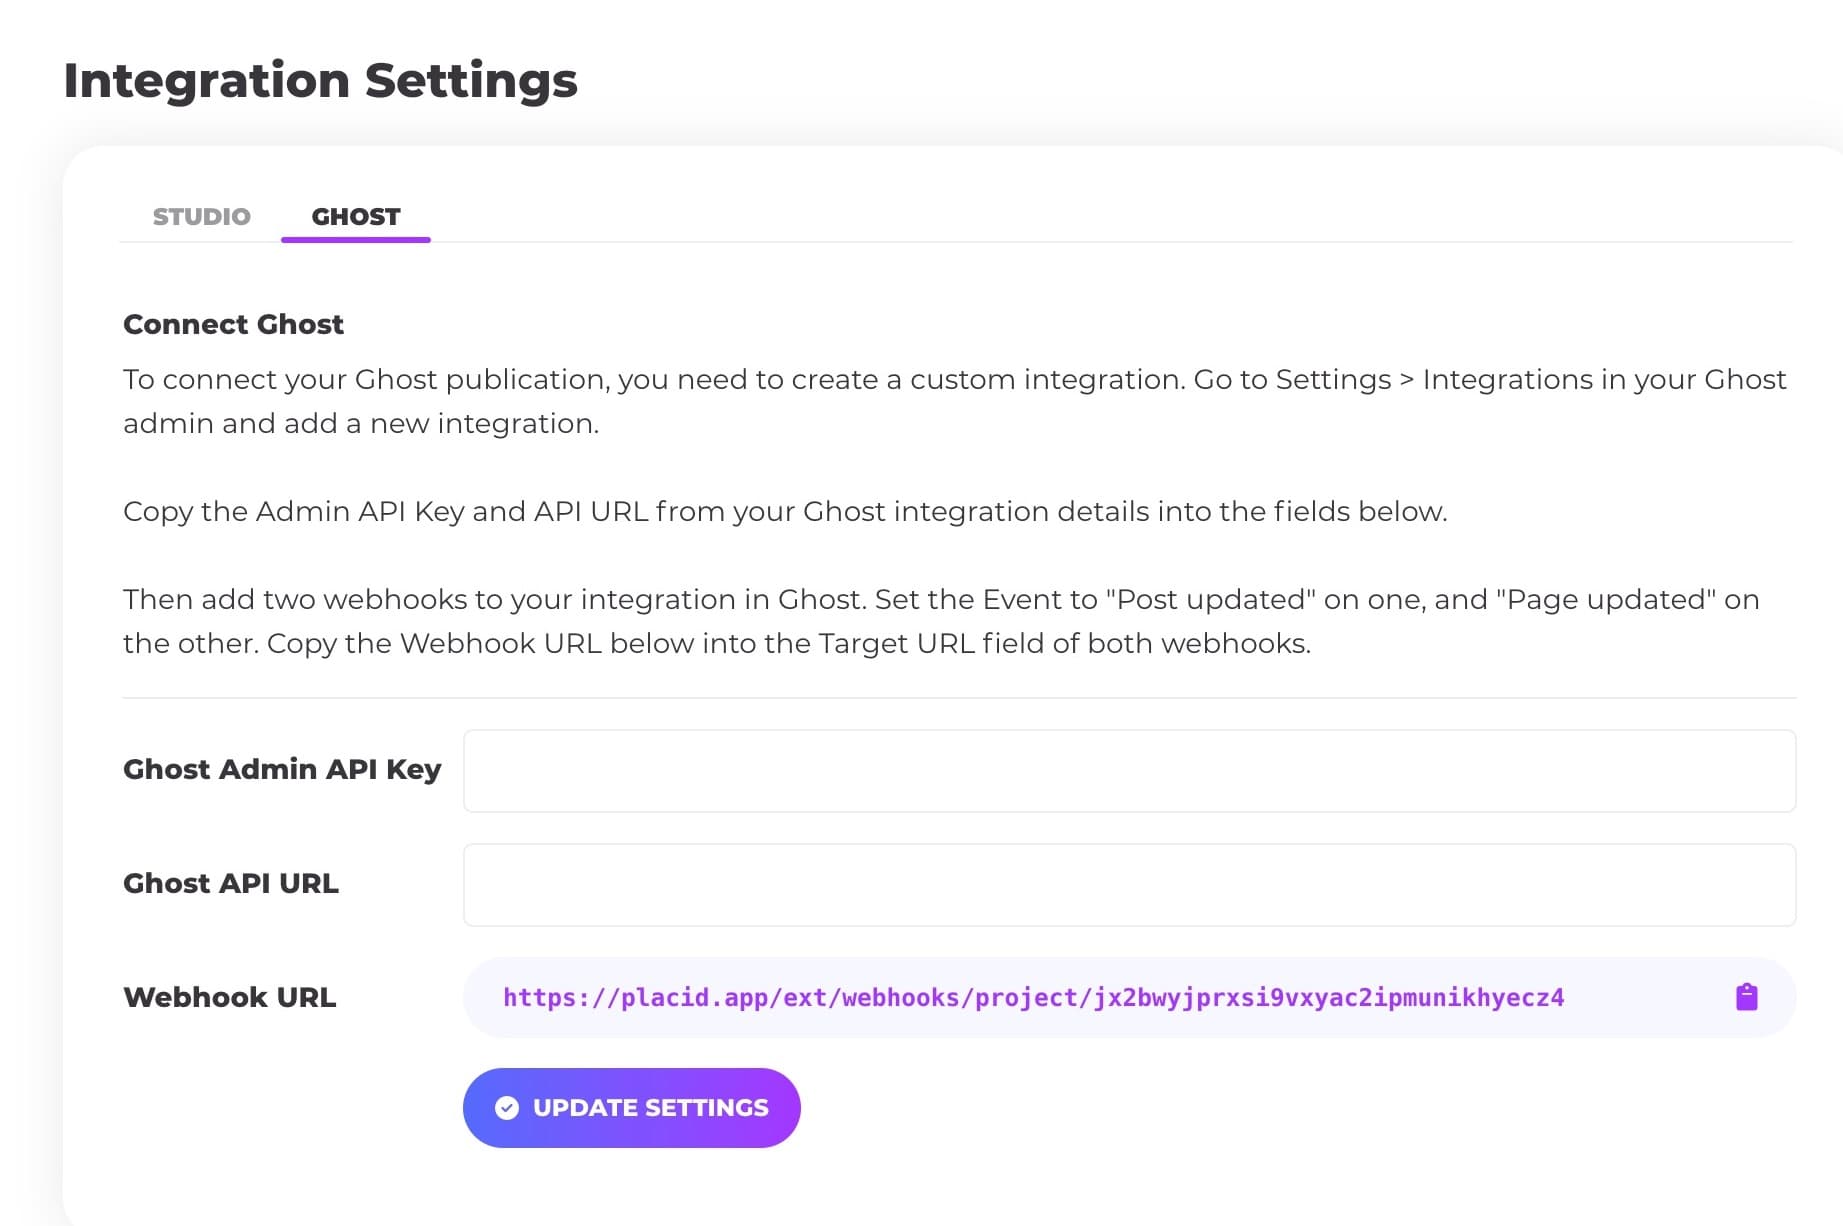
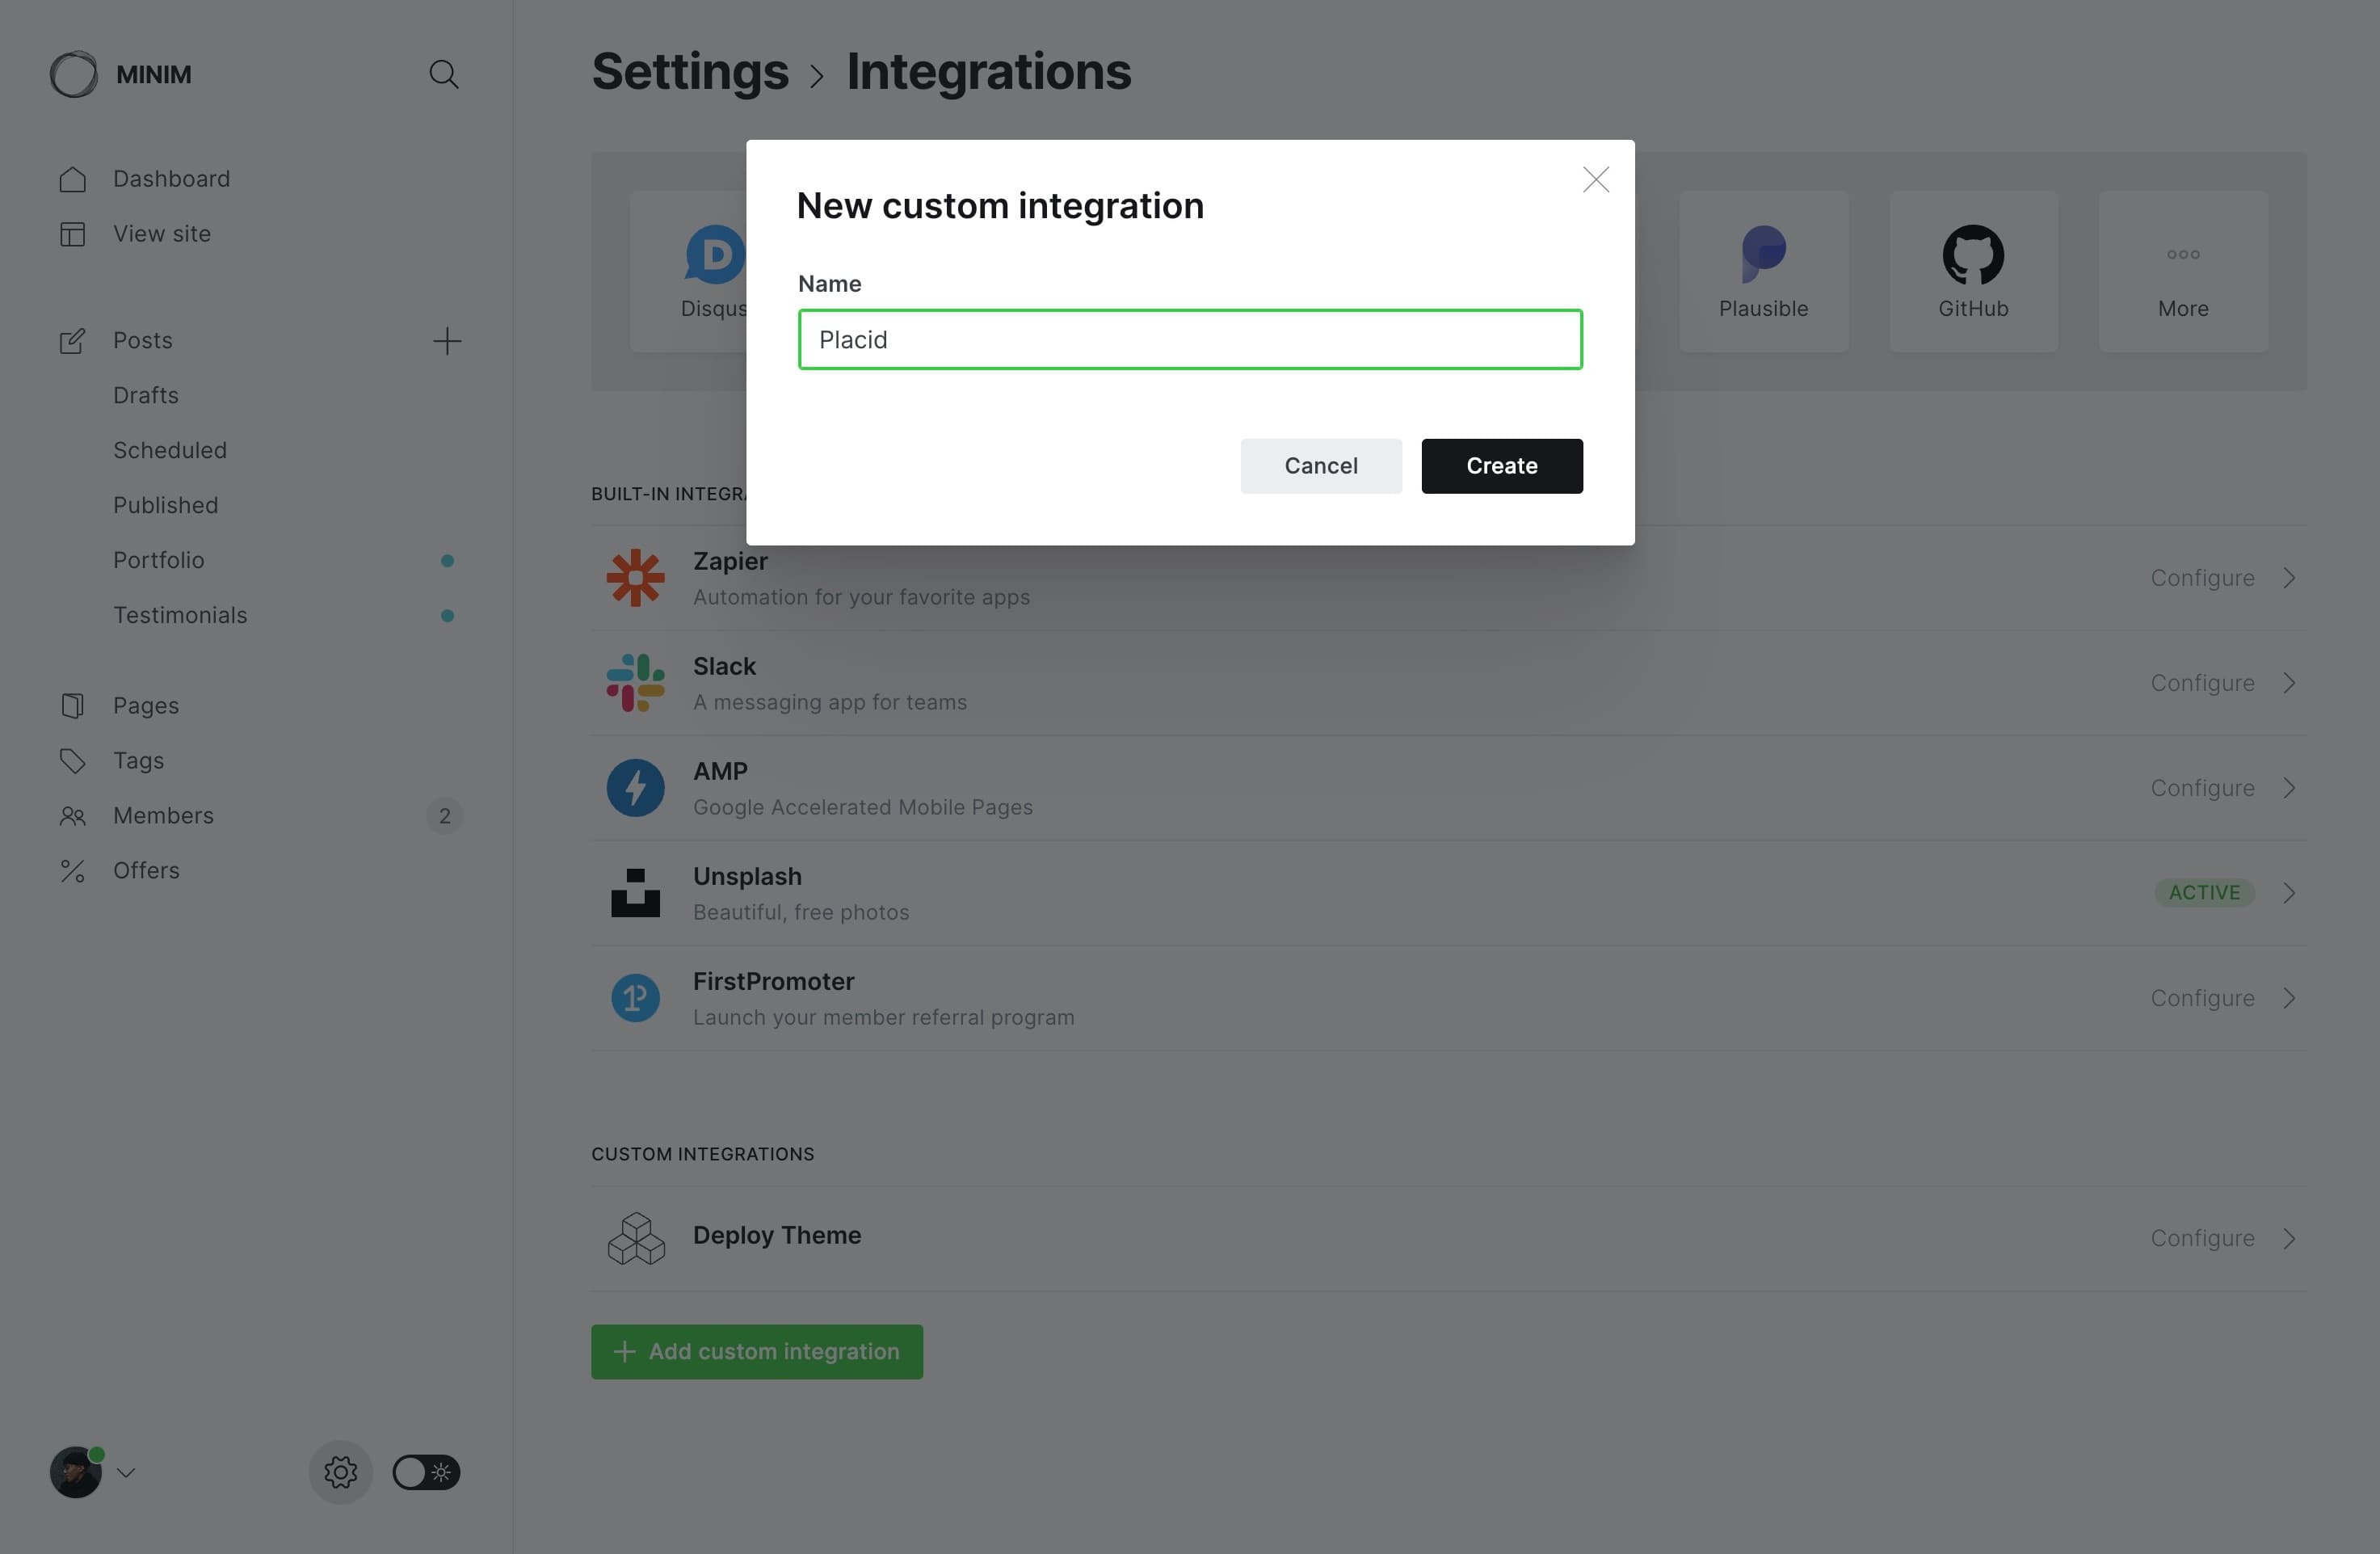
Copy the Webhook URL then head over to your Ghost admin panel. From here navigate to Settings > Integrations and click + Add custom integration button at the bottom. Type in “Placid” as the name and click Create.
Next, on our Placid integration page, click the + Add webhook button and set the following fields:
- Name: Post webhook
- Event: Post updated
- Target URL: Paste the Webhook URL you copied from the Placid integration page
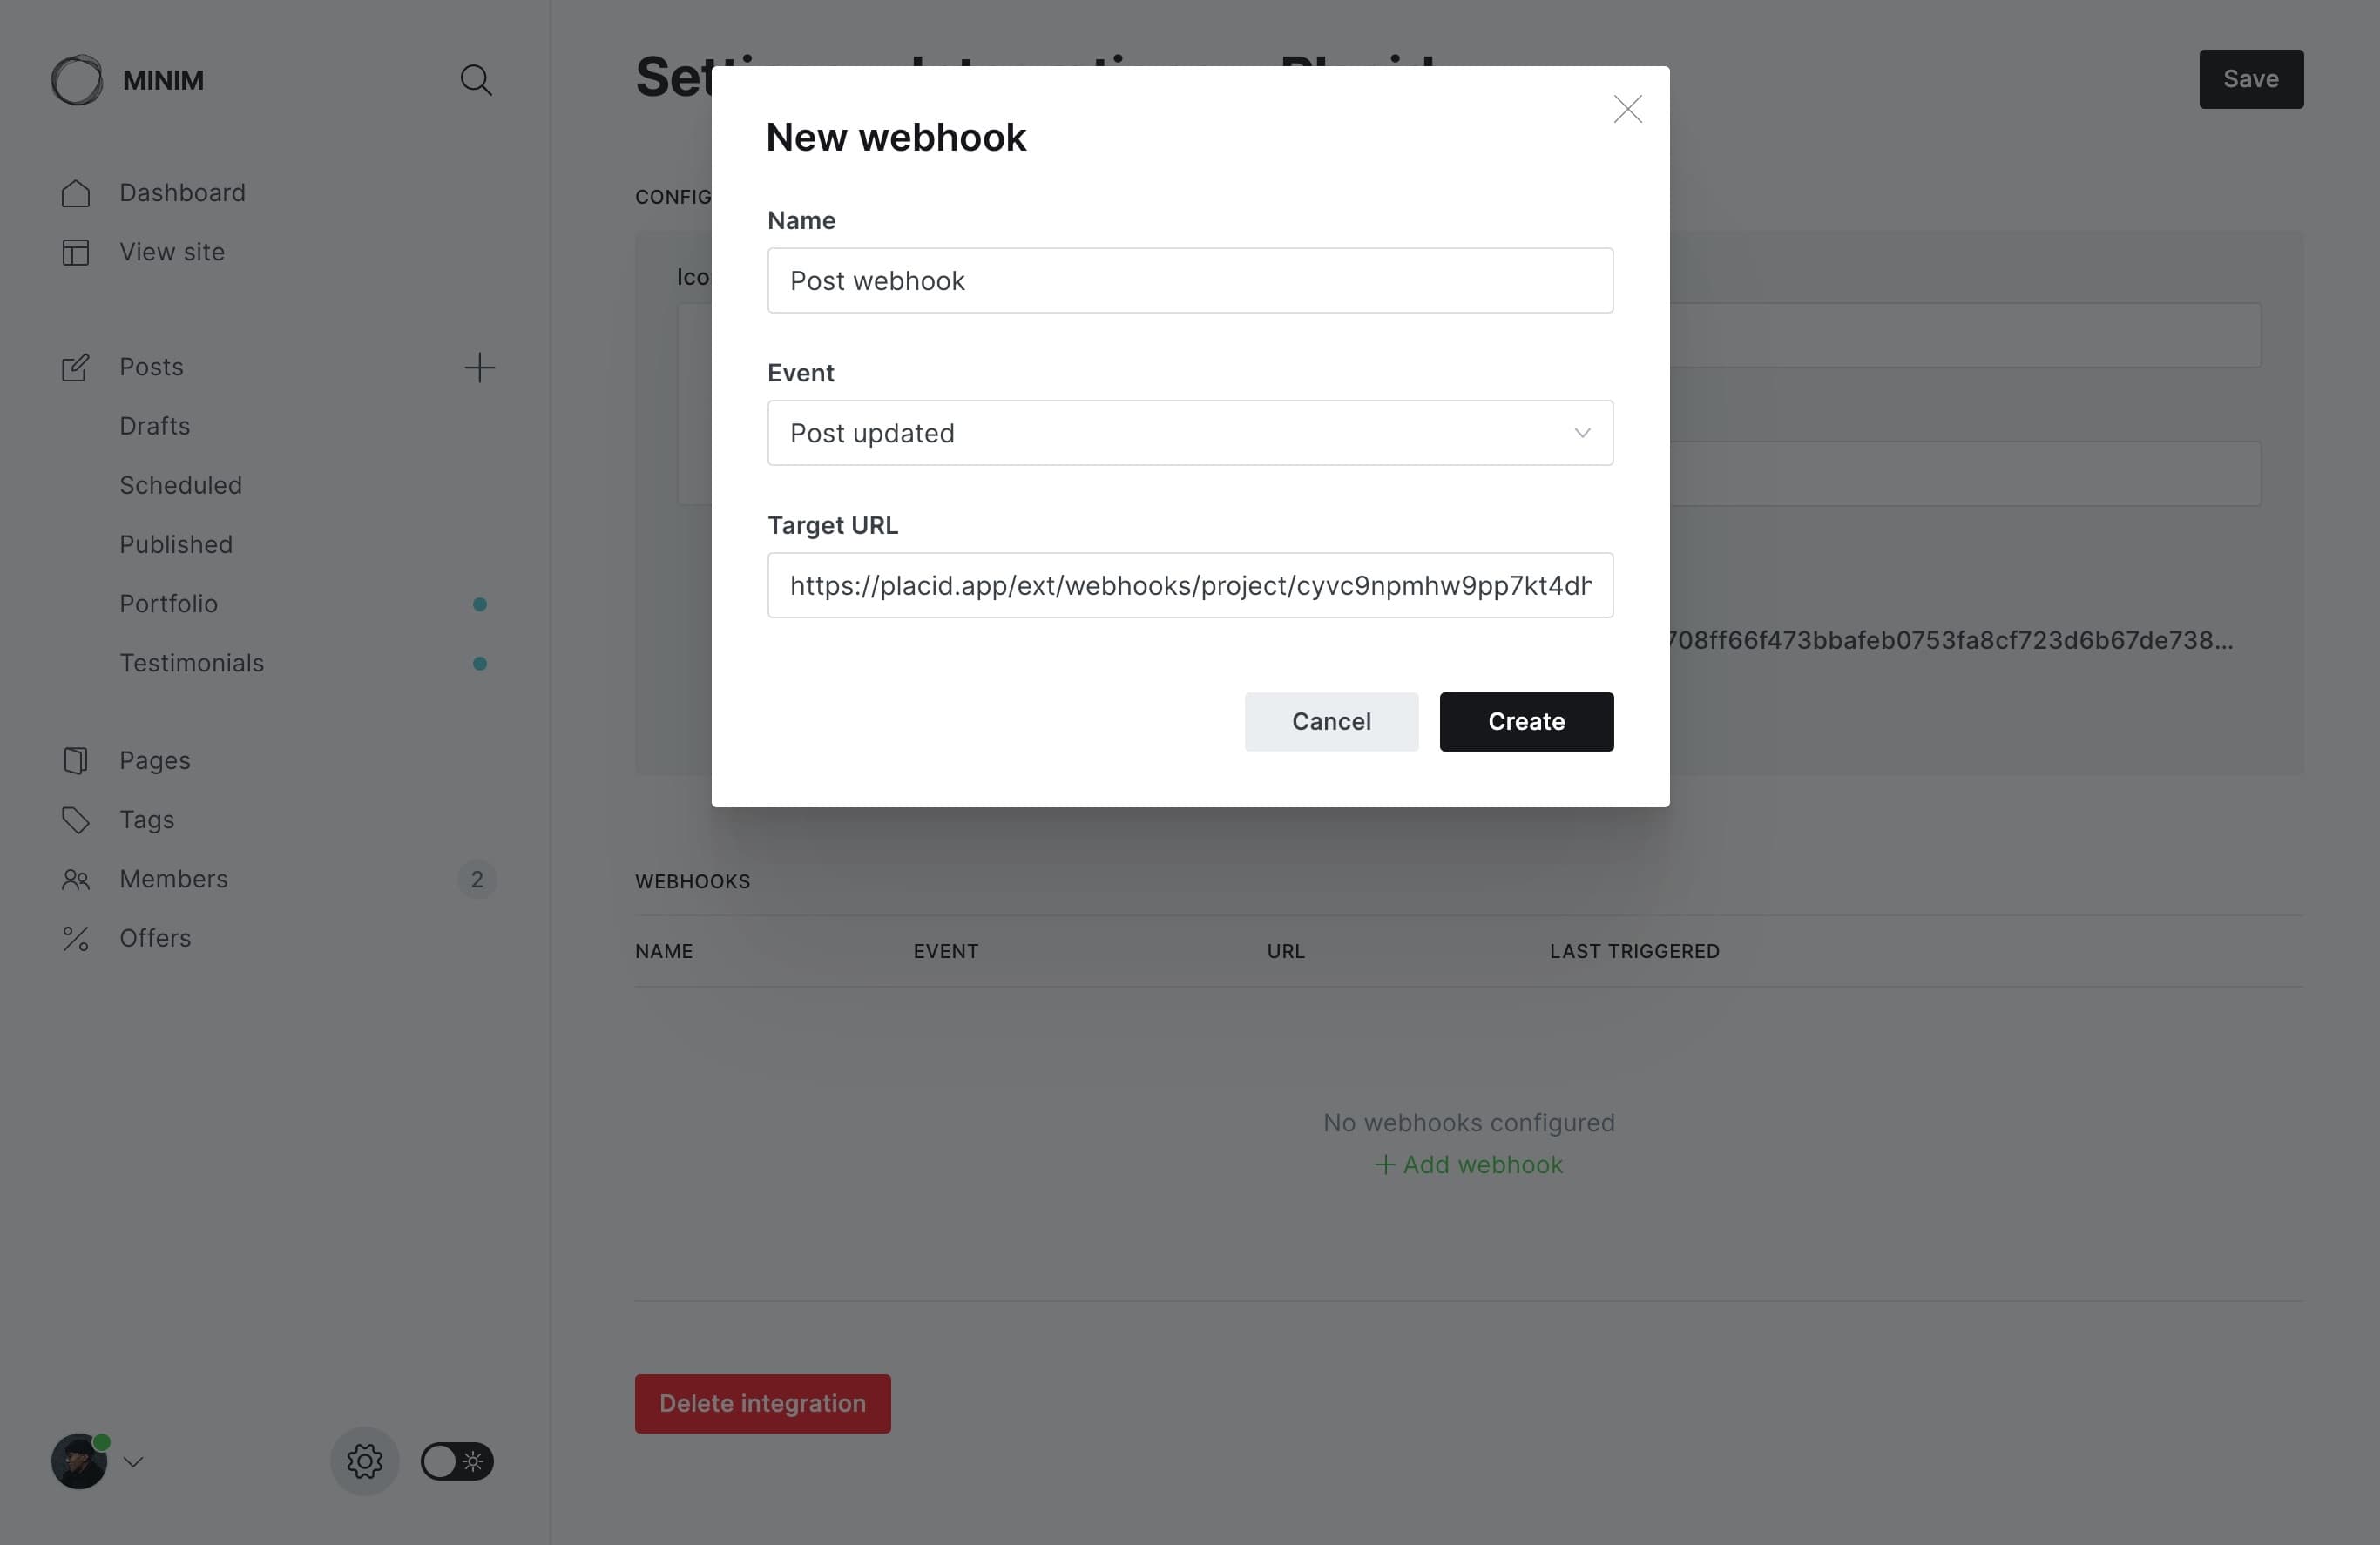
Click Create to finish up. Next, copy the Admin API key and API URL head back over the Placid integrations page and paste them into the Ghost Admin API Key field and Ghost API URL respectively.
In the final step, we’ll setup the automation that generates a custom open graph image each time we create or update a post in Ghost. Let’s go!
Step 3: Let The Automation Begin!
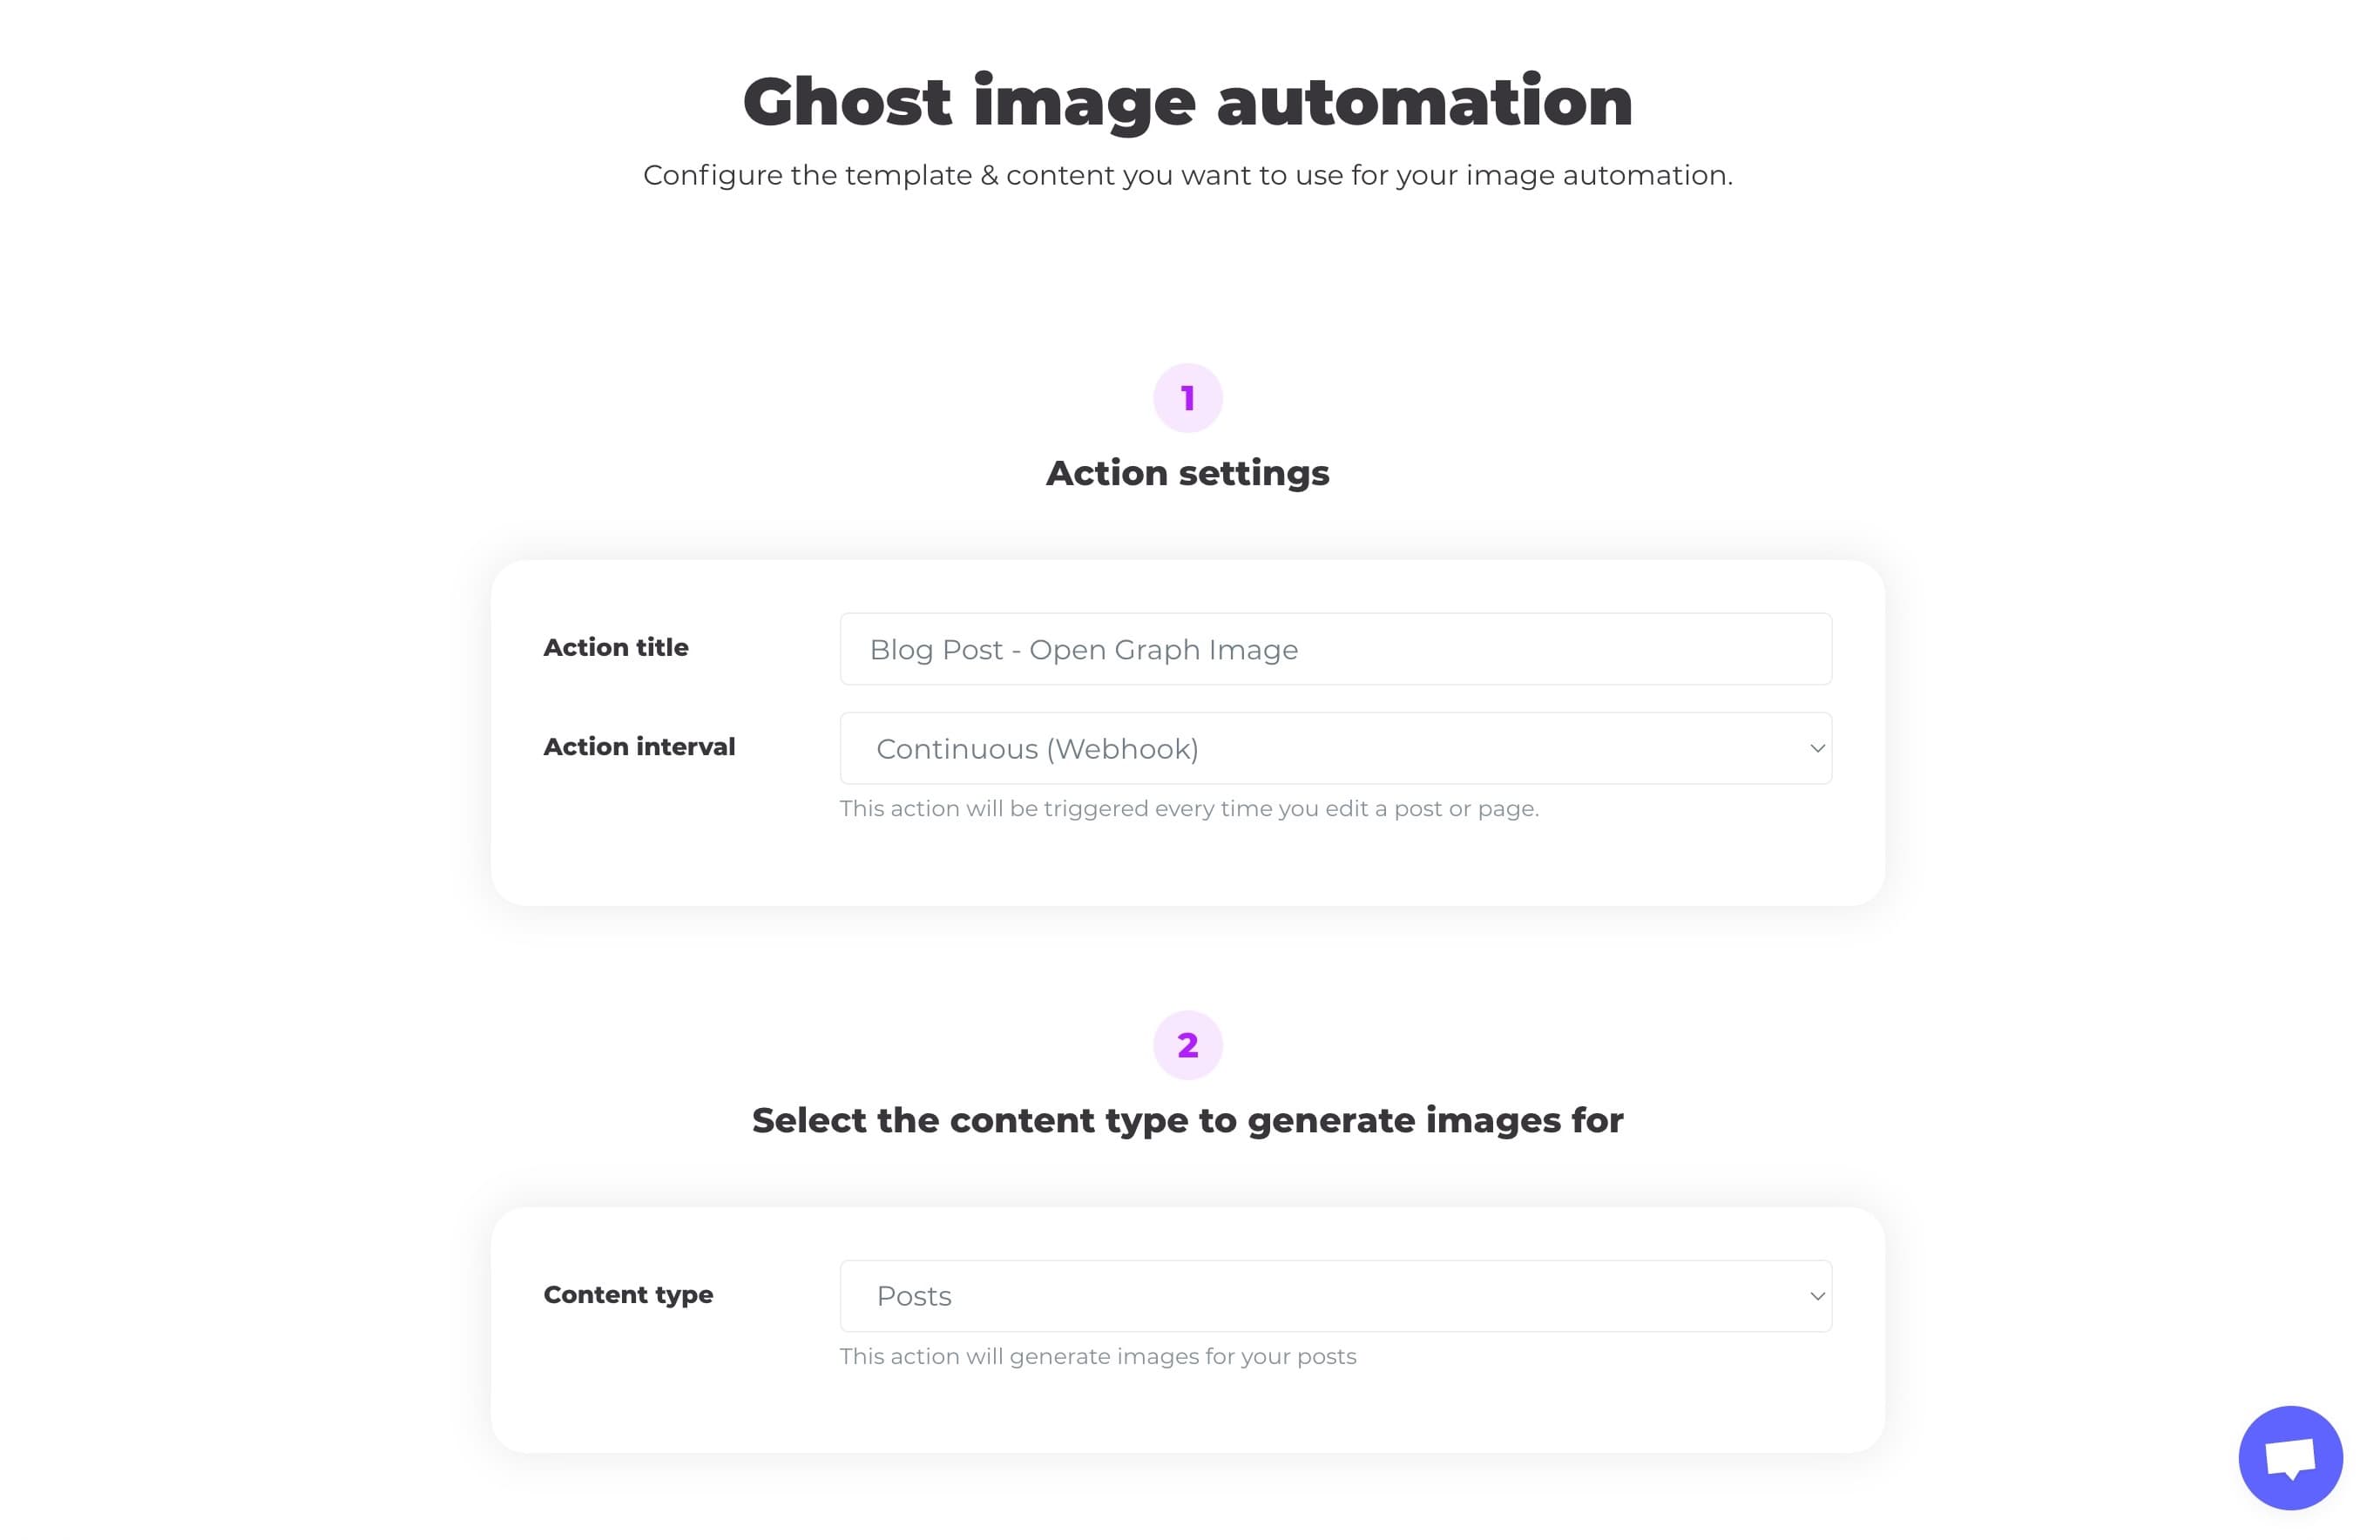
From the Placid dashboard, click on Actions in the left sidebar then + Add Action. You can start with the following settings:
- Action title: Blog Post - Open Graph Image
- Action interval: Continuous
- Content type: Post
In step 3 for Set up template & input fields, here is where we can map the values from our Ghost blog posts to the layers in our template that we need to replace. Here’s a short clip on how to do so:
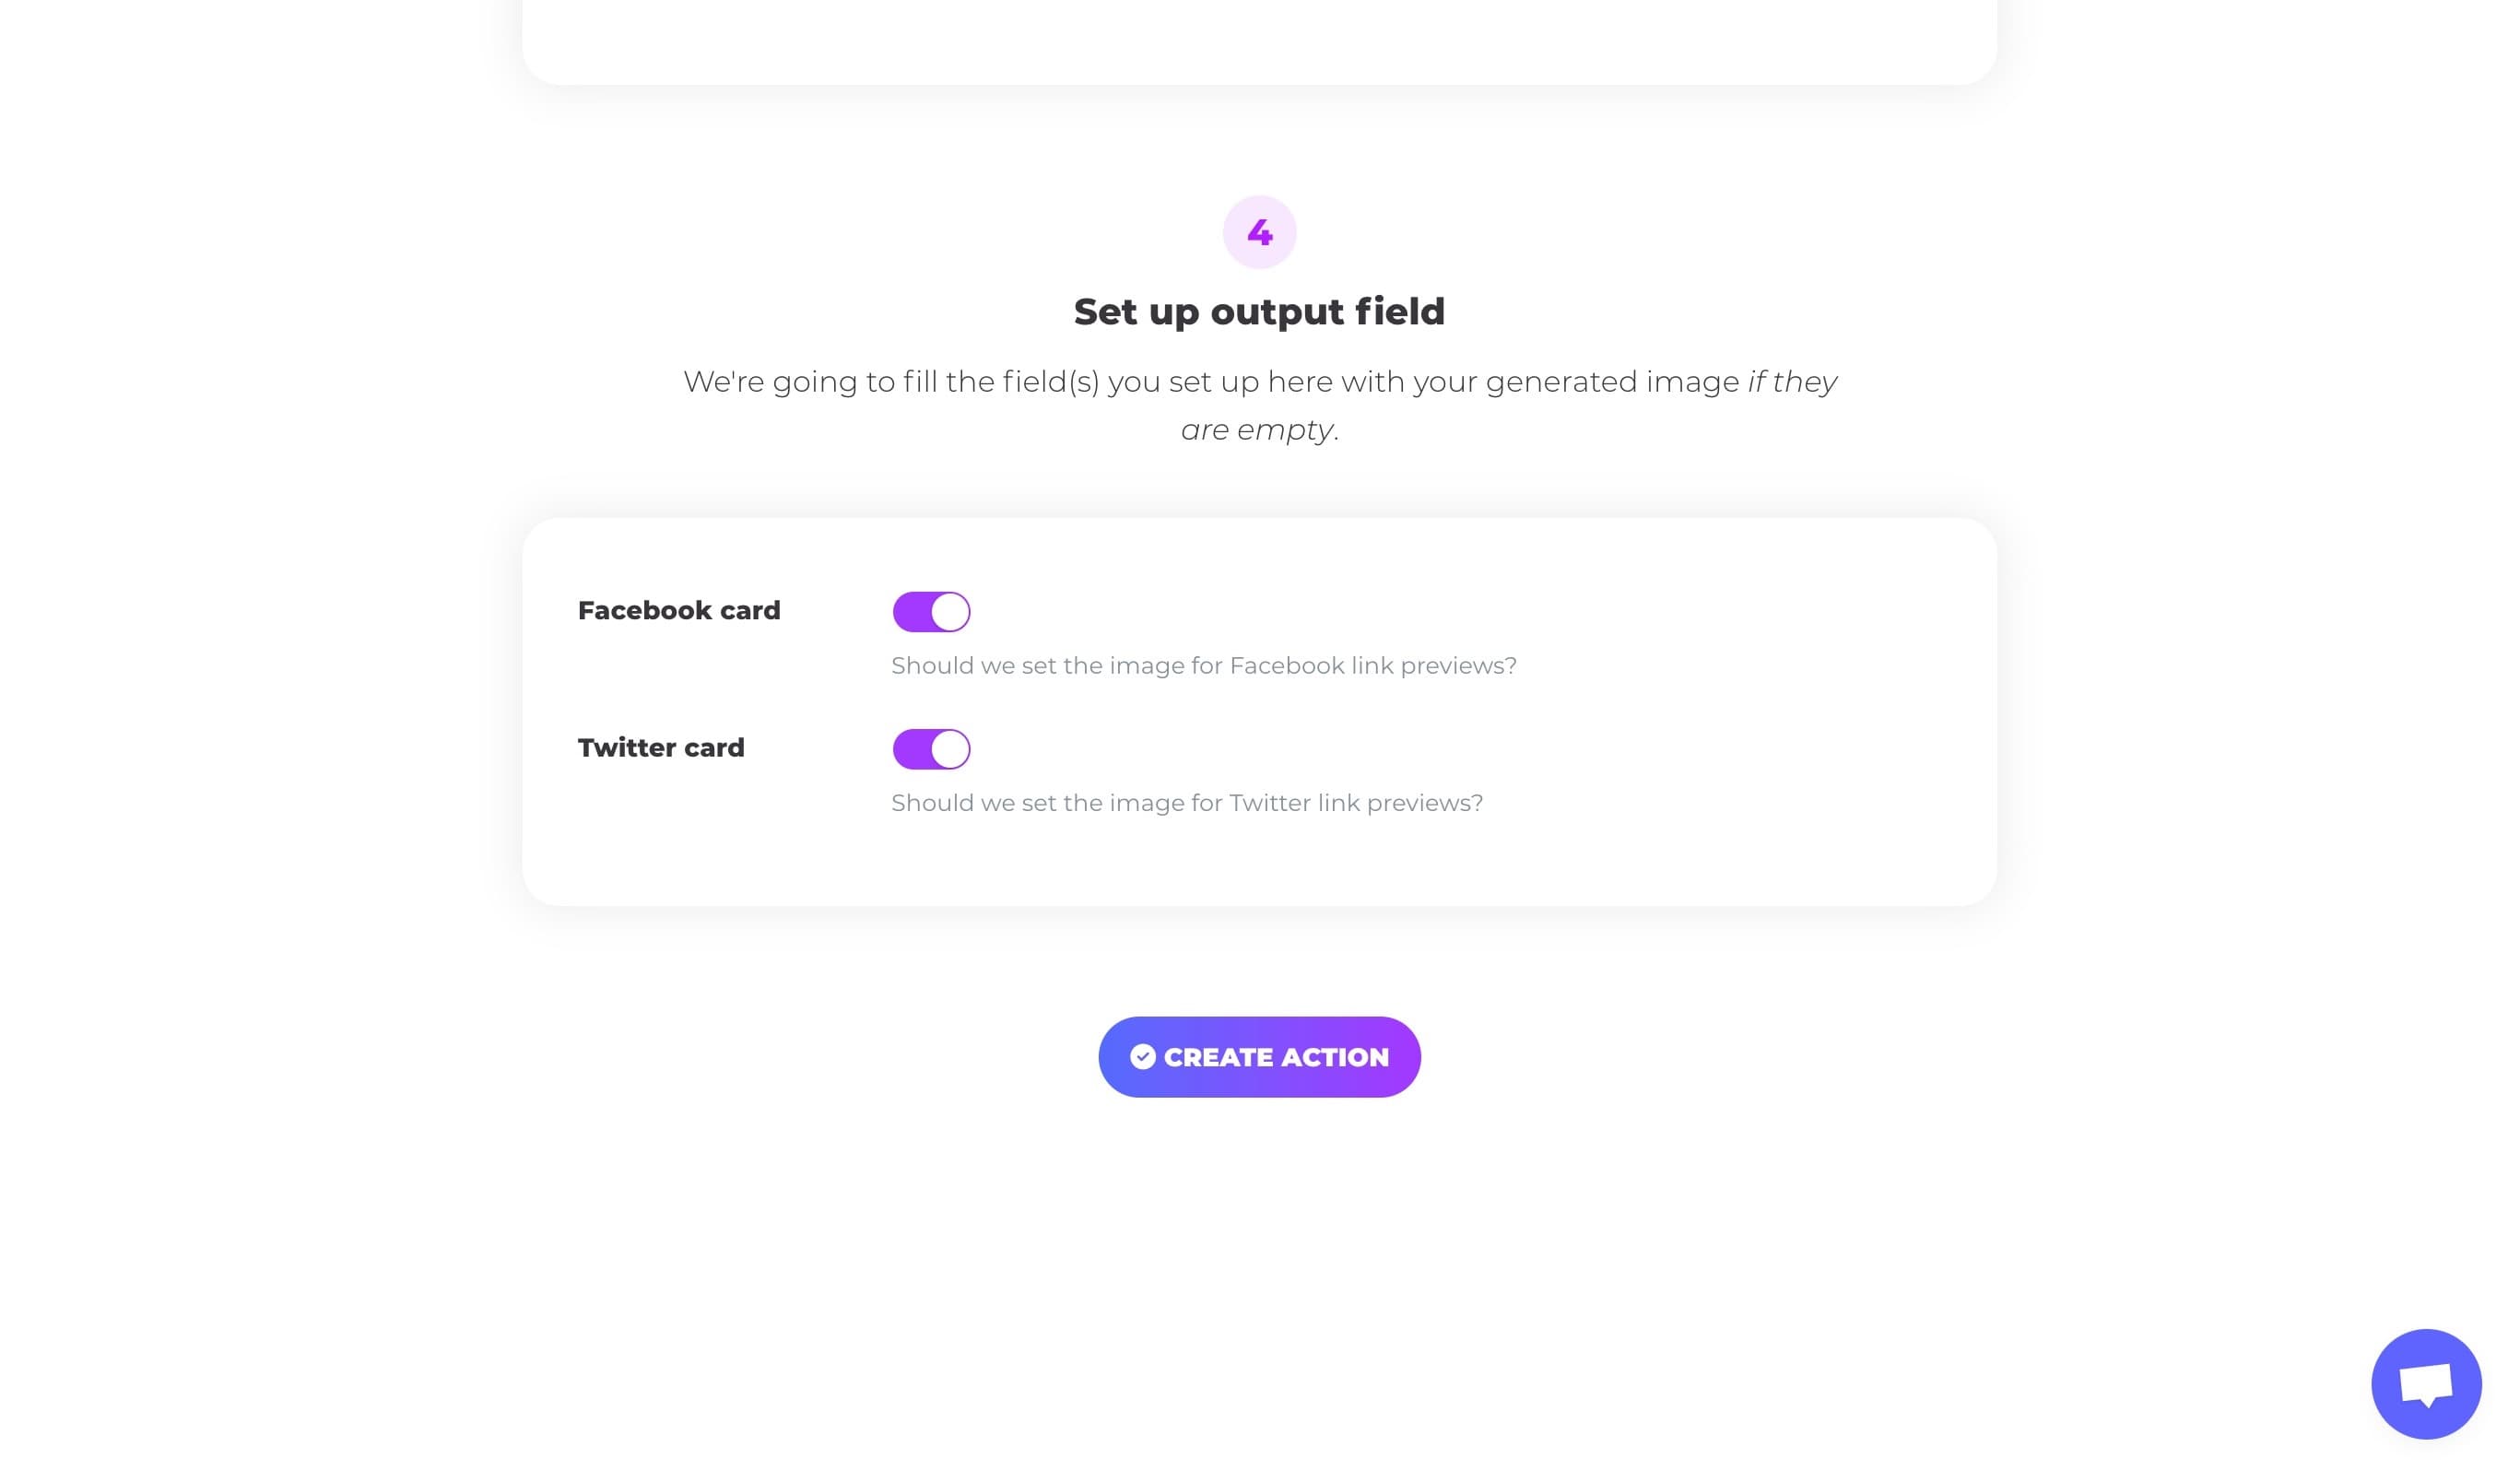
Click the Create Action button to finish up.
Step 4: Test It All Out
Let’s see how this all works by testing it out. The easiest way to test is to simply navigate to your Ghost admin panel and create a new post or edit any existing post.
Save or update any part of the post and after a few seconds refresh the page, open the Post settings sidebar and click on the Twitter card or Facebook card. You should see your shiny generated open graph image!

There are endless possibilities of what you can do with Placid and Ghost by generating all kinds of graphics from your blog posts. Hope this guide helps spark some ideas for you!
If you have any questions or if you’ve successfully setup Placid + Ghost integration, we’d love to hear about it! Tweet us @layeredcraft!

Eric Alli @ericalli
Eric is the founder of LayeredCraft. He has worked as a designer and engineer for 15+ years and loves creating innovative and effective themes for all industries.