Theme Installation
Start by unzipping the downloaded package by double-clicking it on Mac or by right-clicking and selecting “Extract All” in Windows.
Inside the new folder dandelion, you will find the dandelion.zip theme file.
Follow these steps to upload the theme to your website:
- Log in to your Ghost website admin (https://yourdomain.com/ghost).
- Click on the settings icon at the bottom of the left-hand side.
- Navigate to Design → Change theme.
- Click Upload theme and select the dandelion.zip theme file.
Once uploaded. Click on Activate now button to activate the theme immediately or Close if you want to activate it later.
Routes Setup
The routes.yaml file is required for member sign up, and subscription flows.
To upload the routes file, follow these steps:
- Unzip the dandelion.zip theme file.
- In your Ghost admin, click the settings icon at the bottom of the left-hand side.
- Navigate to Labs.
- Scroll down to the Routes section and click the Upload routes YAML button.
- Select and upload the routes.yaml file inside the theme folder.

Note: upload routes.yaml after uploading the theme zip
There will be a default routes.yaml file uploaded to Ghost and you'll need to upload your theme's routes.yaml to override the default.
Upload the routes.yaml file separately after uploading your theme zip file.
Site Title, Description & Cover
To set the site Title, Description and Cover photo shown on the homepage, refer to the following settings in your Ghost admin that corresponds to the diagram below:
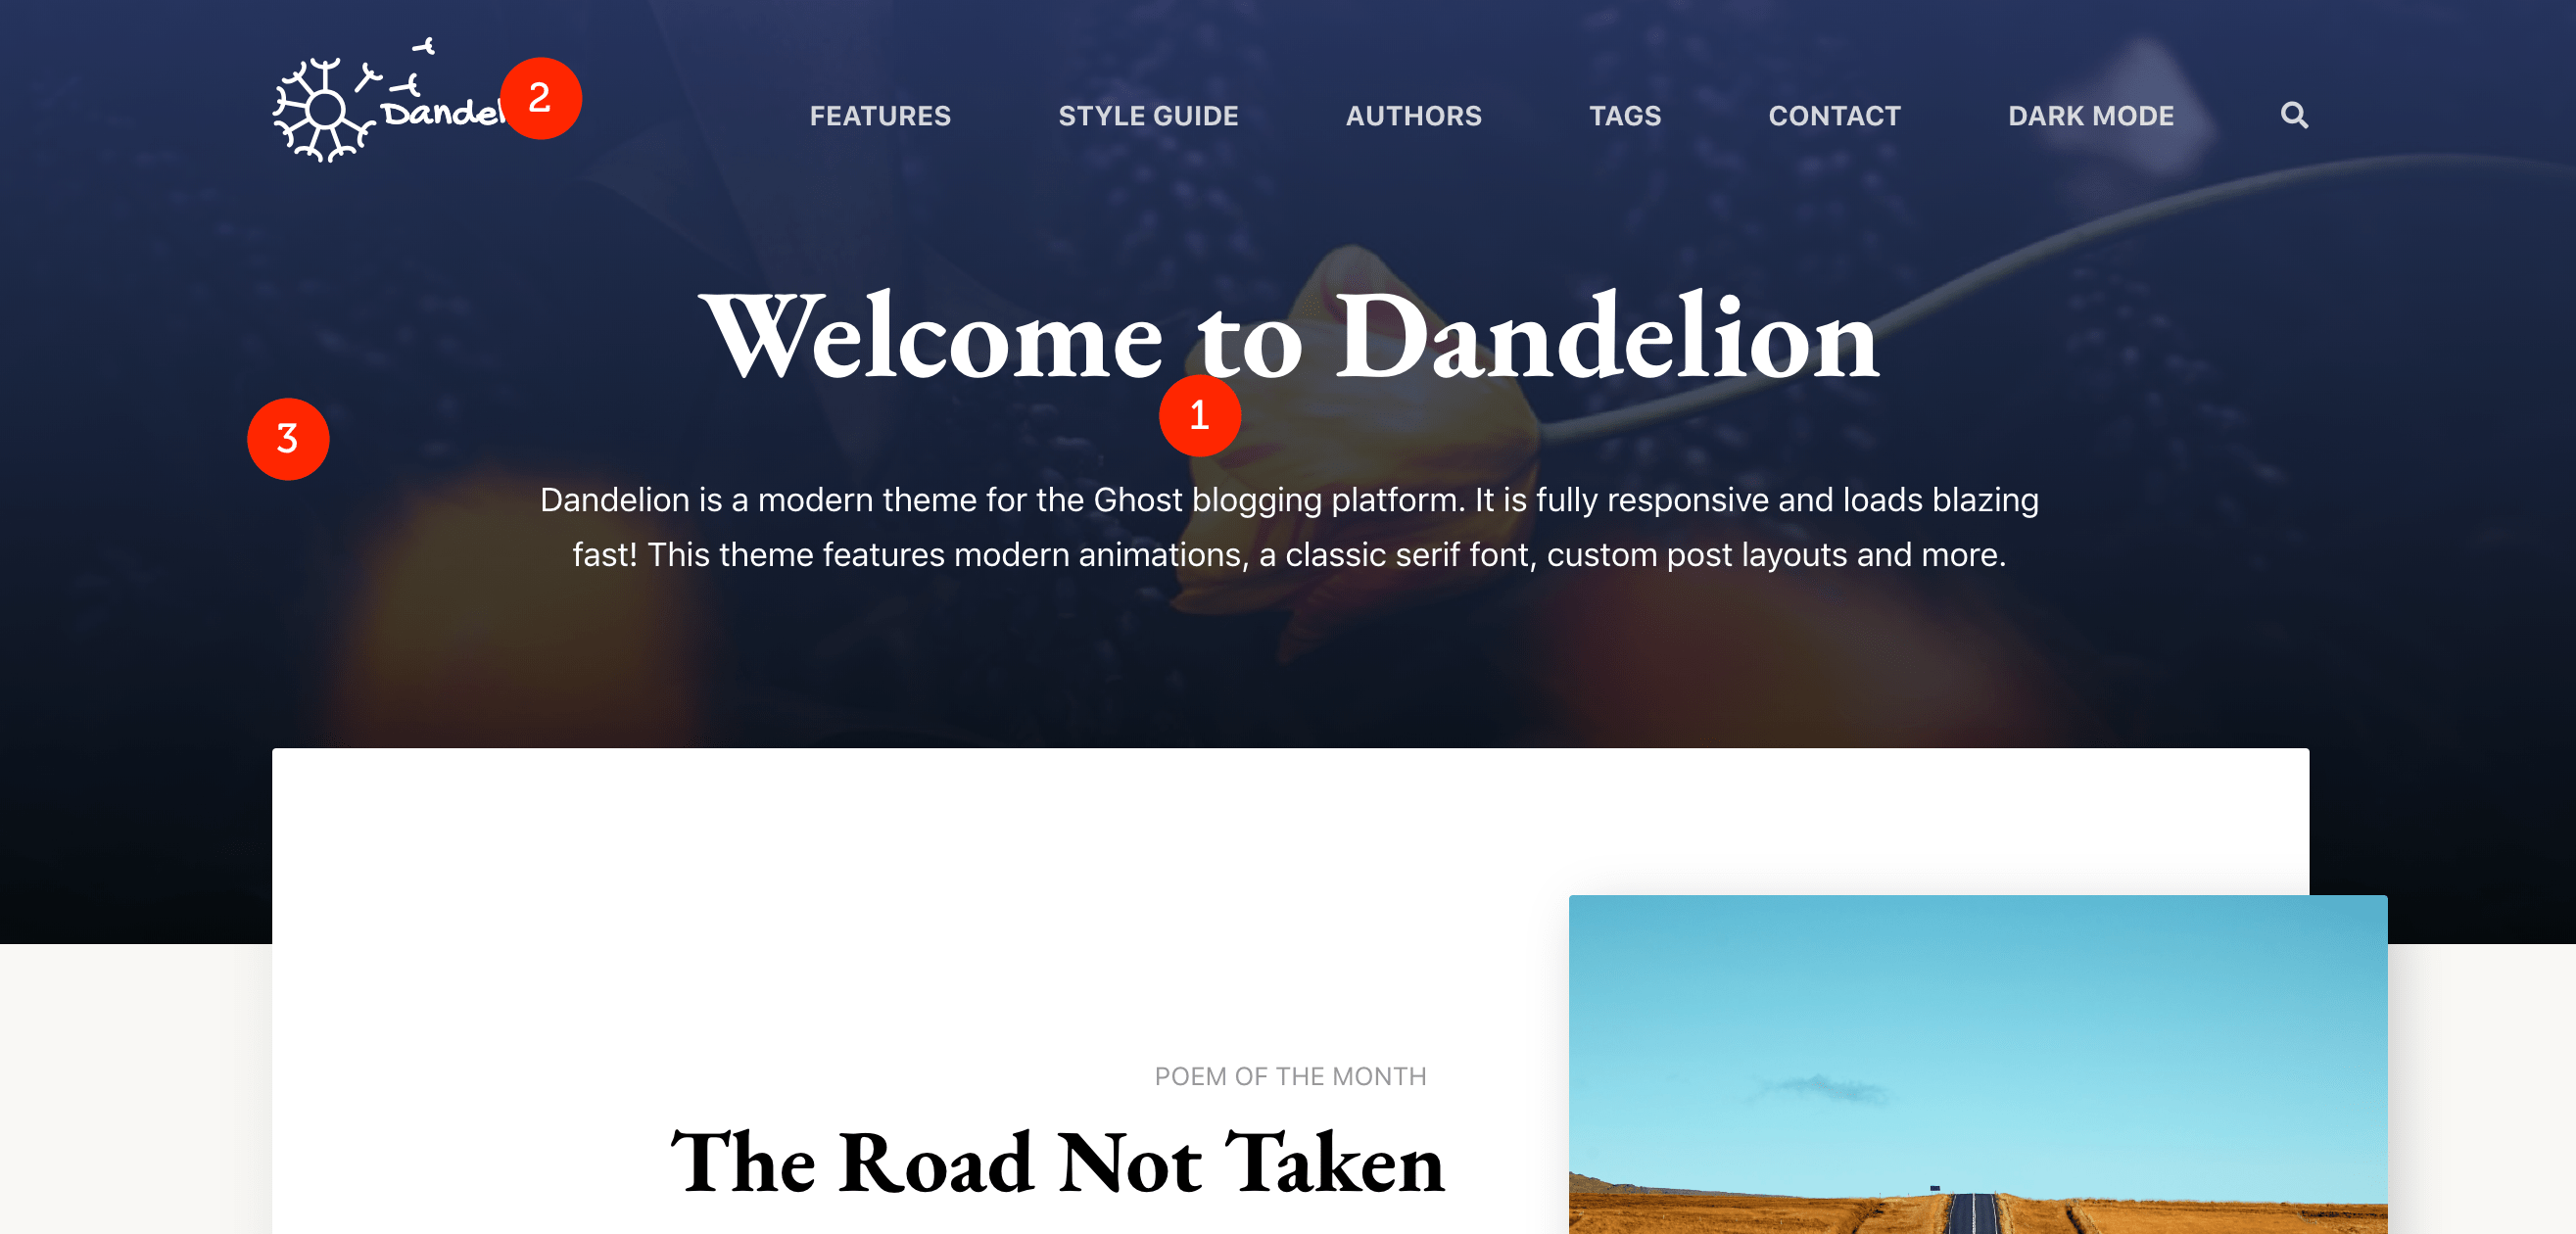
- Site Title and Description - General > Title & description
- Site Logo - General > Publication logo
- Site Cover Photo - General > Publication cover
Note: The cover photo uploaded here will only be displayed your site’s homepage. For other pages, you can customize this photo using the featured photo option when creating pages.
Theme Options
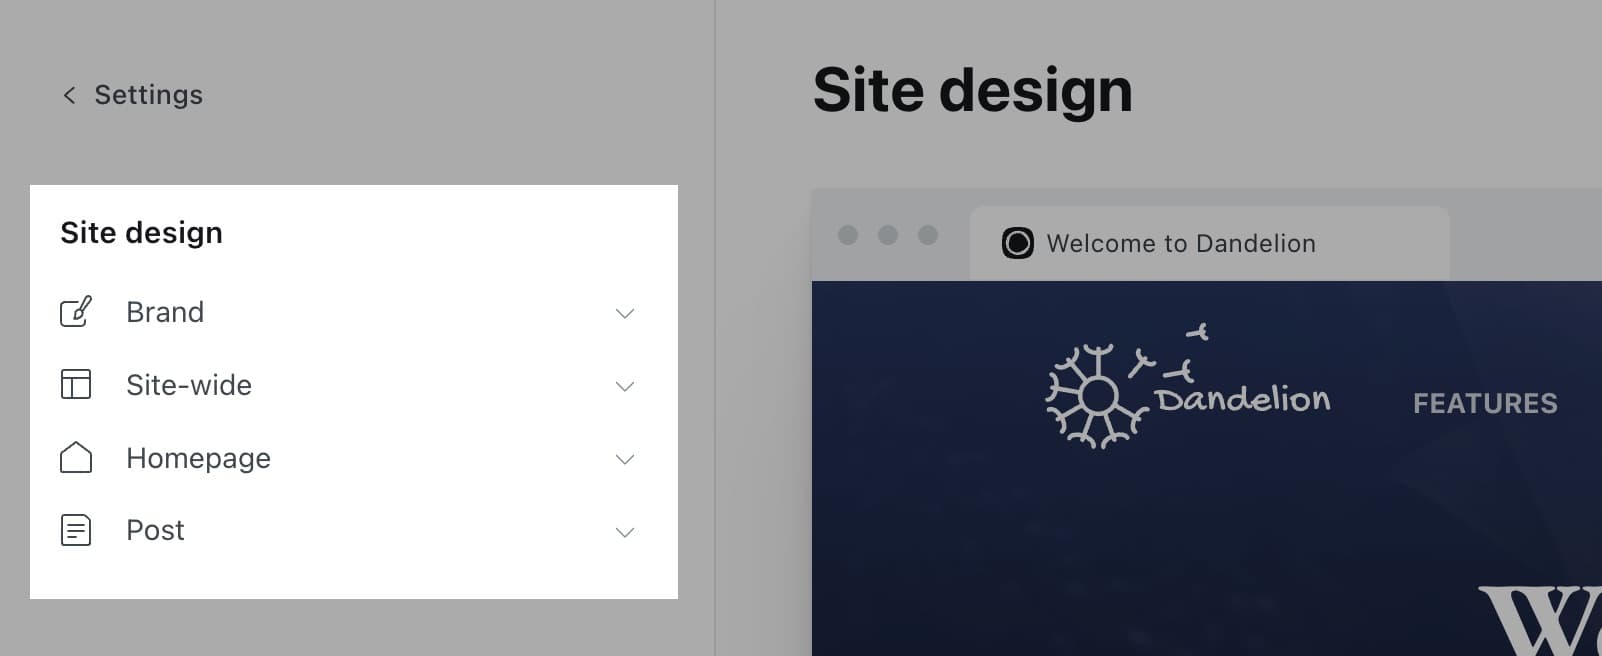
Dandelion has custom configuration options that will help you setup for your site’s search, comments and other features. To access these options, navigate to your Ghost admin panel > Settings > Design.
Color Scheme
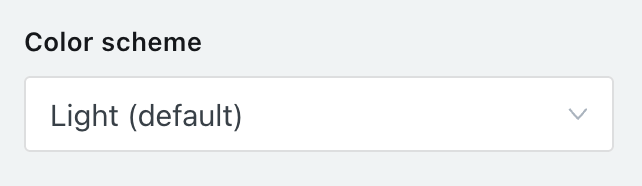
The color scheme of Dandelion can be changed to one of three options.
- Light
- Dark
- Auto
Modern operating systems (Windows, macOS, iOS, etc.) allow users to choose their preference for light or dark system themes. The Auto feature is used to detect if the user has requested the system to use a light or dark color theme.
Infinite Scrolling

You can disable infinite scrolling in favor of using the default Ghost pagination links by toggling this option.
Loading Animations

Dandelion displays a loading screen before each page load to pre-load all content and animations prior to displaying the page to the user. This can help prevent the flash of unstyled content instances that some users may experience. However, loading animations can be displayed entirely by toggling the Disable loading animations setting.
Footer Copyright
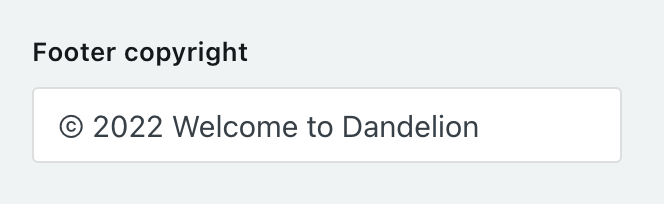
Override the default copyright text that appears in the footer of your site.
Disable Footer Ghost Link

Disable the link in the footer that references “Published with Ghost.”
Disable Image Hover Effects

For image thumbnails on the homepage, use this option if you’d like to disable the hover animation effects.
Disqus Comments
Disqus is a commenting platform that lets you communicate directly with your readers. Dandelion integrates with Disqus so you can collect users’ feedback on your articles.

Paste your Disqus shortname, e.g. copy only your-site from your-site.disqus.com
Navigation
You can add, edit, delete and reorder menu links on your Ghost blog from the navigation in the admin area located under Settings > Navigation.
Custom Pages
Membership Page
A custom Membership page template is included with this theme. To enable it, navigate to Pages > New page from the navigation menu on the left of your admin area.
- Click the gear icon to access the Page settings
- Scroll down and at the bottom to the Template dropdown
- Click on the dropdown and select Membership
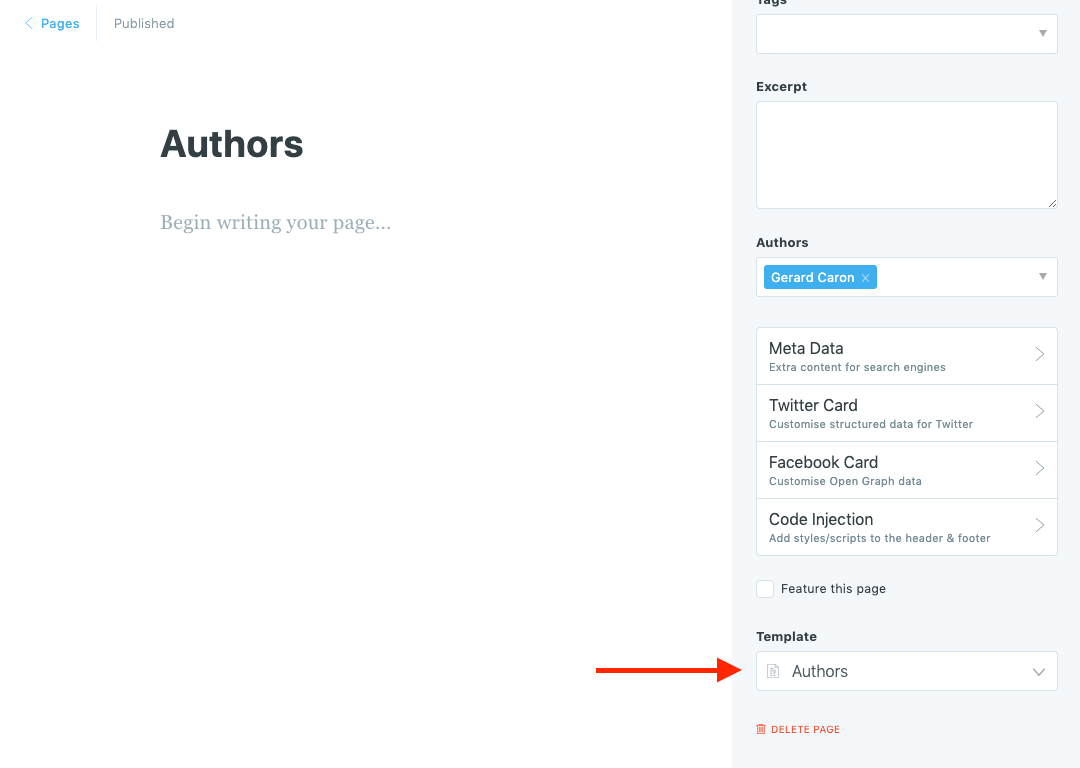
Authors Page
To create the authors page:
- Create a new page and call it Authors for example.
- Select the Authors template from the Template dropdown.
- Publish the page.
- To add the page to the navigation, please check the Navigation section above.
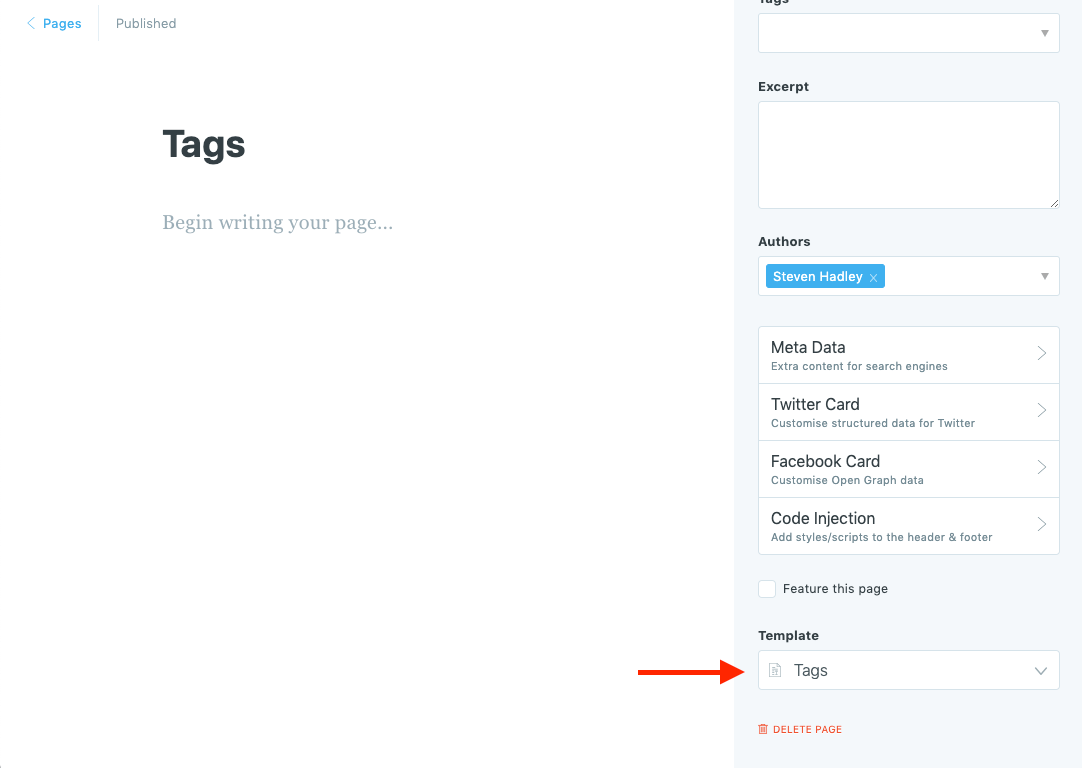
Tags Page
To create the tags page:
- Create a new page and call it Tags for example.
- Select the Tags template from the Template dropdown.
- Publish the page.
- To add the page to the navigation, please check the Navigation section above.
Contact Page
- Navigate to the URL below to create a free Formspree account and setup a new form:
https://formspree.io/create/t2themes - Copy the endpoint URL found on your forms “Integrations” page.
- Create a new page and name it Contact for example.
- Once you are in the page editor, click on the circle (+) icon and then choose the HTML block.
-
Add the contact form code using FORMSPREE as a service. Please check the code example below:
<form action="[FORMSPREE ENDPOINT]" method="POST"> <input type="text" name="name" placeholder="Name"> <input type="email" name="_replyto" placeholder="Email"> <textarea name="message" placeholder="Message"></textarea> <input type="submit" value="Send"> </form> - Replace the [FORMSPREE ENDPOINT] with the URL you copied during step
- Publish the page.
- To add the page to the navigation, please check the Navigation section above.
- Check your email to confirm your email address with Formspree.
- Once you confirmed your email address, the form will be ready and you will get an email once when anyone uses your form.
- You can then style your form based on your design and add more fields or customize the form based on your requirements, so be sure to visit Formspree website for more information.
Translations
Dandelion supports Ghost i18n and comes with English language by default.
To add a new language, follow the steps in the Official Ghost Documentation.
Theme Development
If you are a developer and are looking to do heavy customization work. The theme uses Gulp to compile Sass and JavaScript.
This improves the development flow and making it much faster and efficient.
First, make sure you have Node.js, npm, and Gulp CLI installed. Run the following command in the theme root directory to install npm dependencies.
npm installTo start Gulp, run:
gulpThis will compile Sass and JavaScript files, and start watching changes as you edit files.
Do customizations in the assets/css files for CSS or in assets/js for JavaScript.
Finally, when you are finished your customizations, run the following command to generate the them zip file for uploading to your Ghost blog.
gulp zipperYour zip file will be located in the dist/ folder.
Theme Updates
You can update your theme the same way as you initially installed it. Simply:
- Download the latest version of the theme from Lemon Squeezy or ThemeForest account (depending on where you originally purchased the theme).
- Upload the theme zip file in your Ghost admin panel under Settings > Theme > Upload a theme
One thing to reduce the need for redoing customization is to use the Code Injection feature in your Ghost admin. This is very helpful for adding custom CSS and analytics tracking code for example.
Ghost Hosting
When you're ready to take your website live we have the hosting recommendation that’s right for you.
Sources and Credits
The primary font used is:
- EB Garamond - https://fonts.google.com/specimen/EB+Garamond
Demo images used are:
- Unsplash - https://unsplash.com
Icon set used is:
- FontAwesome - http://fontwesome.com